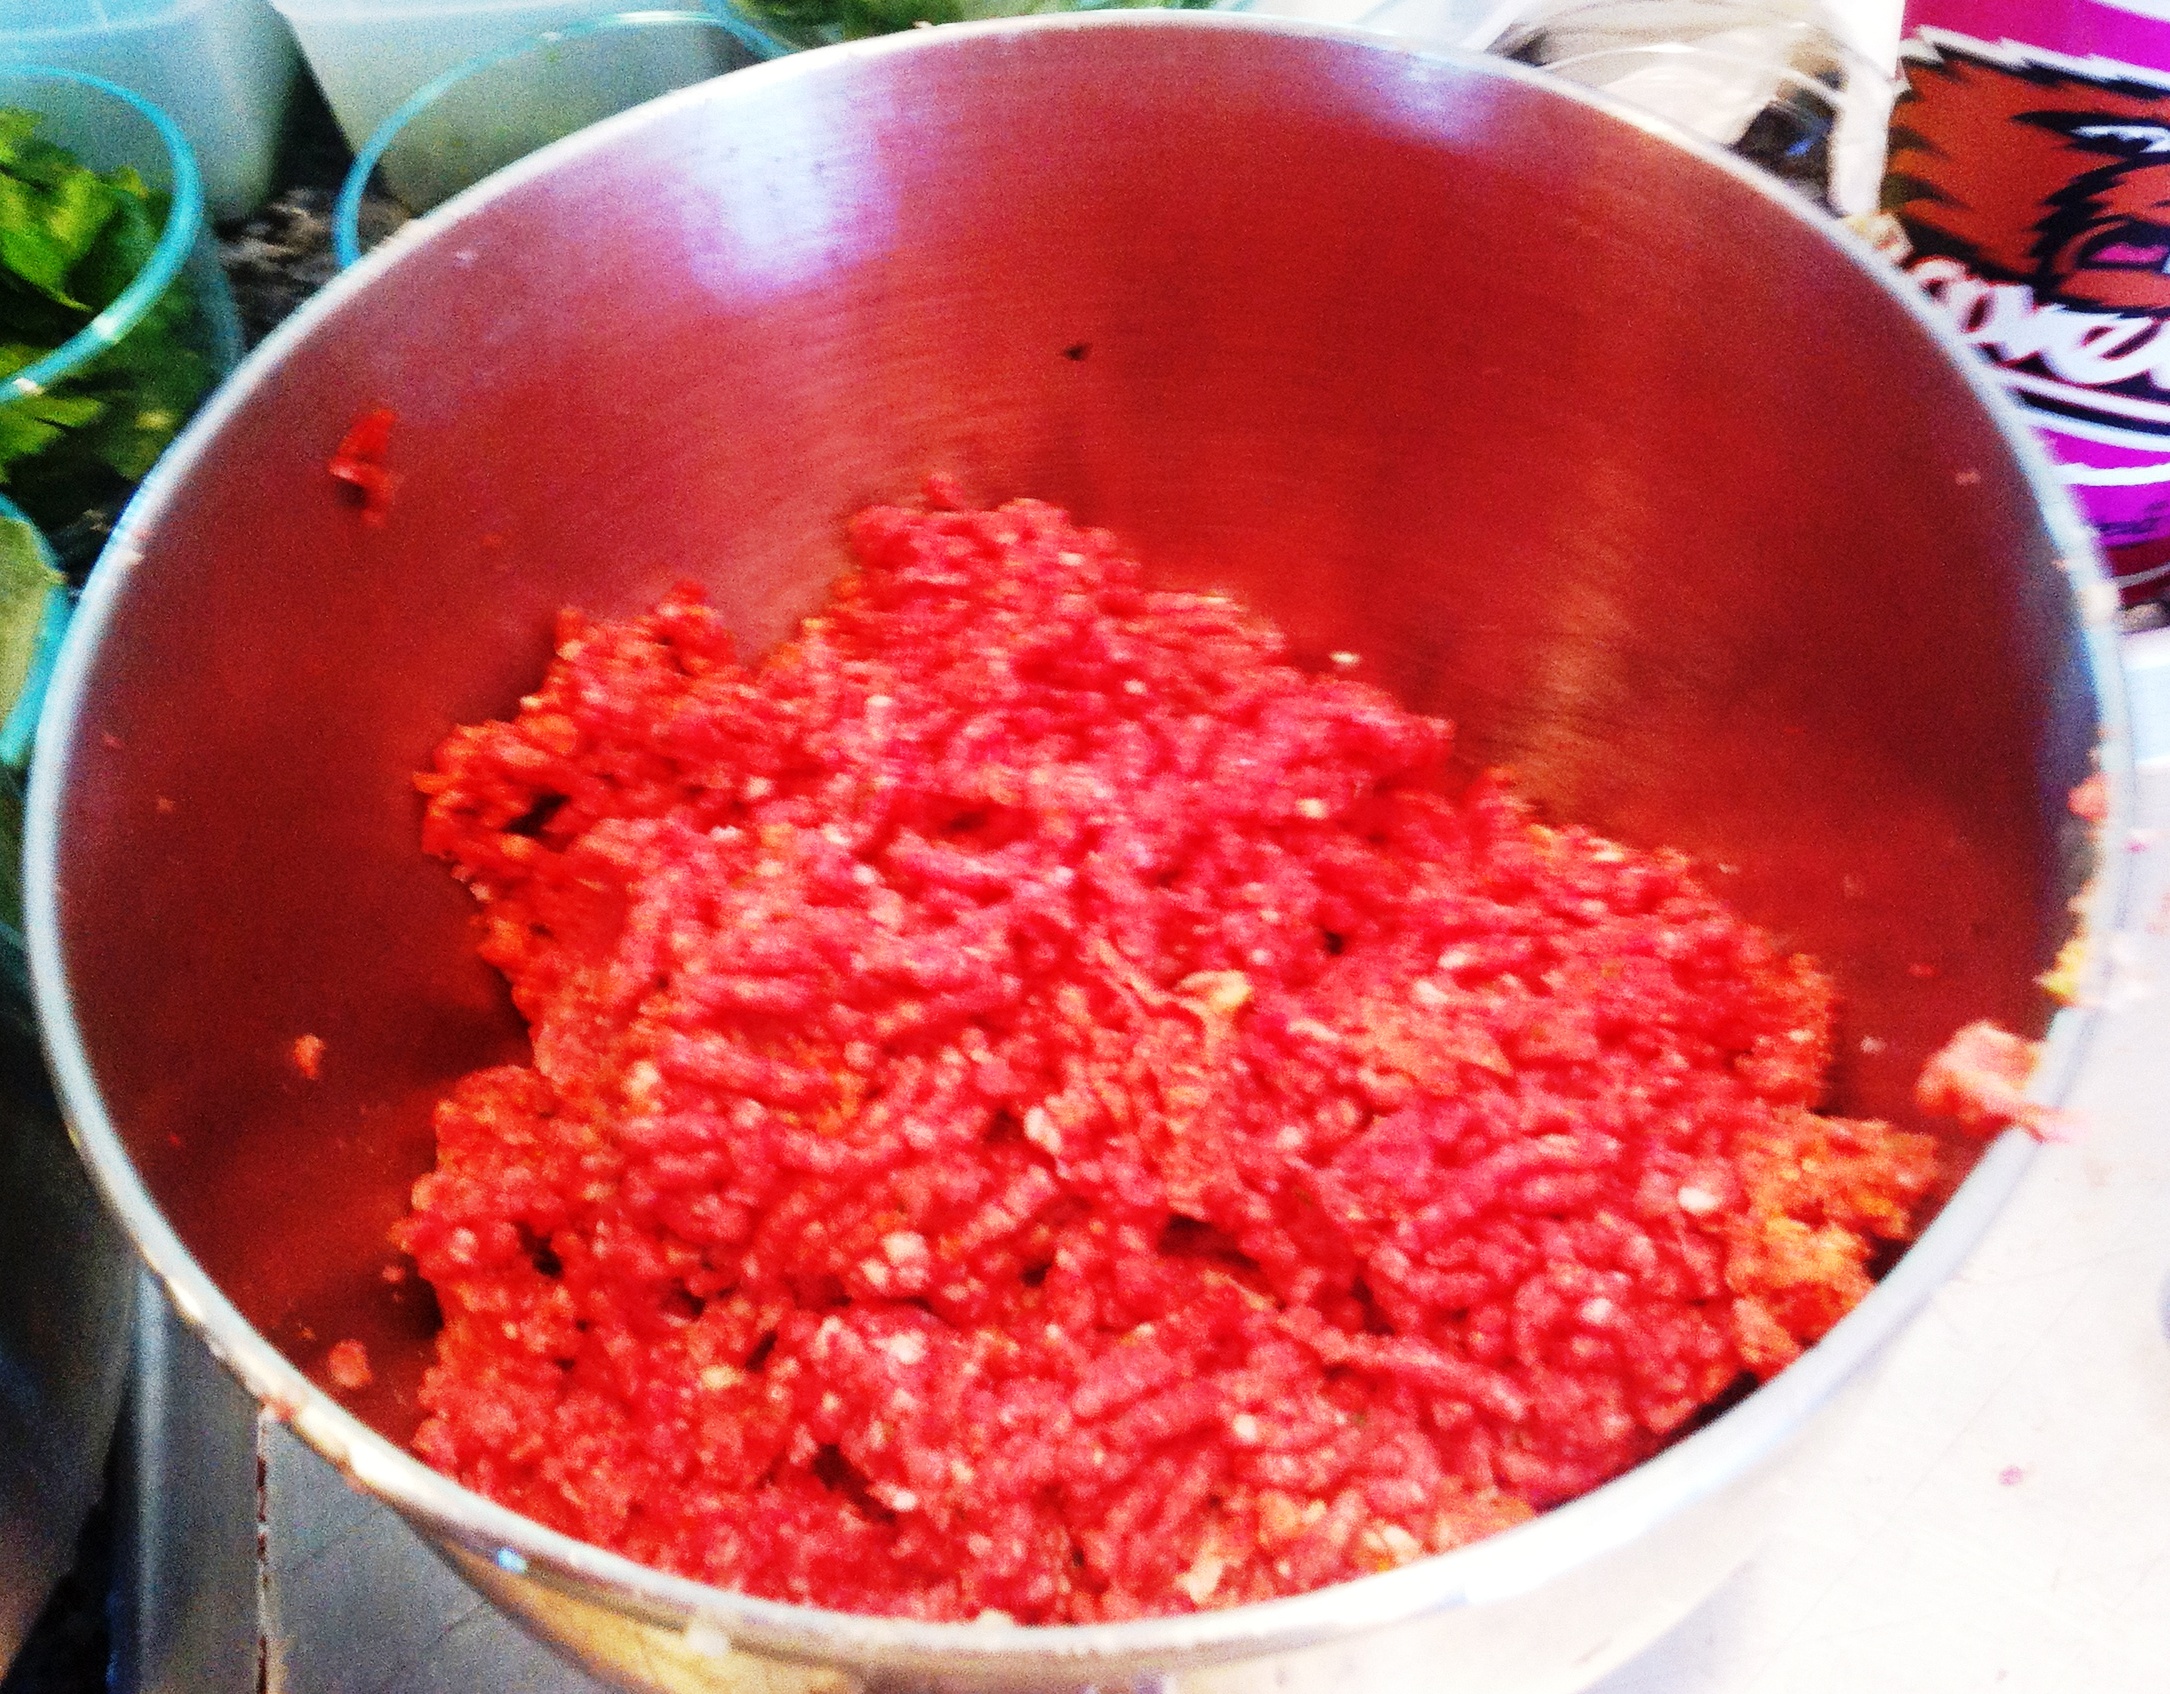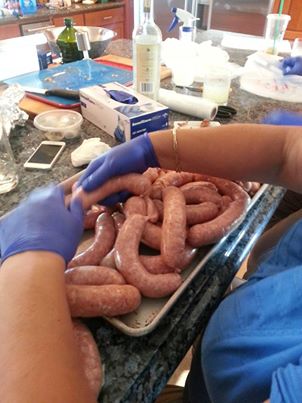
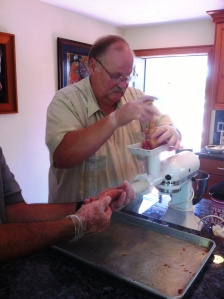
7 – The sausage ground and ready to be stuffed
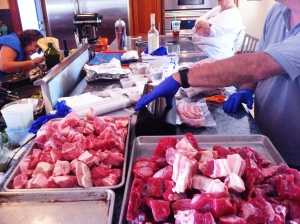
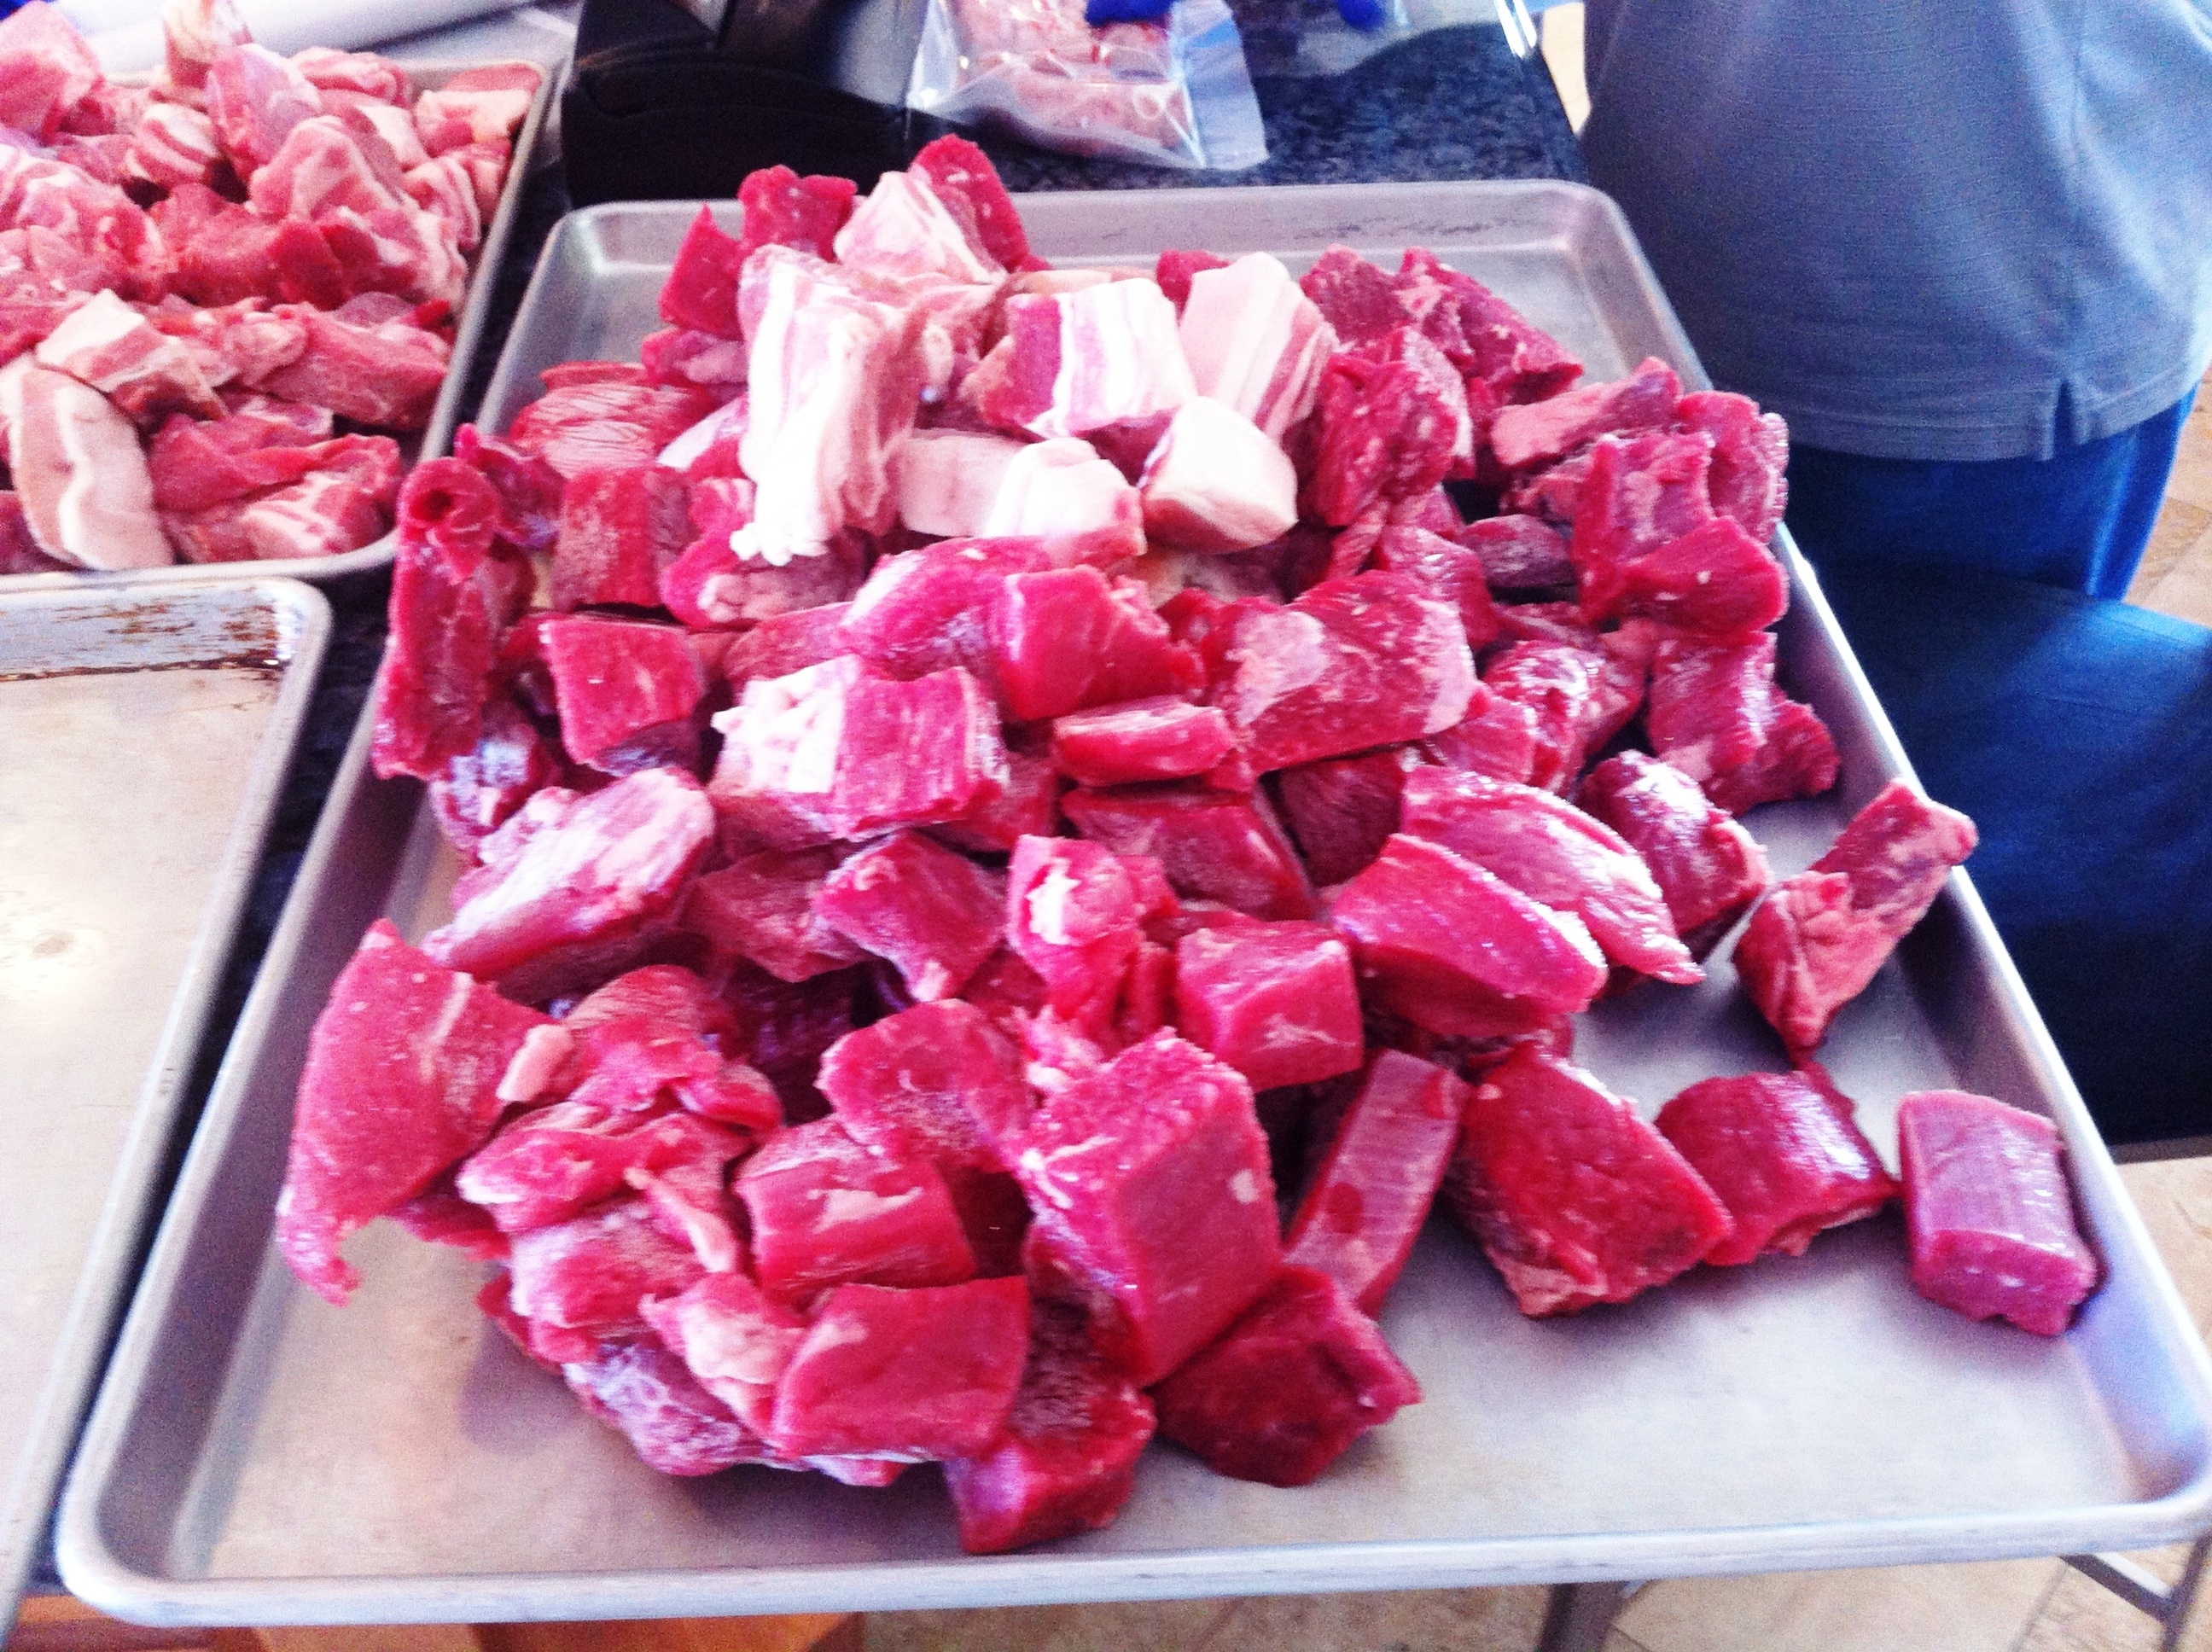
6 – Even More Meat
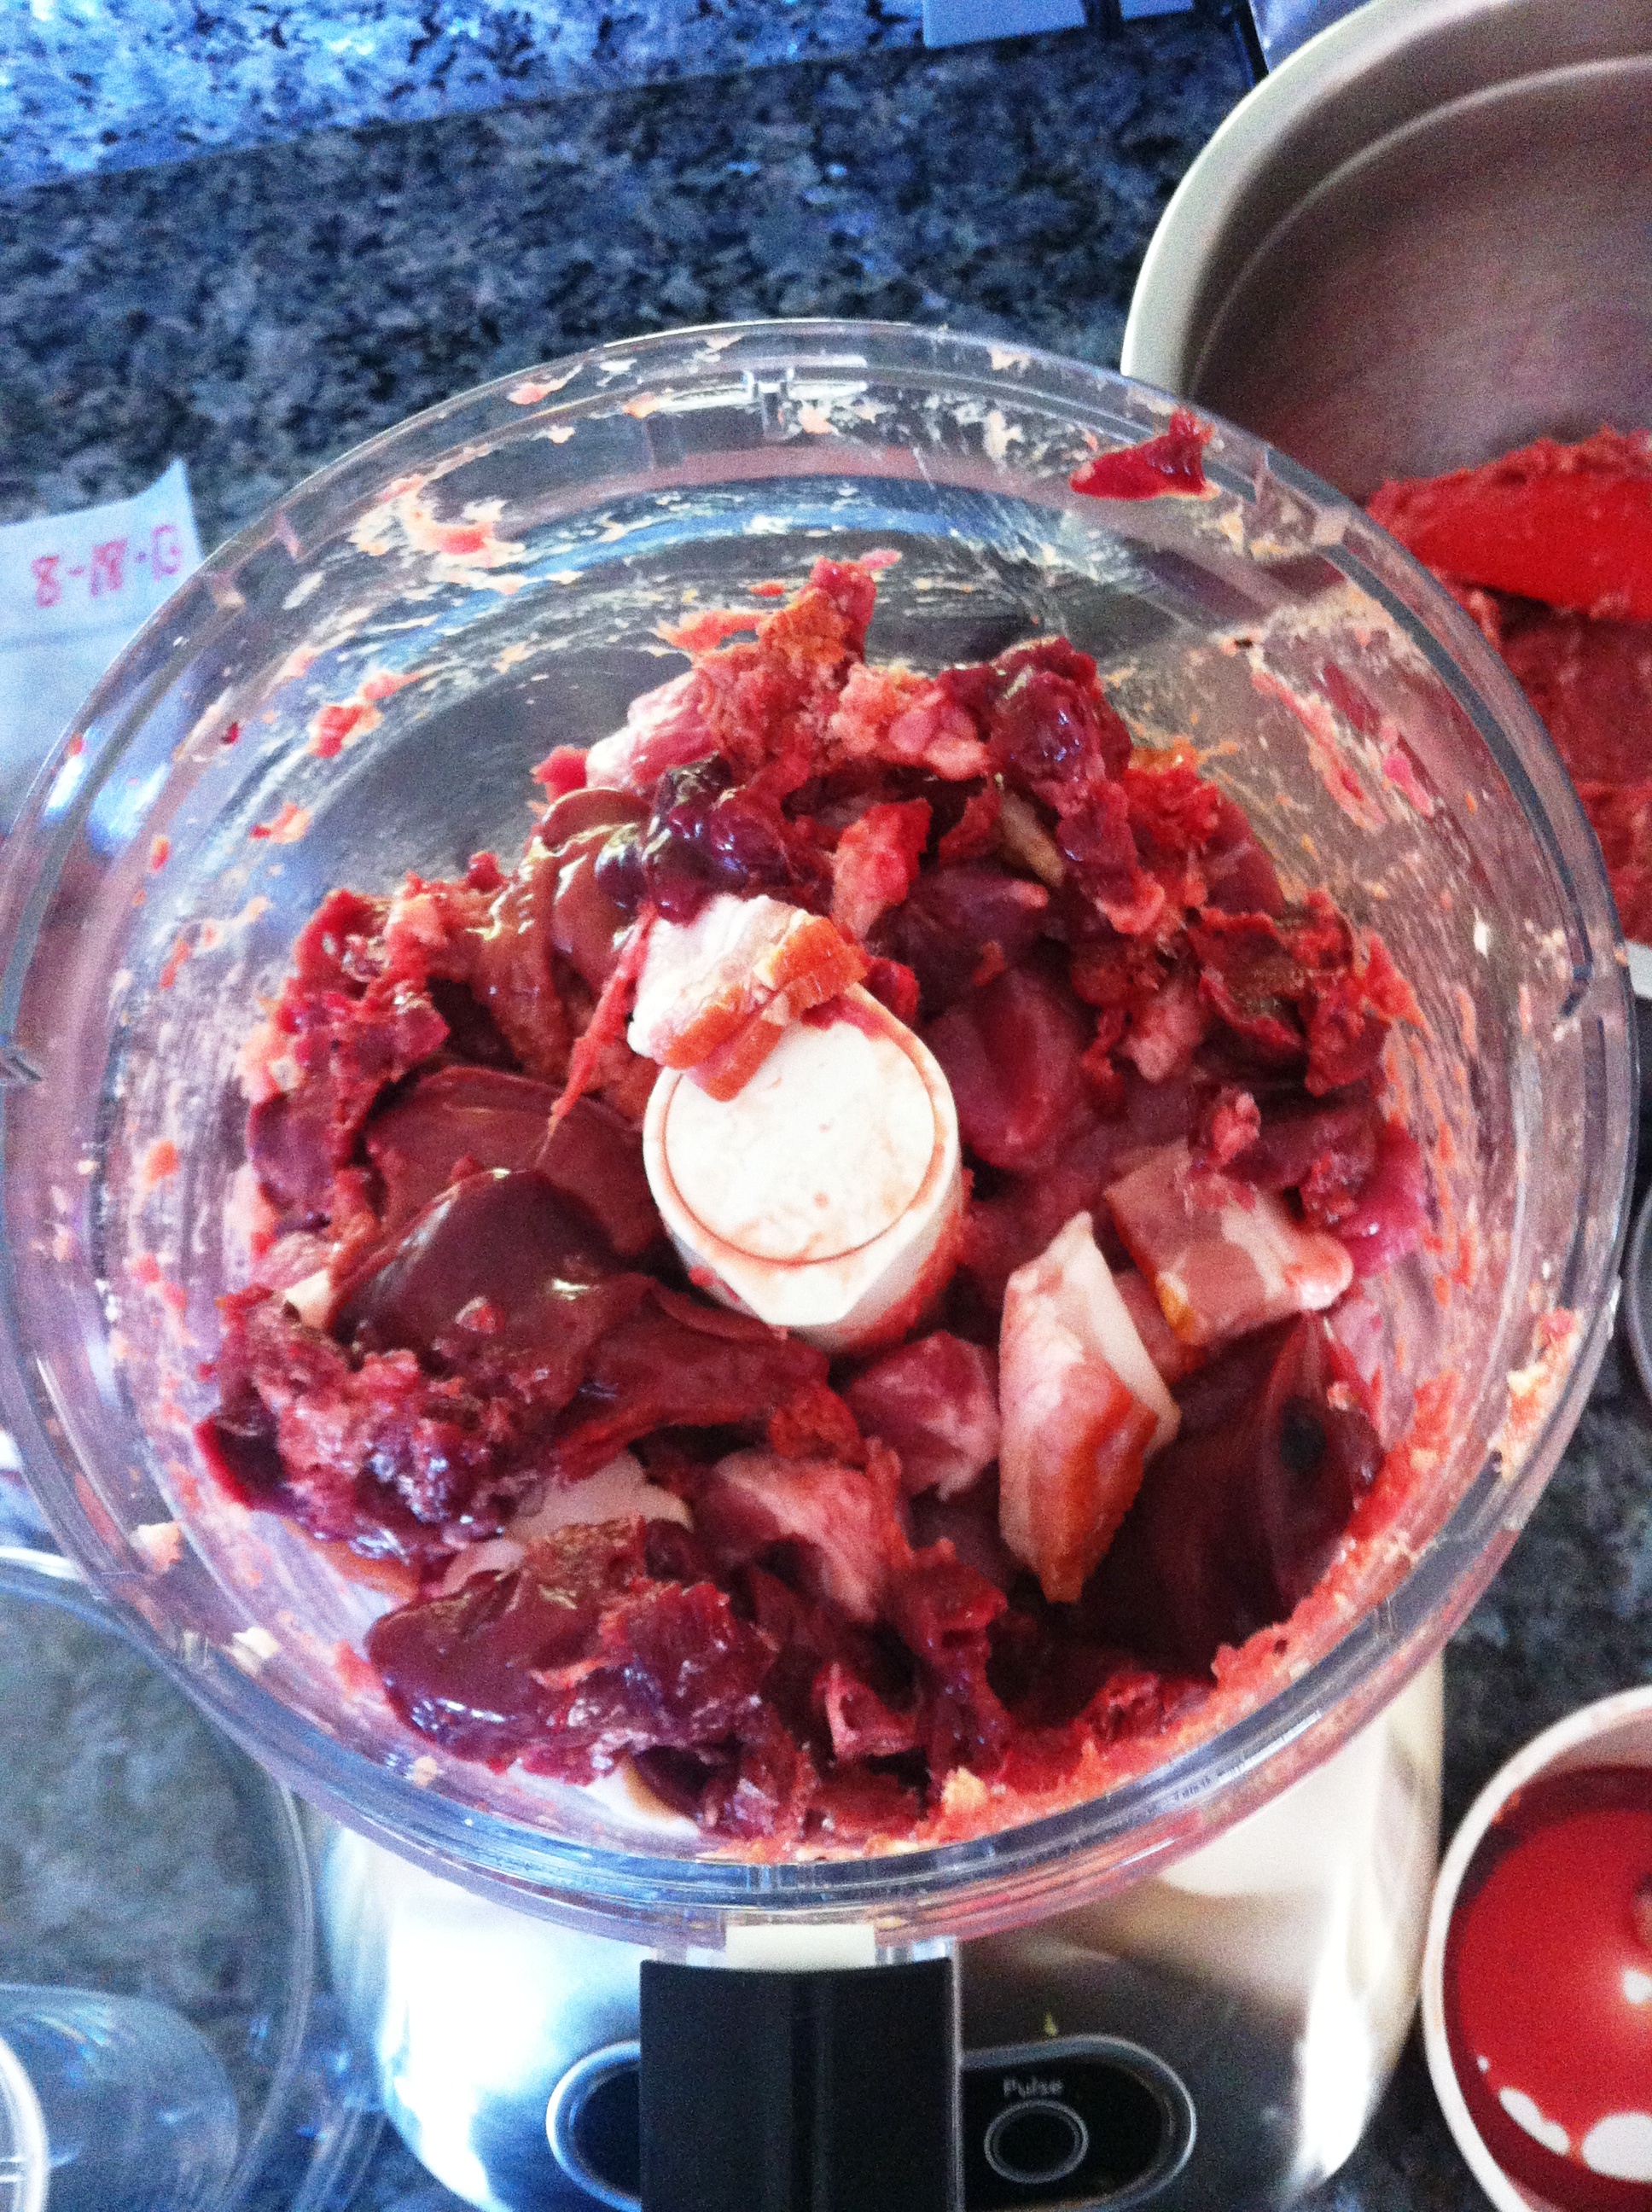
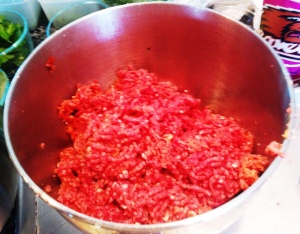
5 – More meat

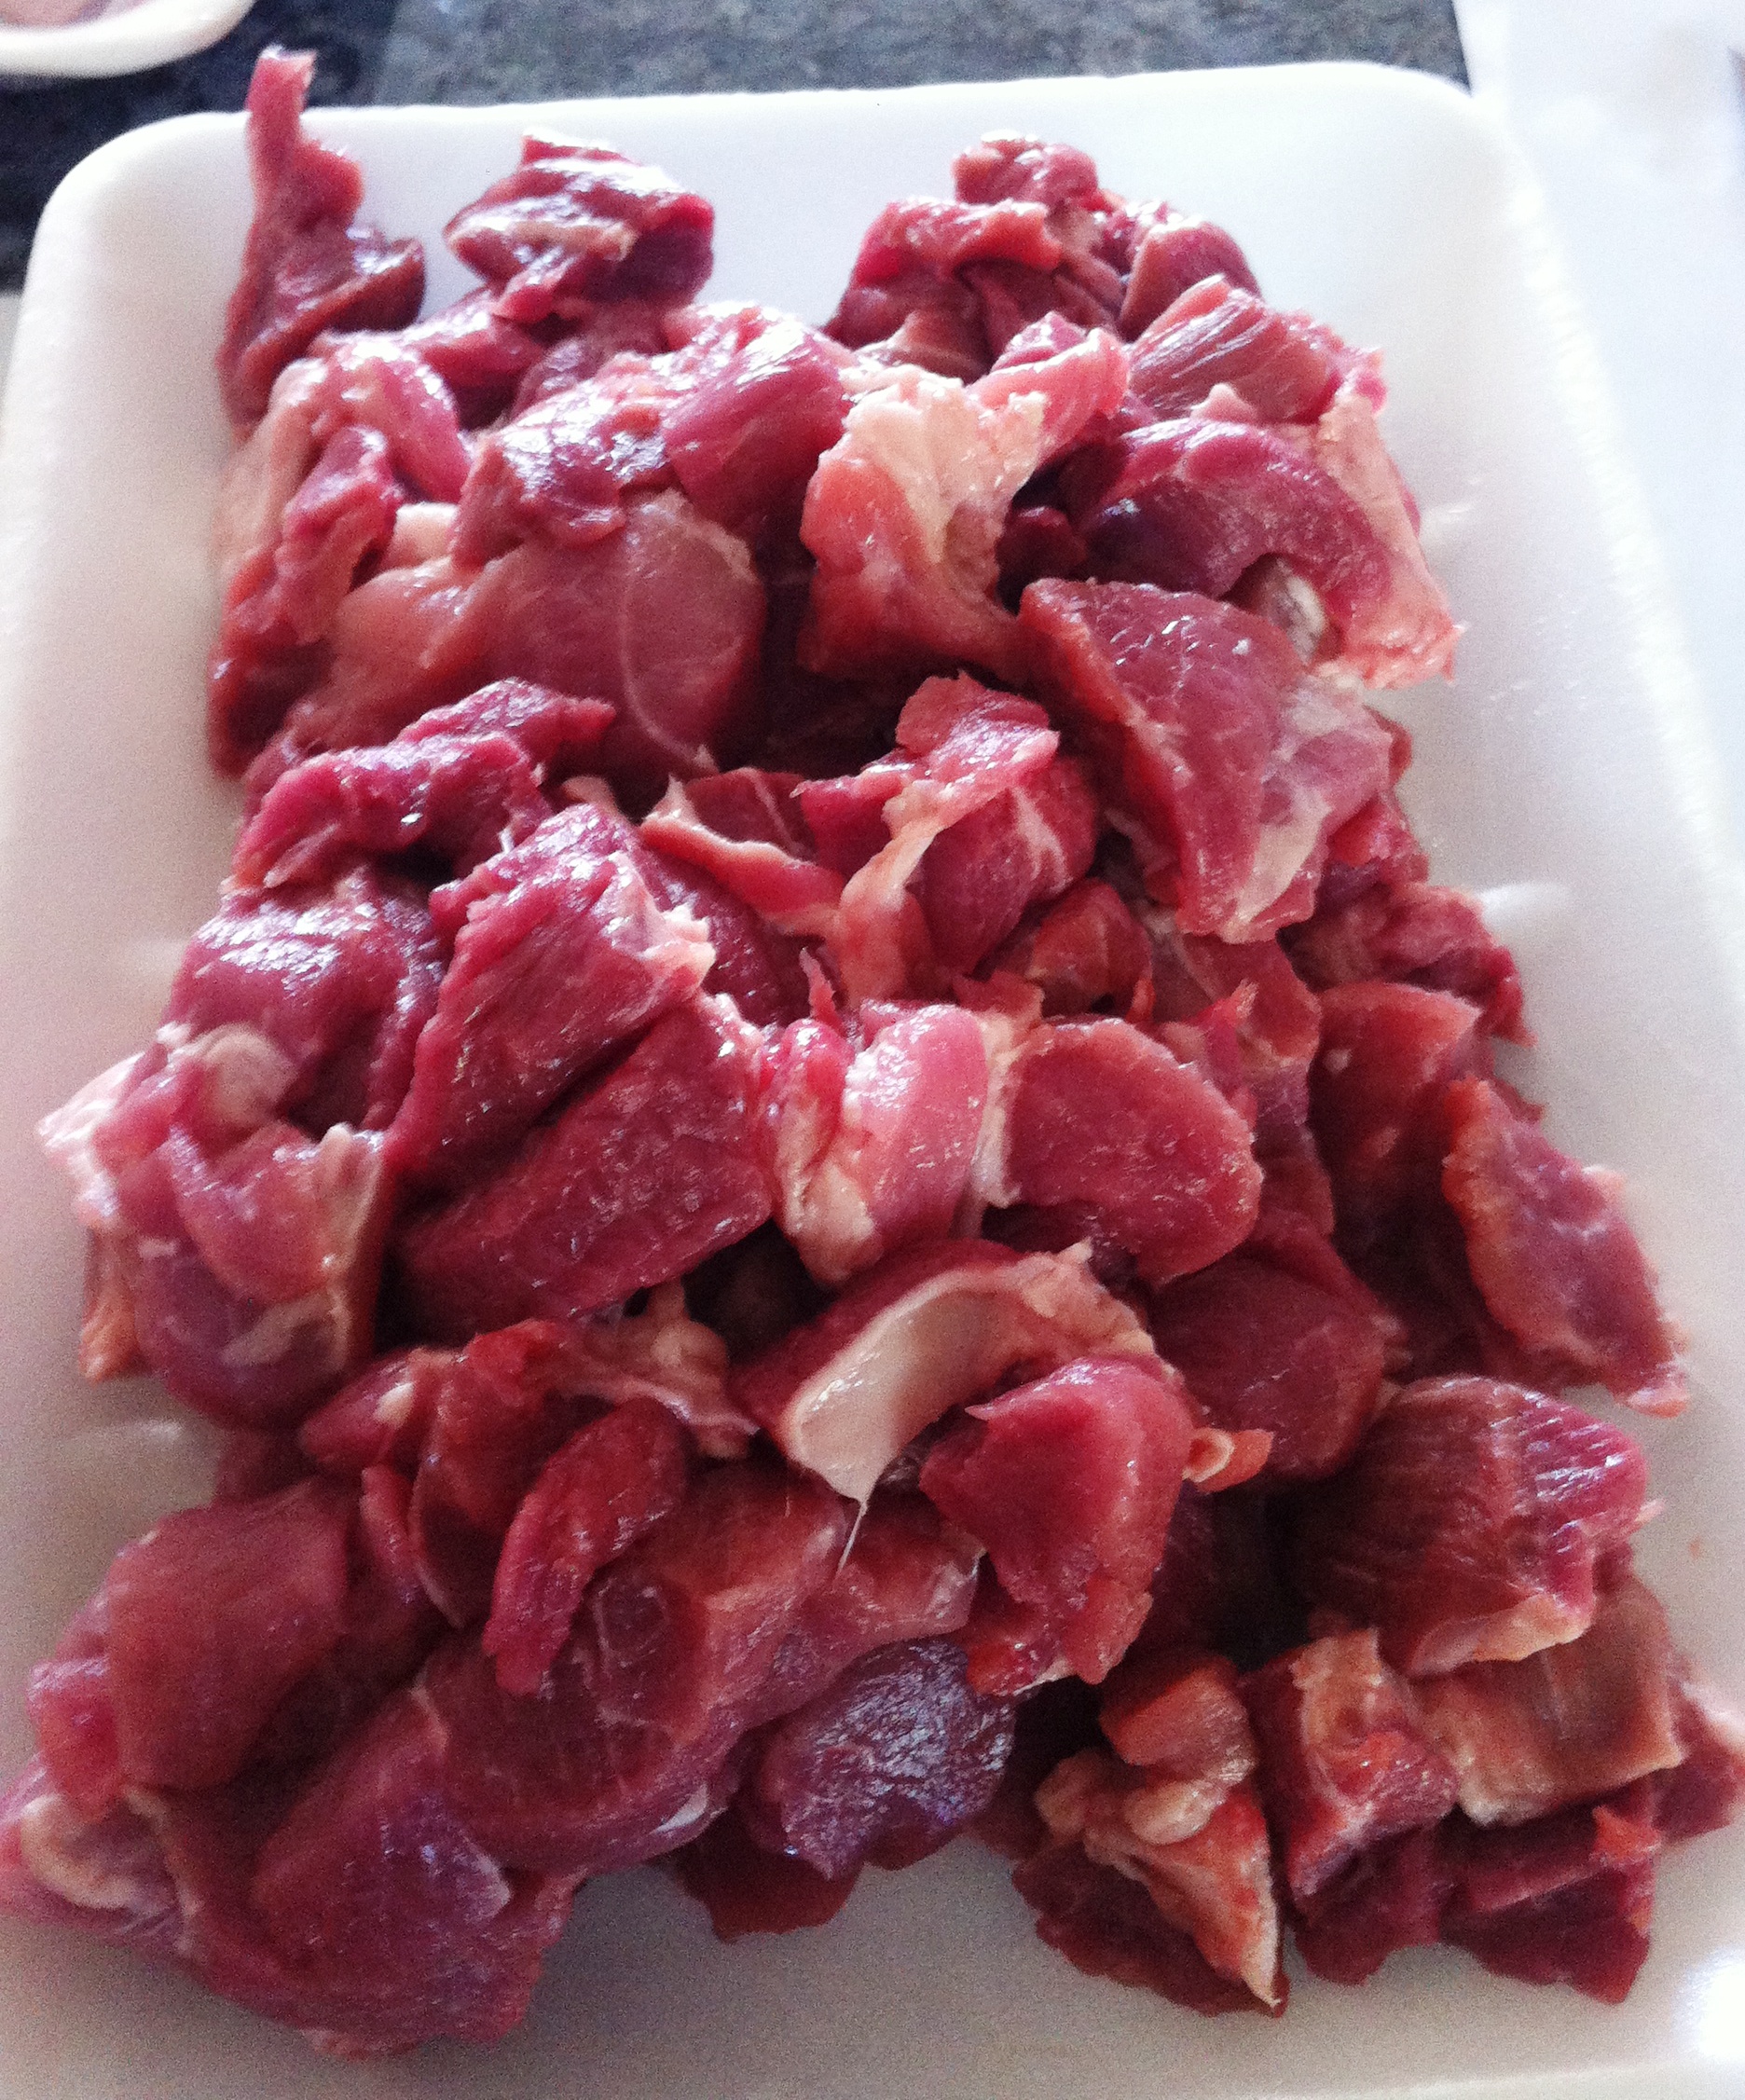
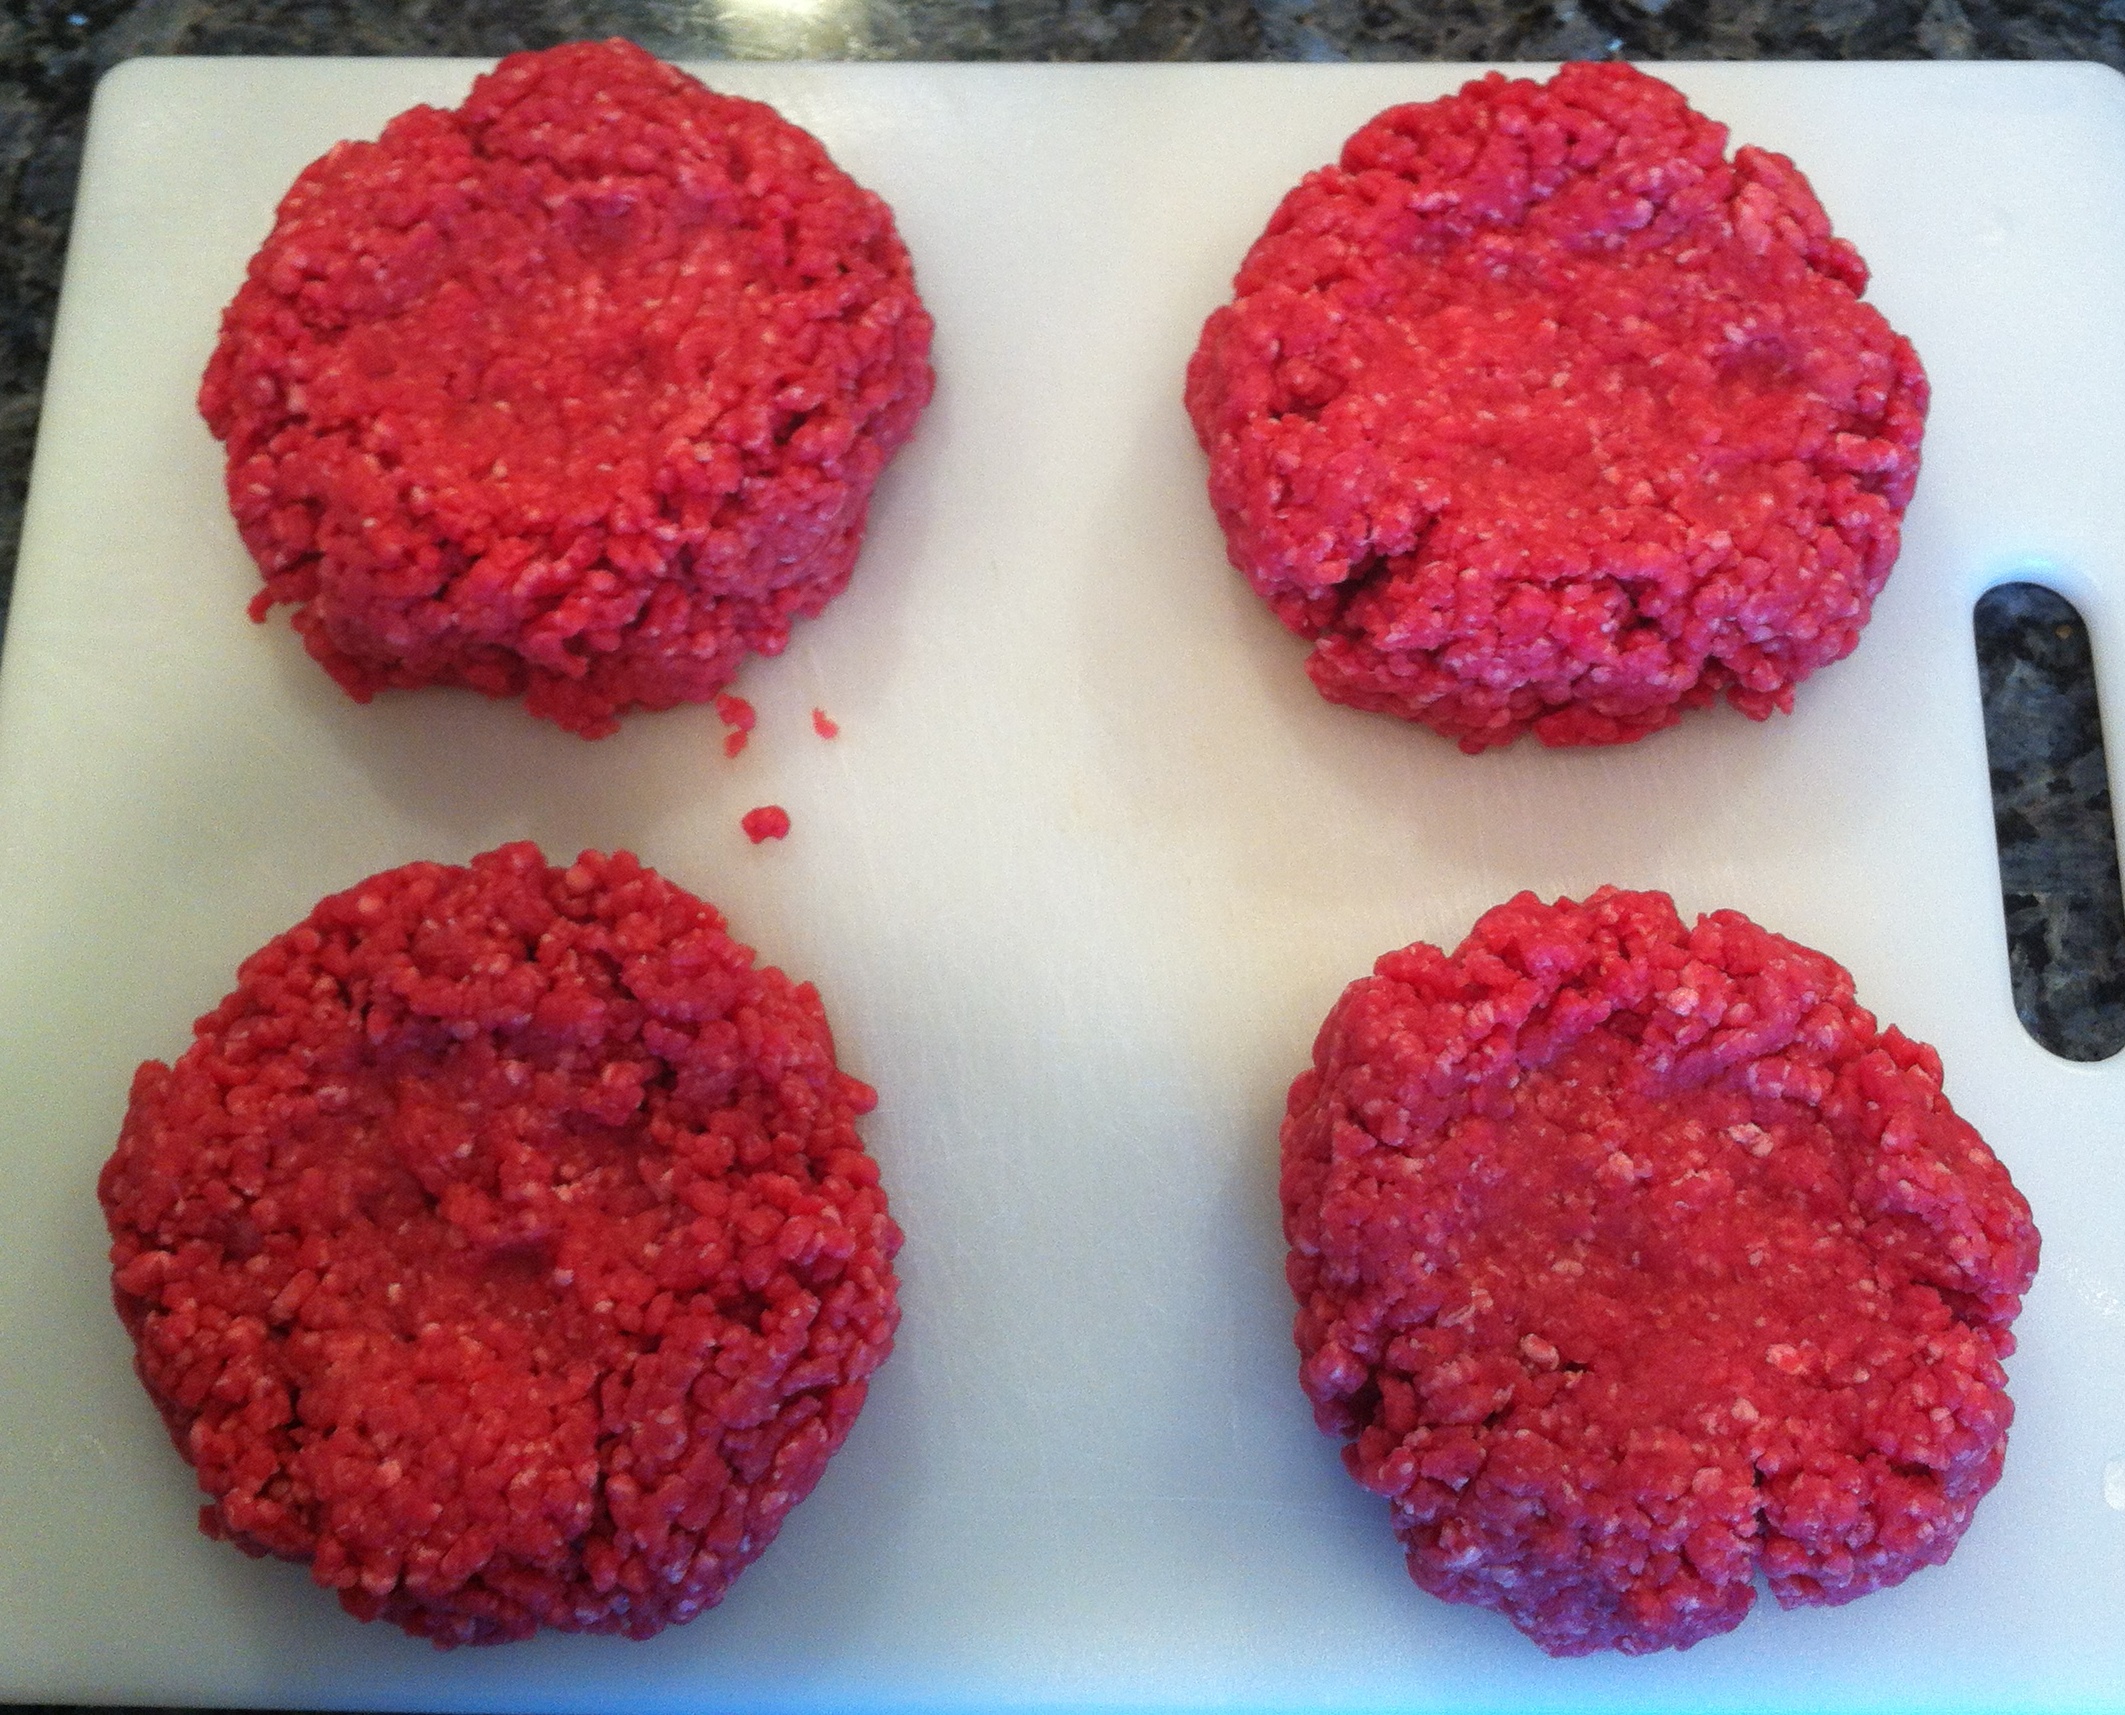
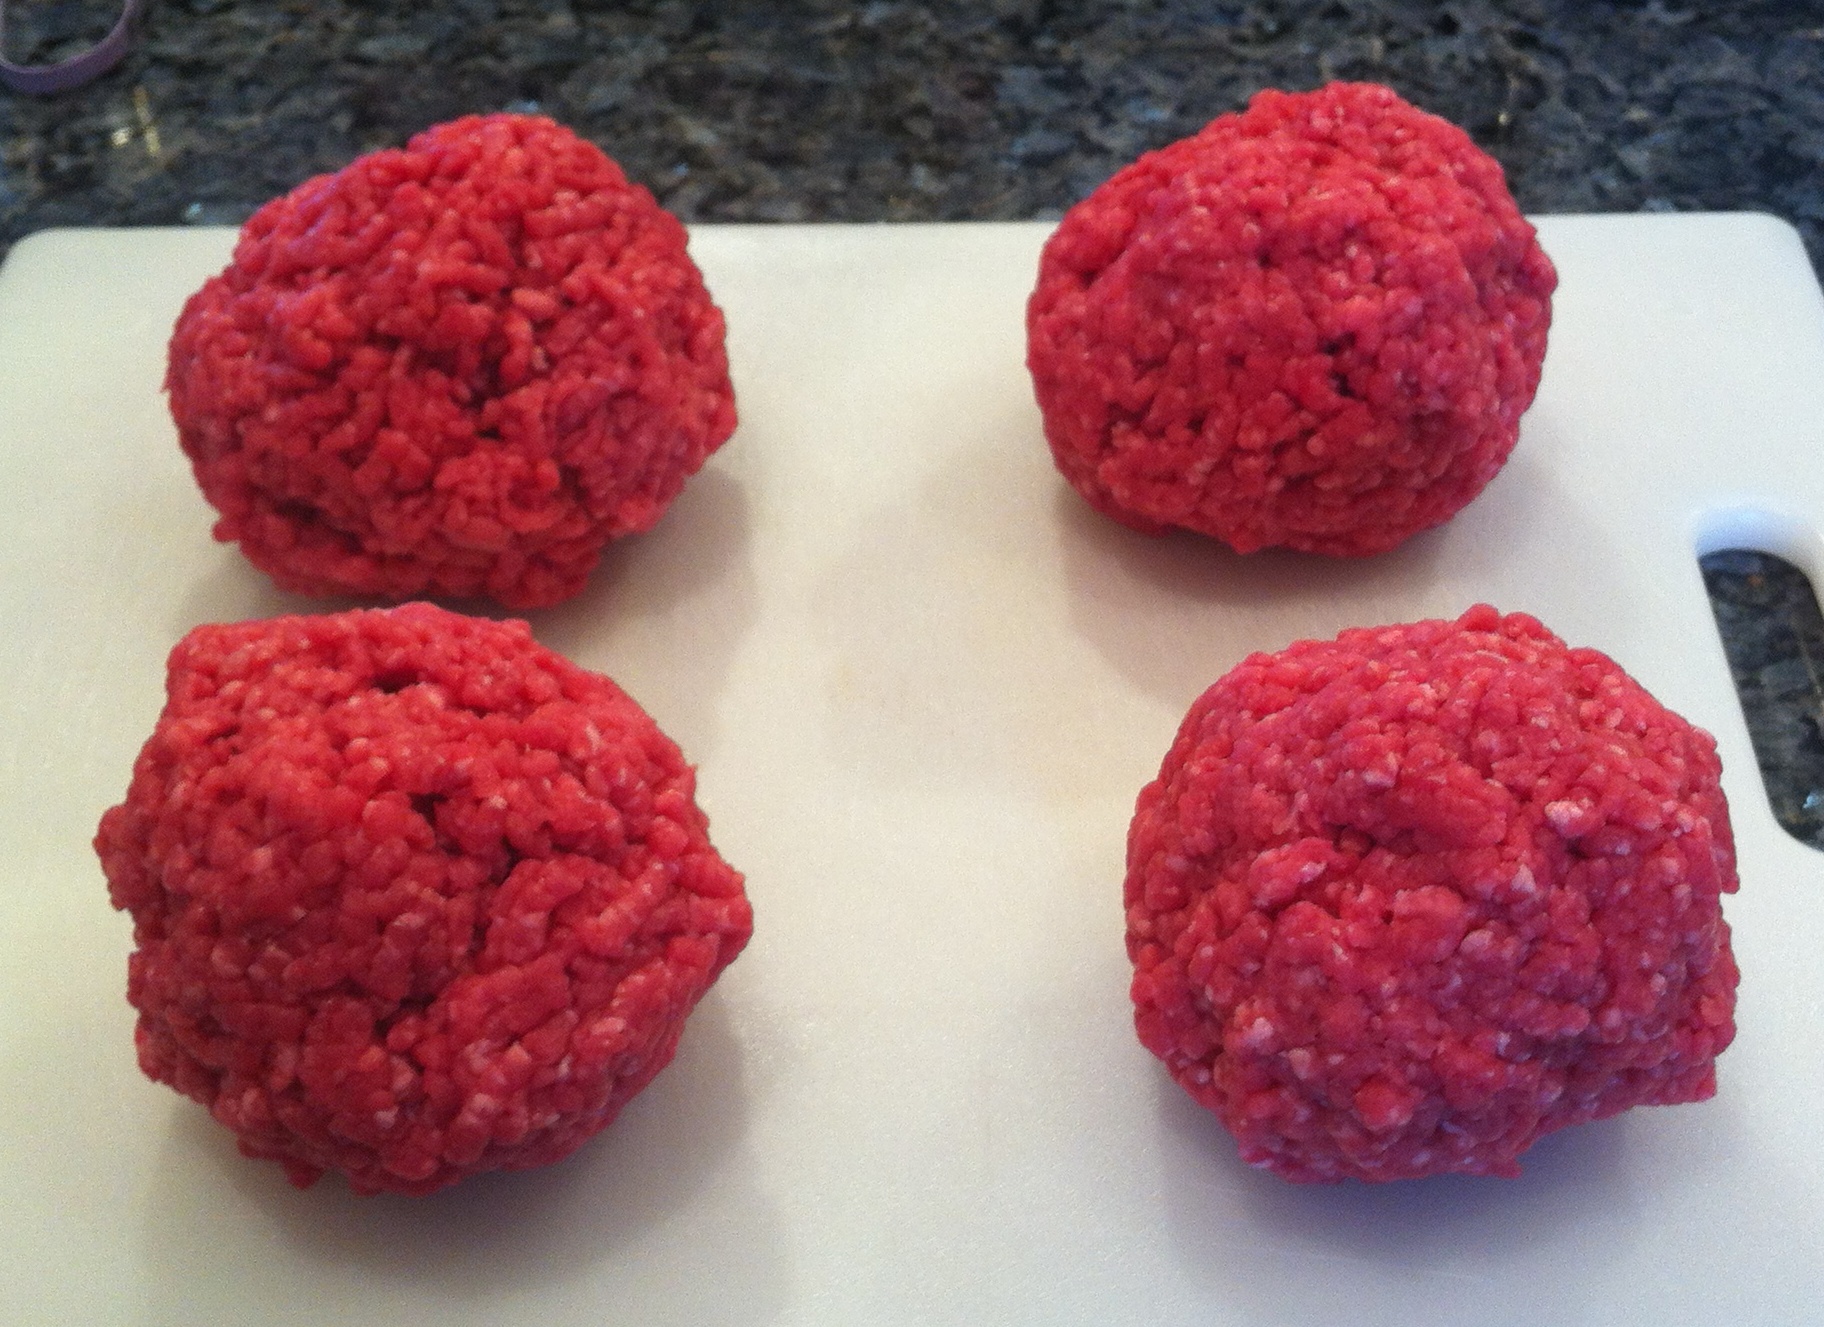
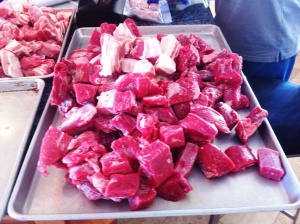
4 – the meat
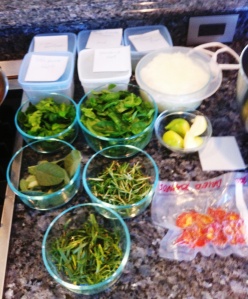
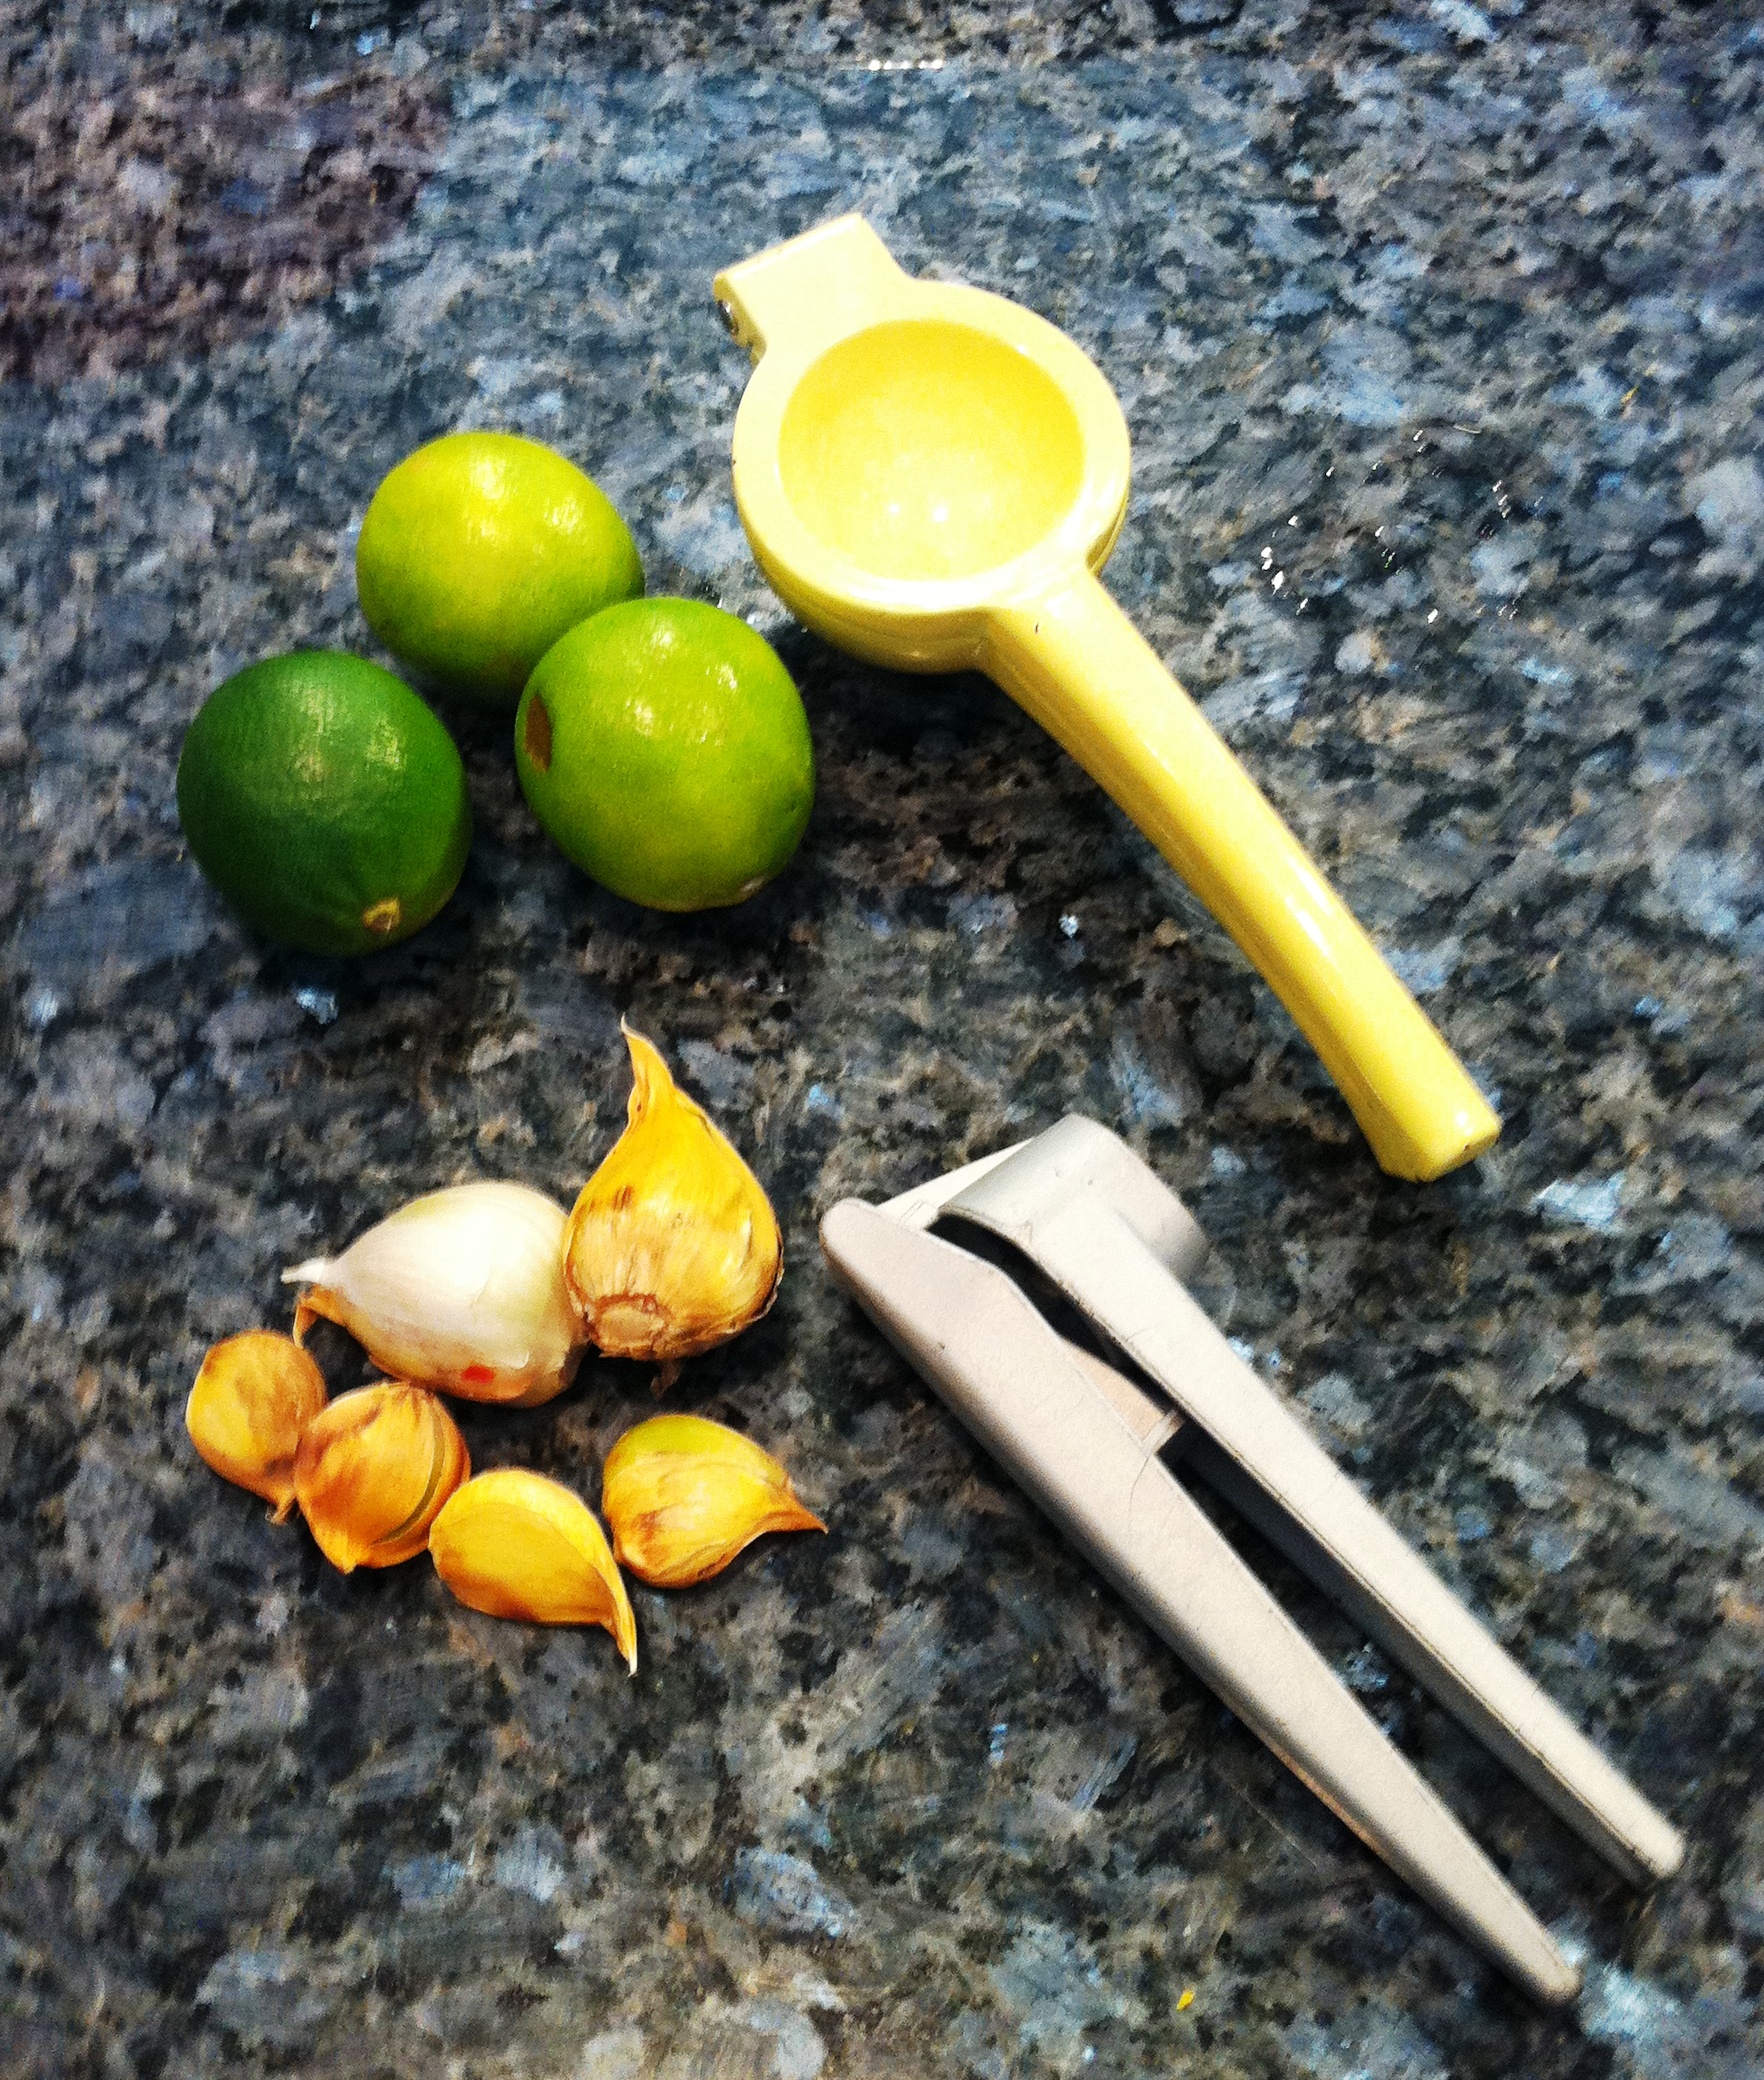
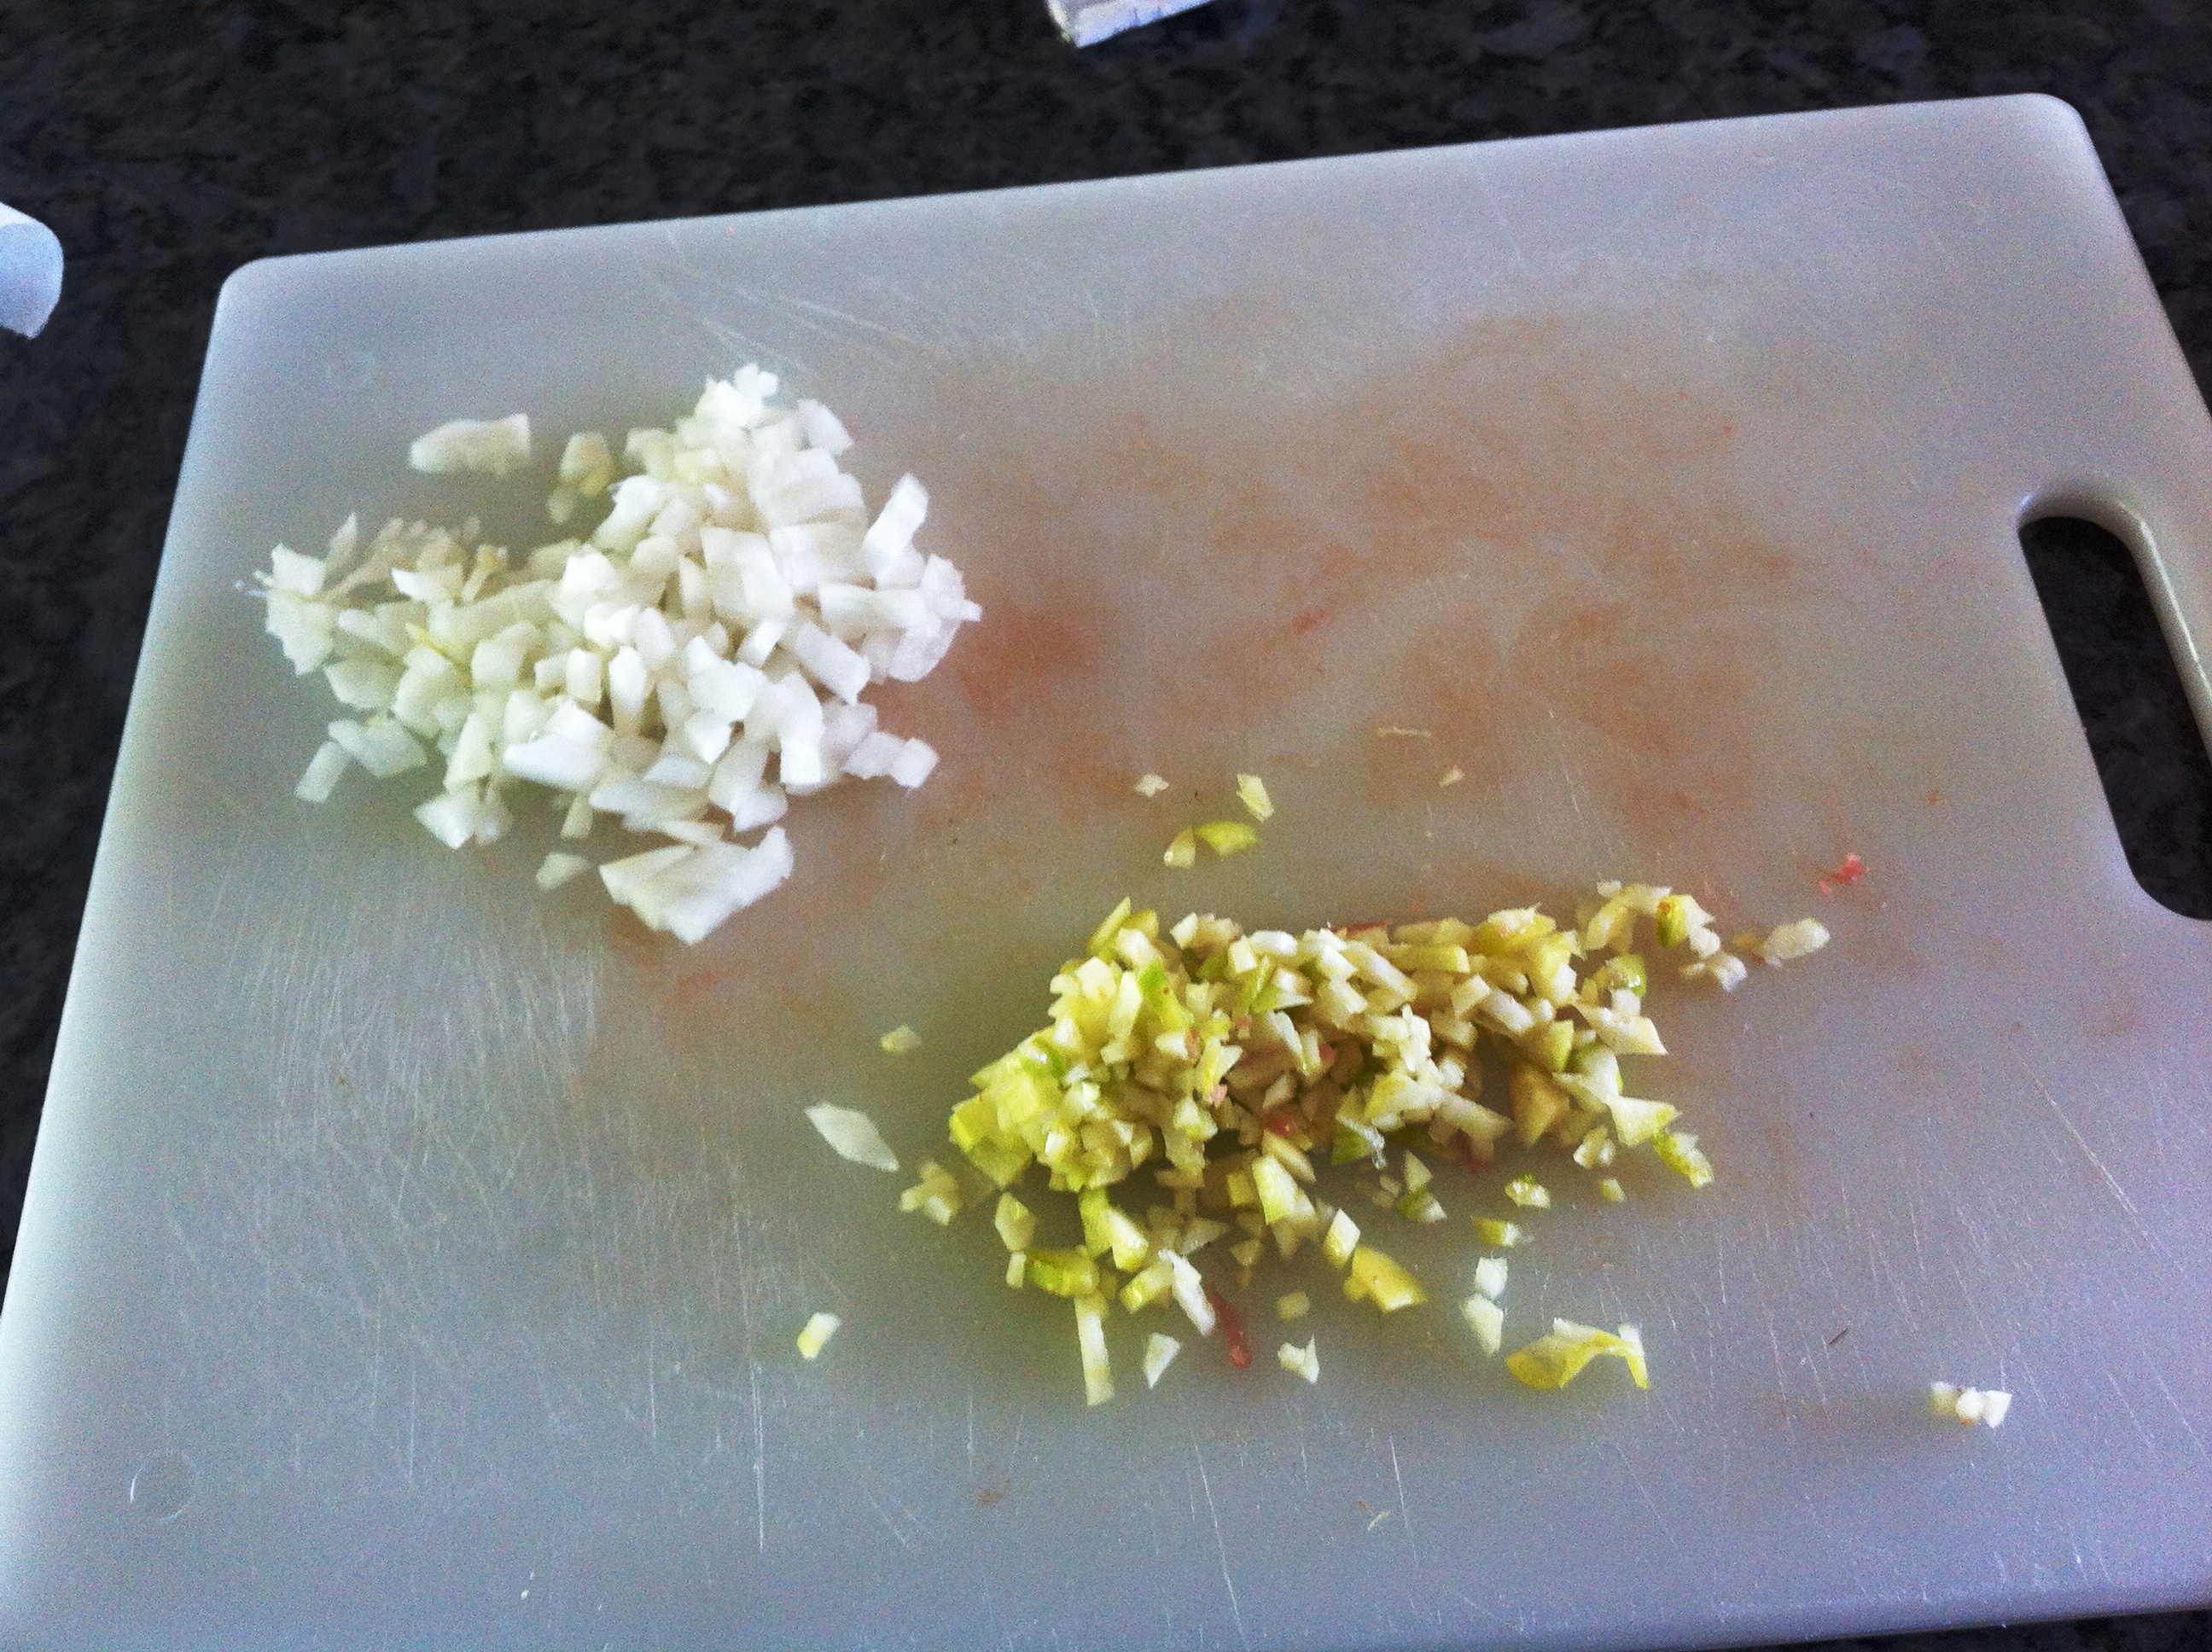
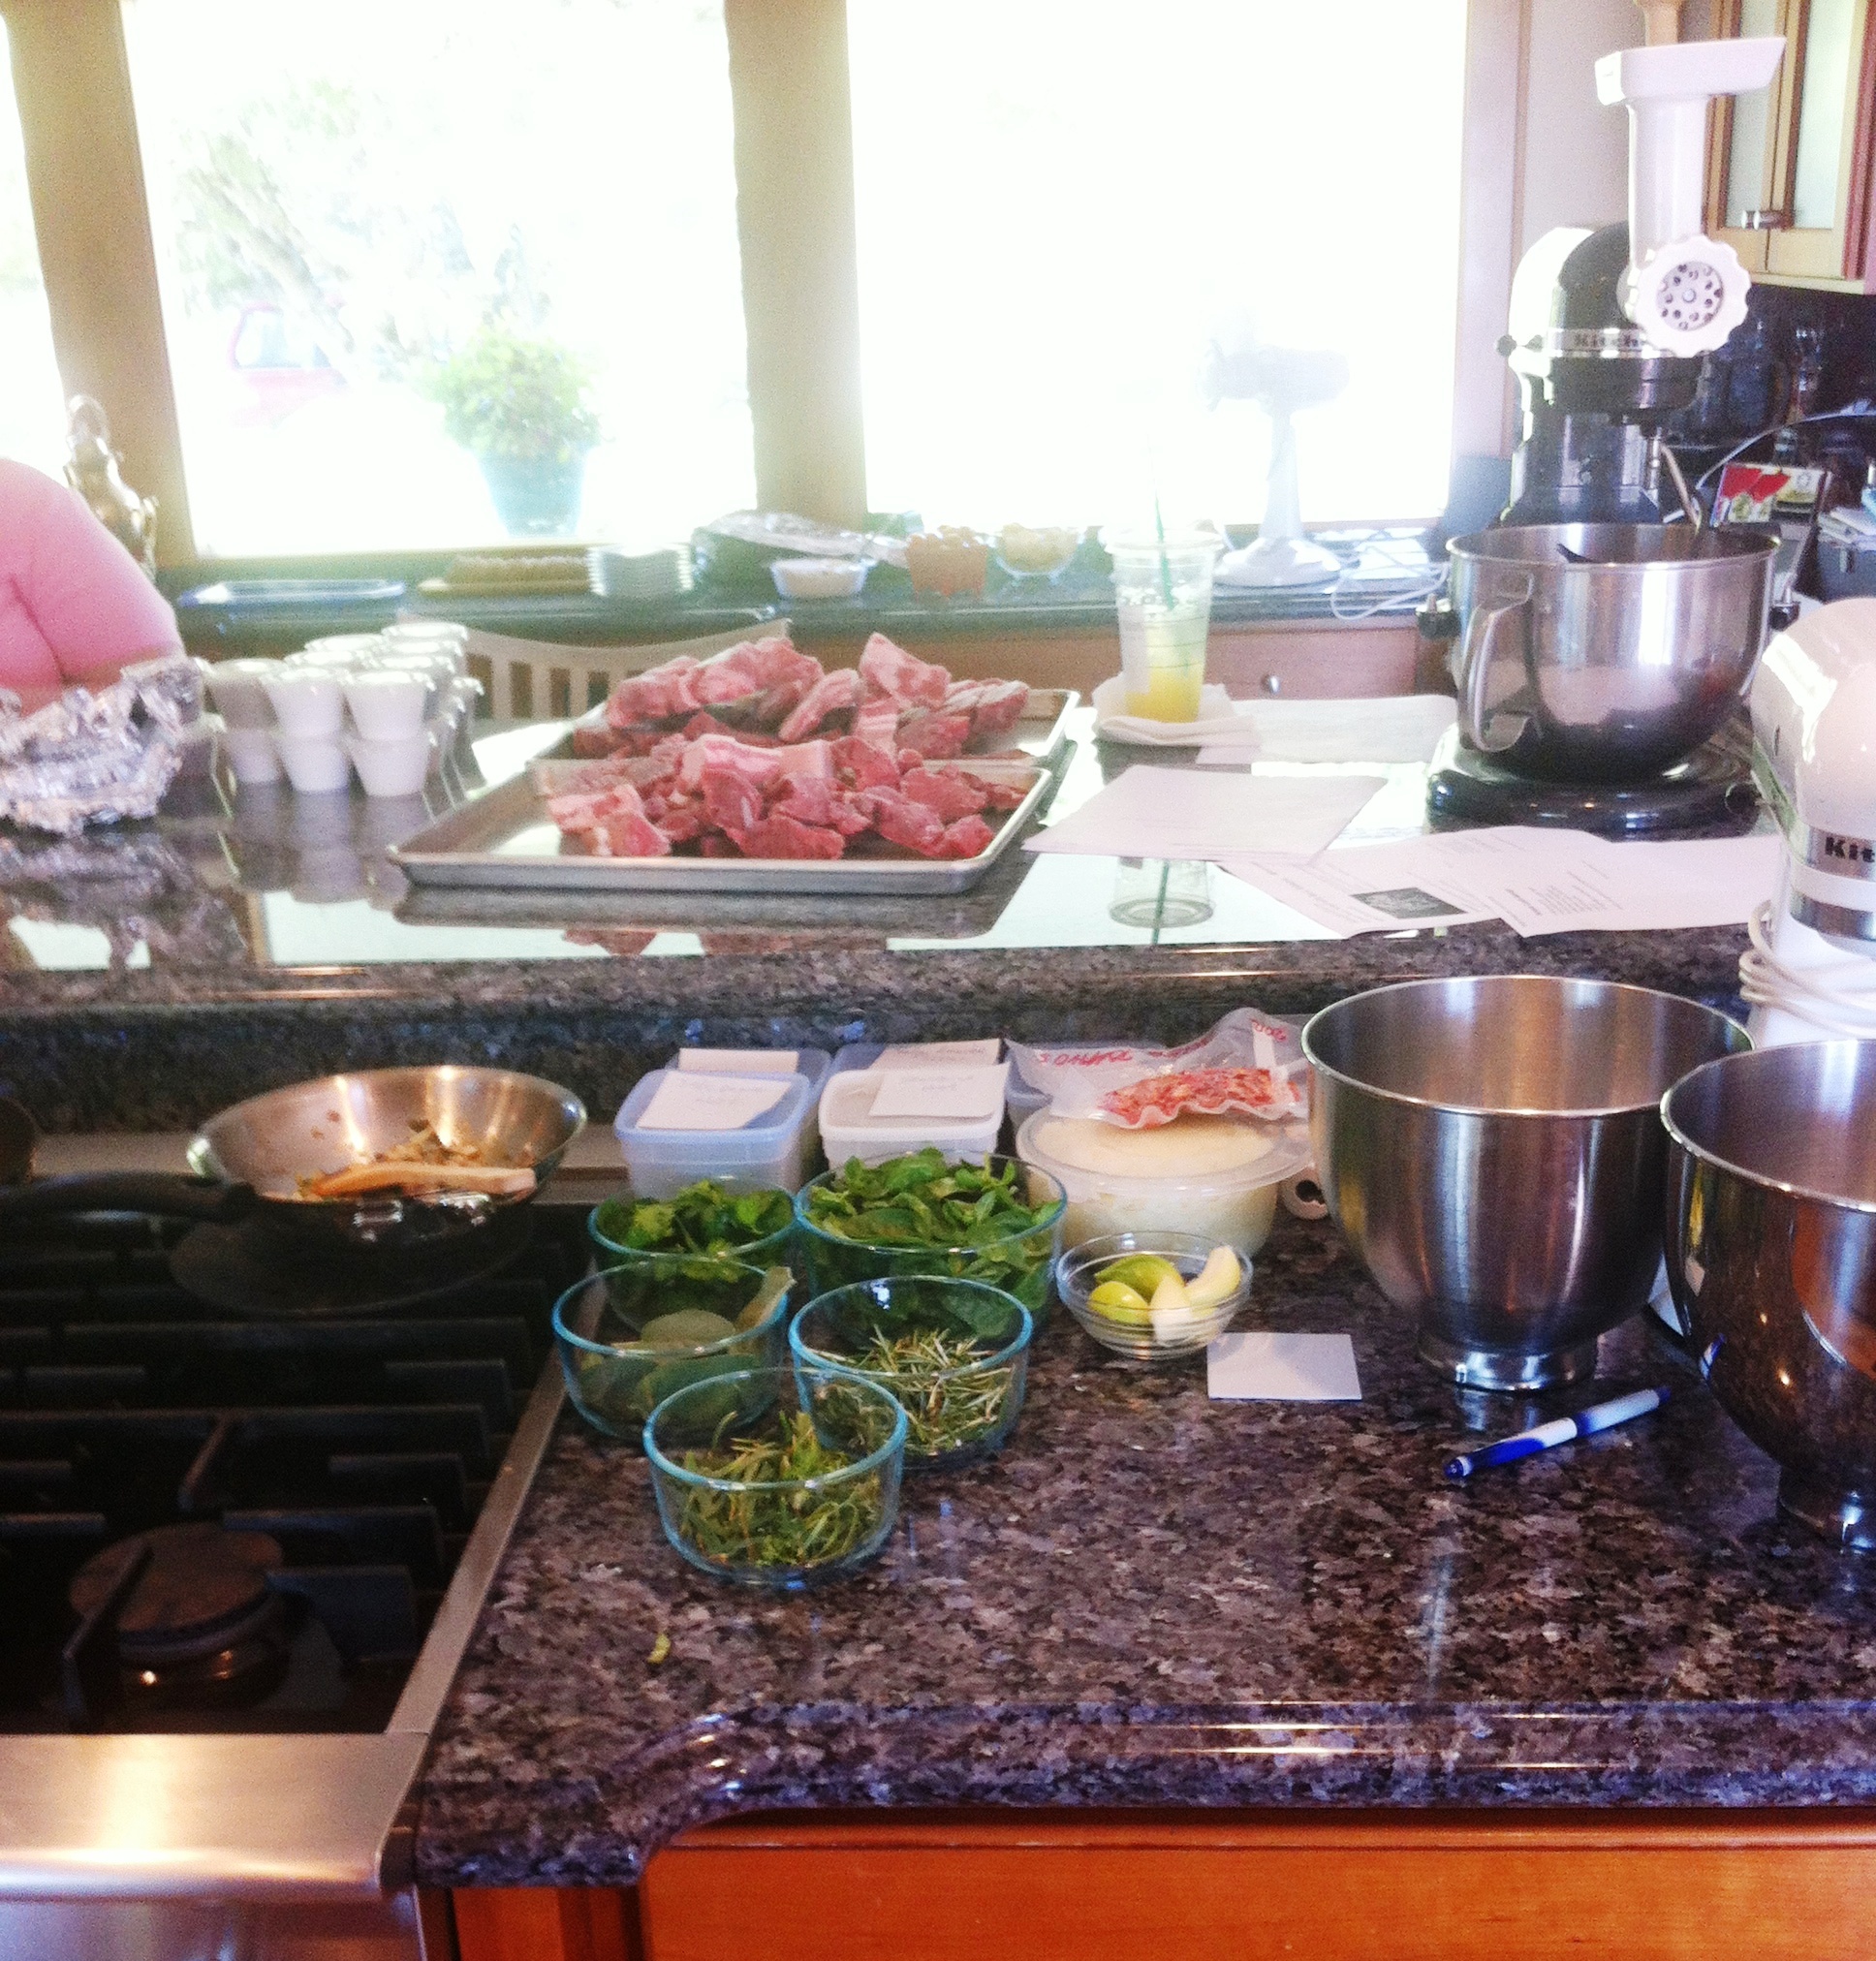
3 – the ingredients

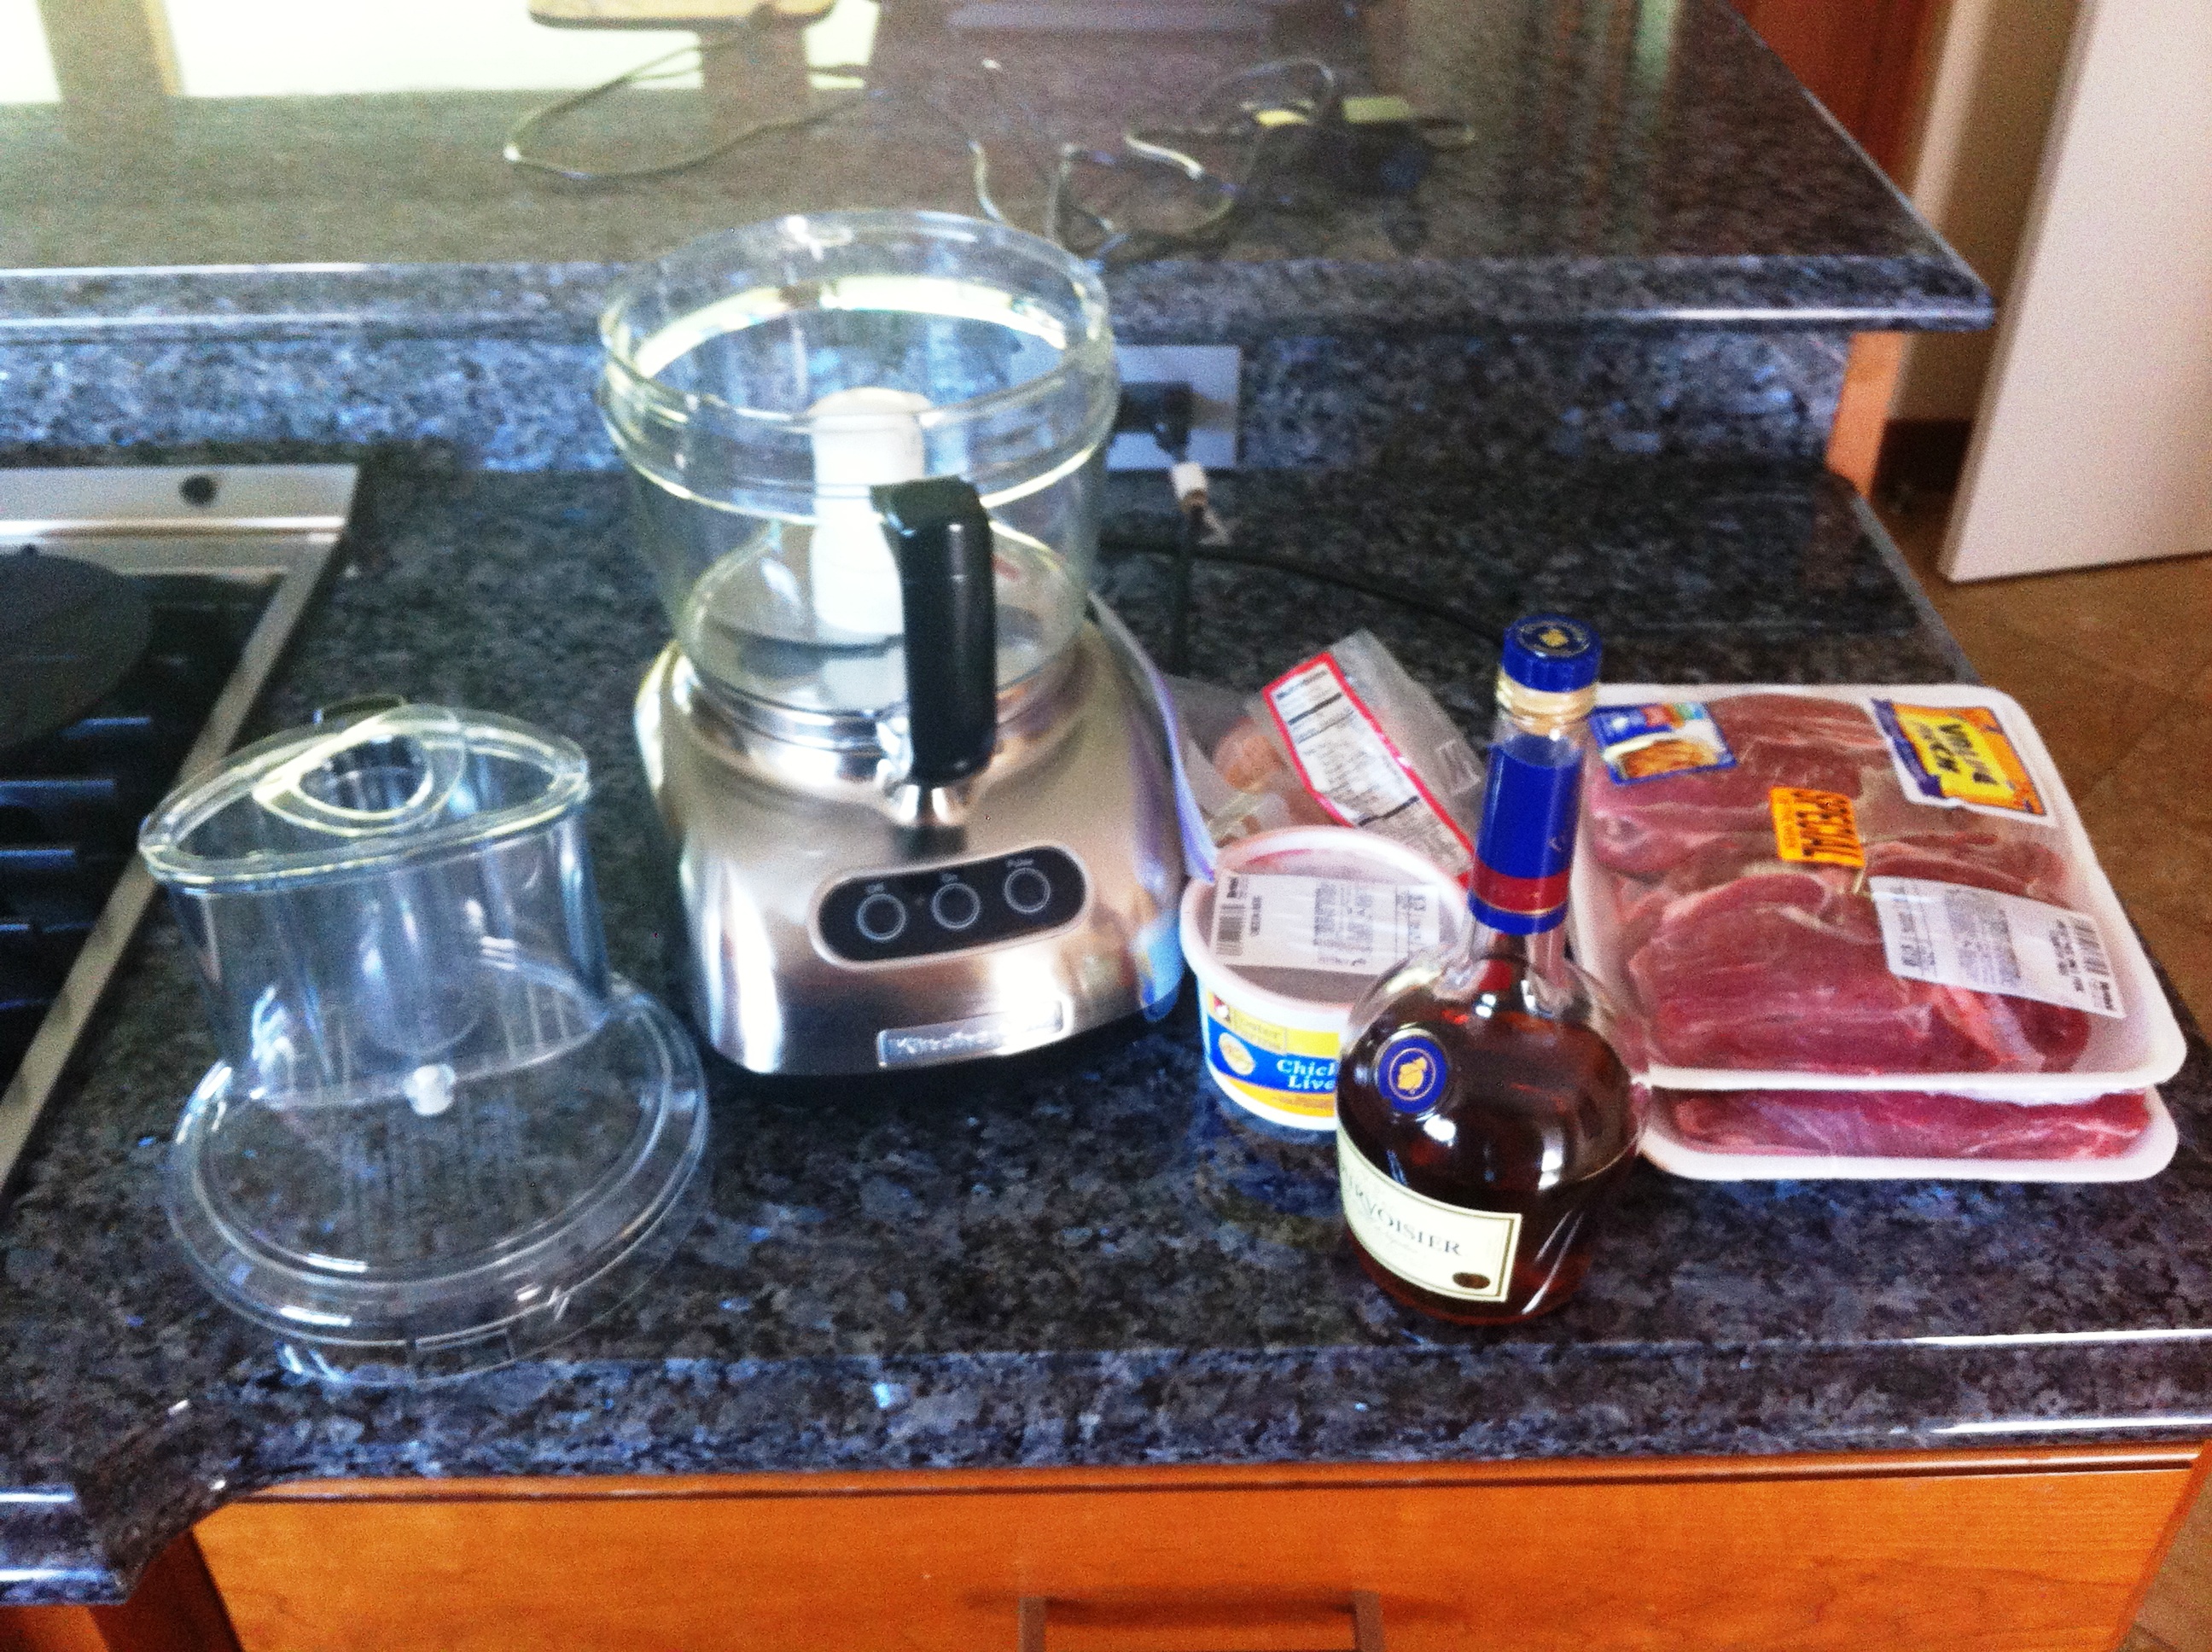
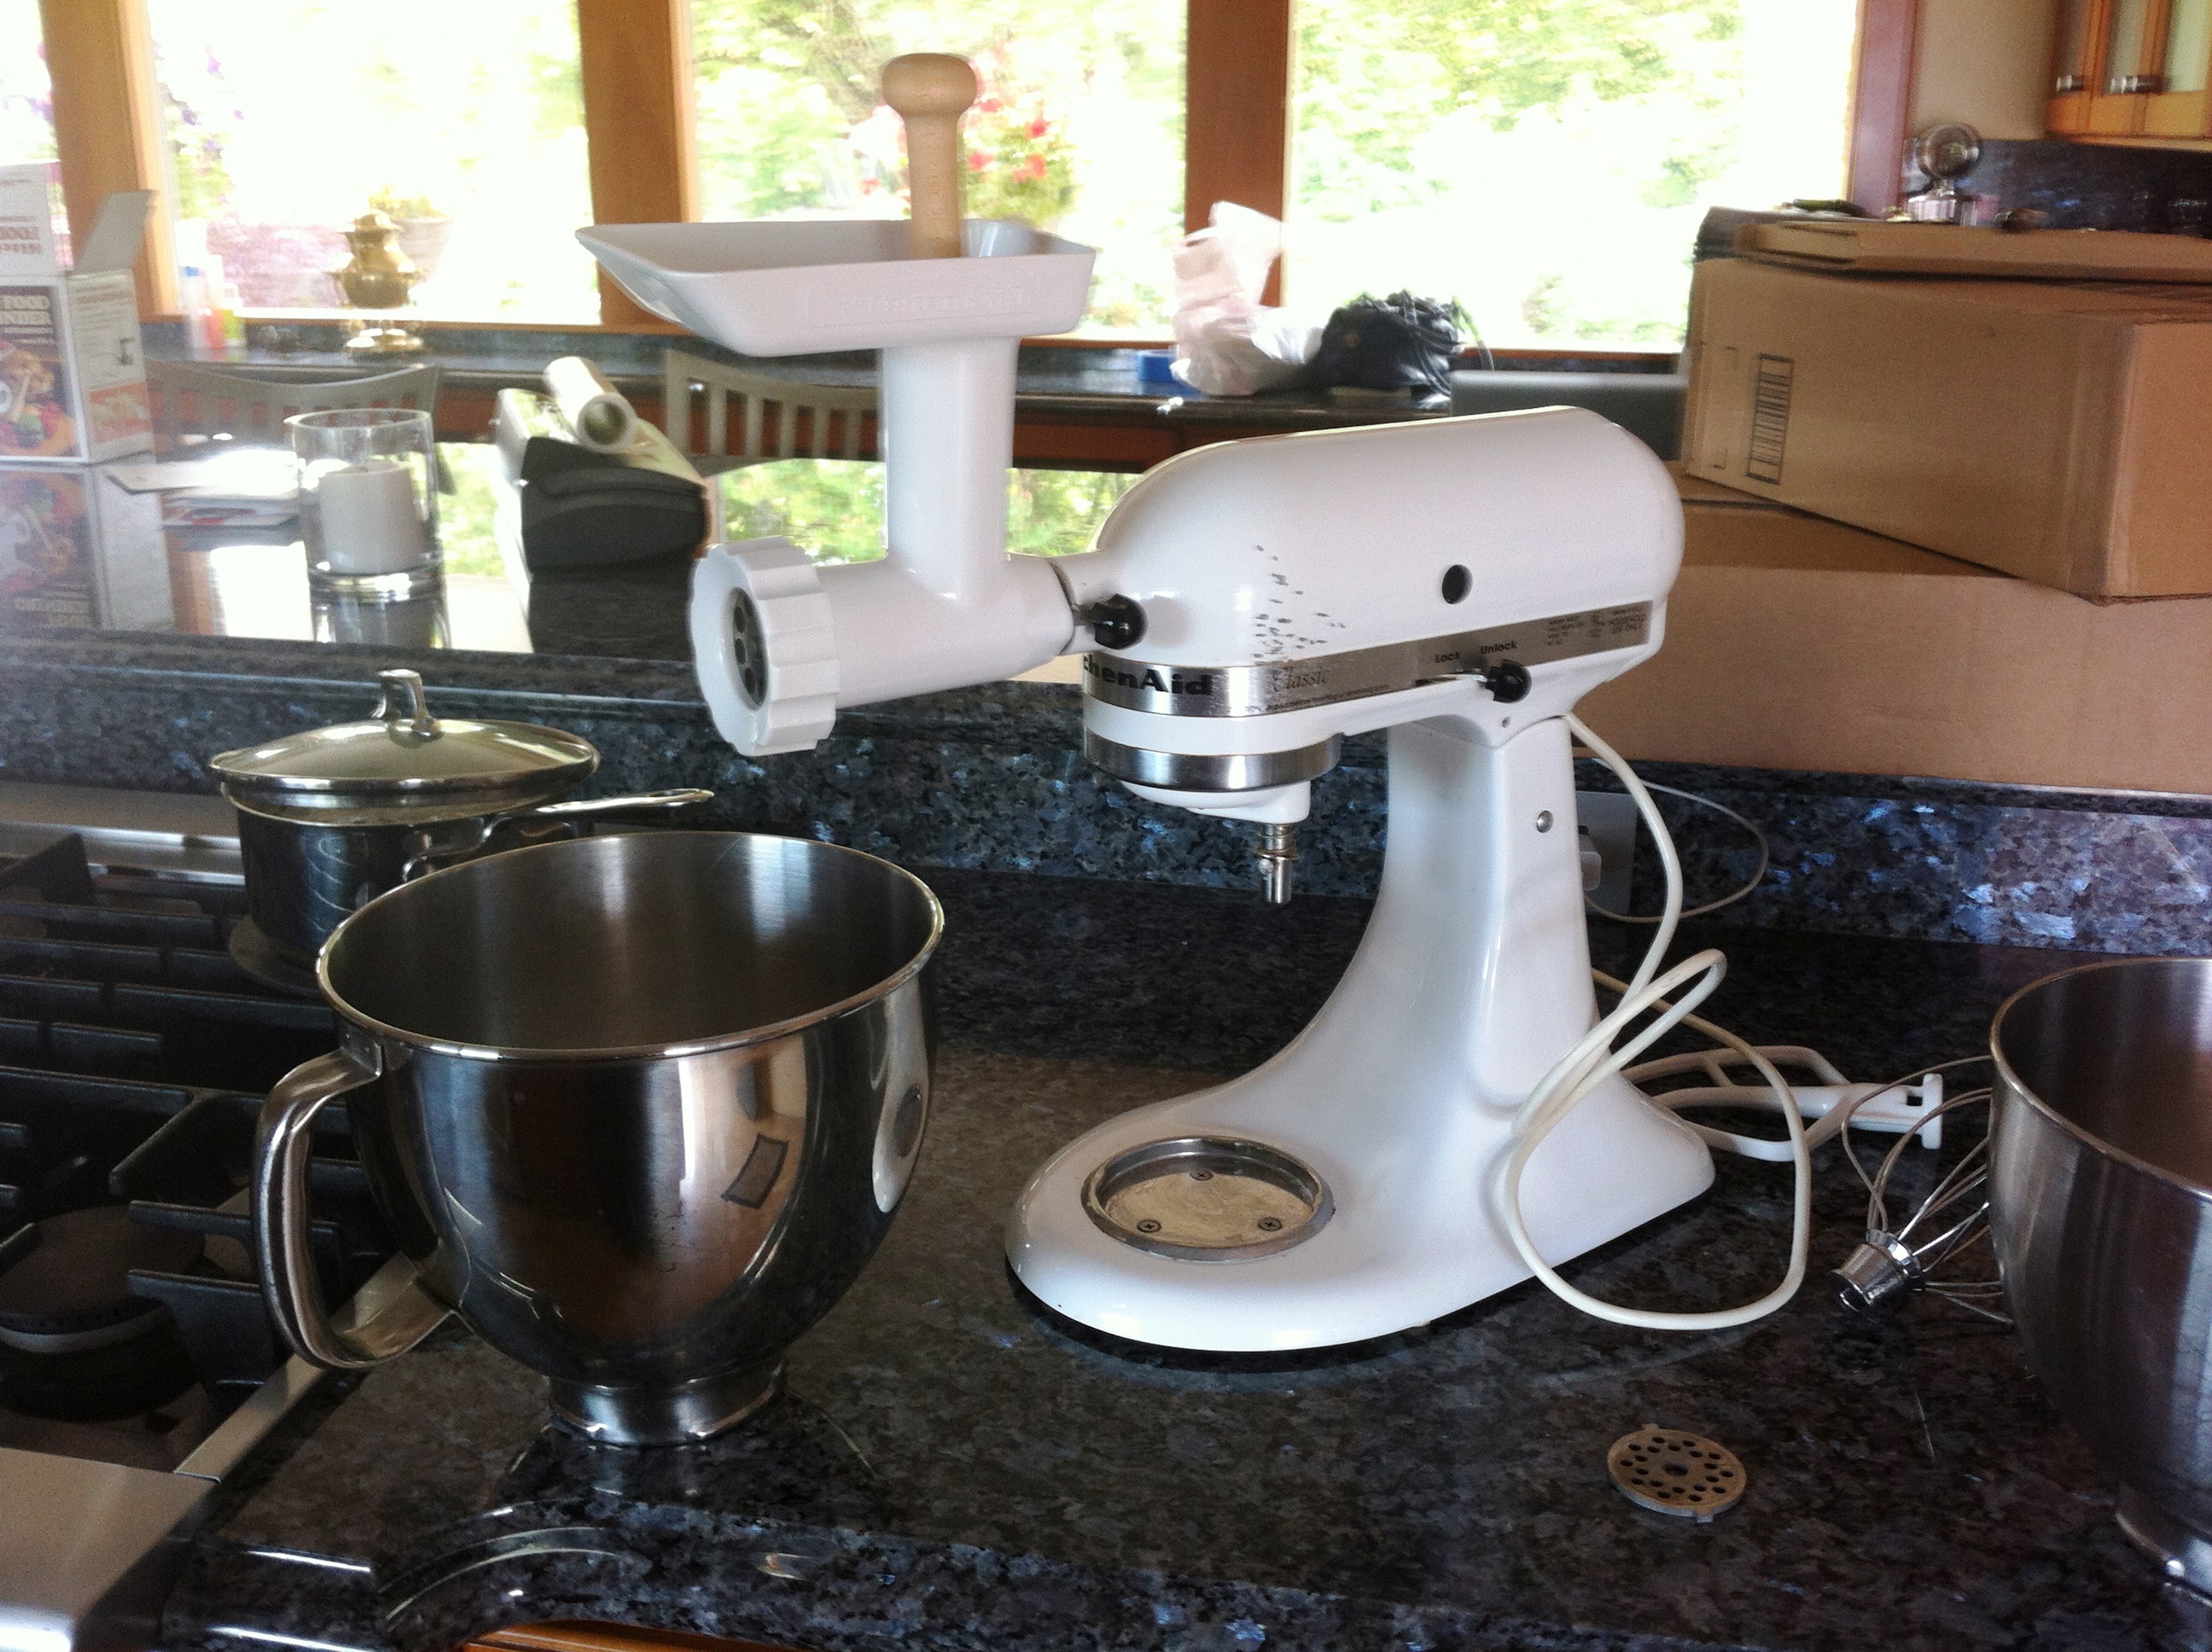
2 – the Kitchen Aide ready to go

1 – The stuffer attachment

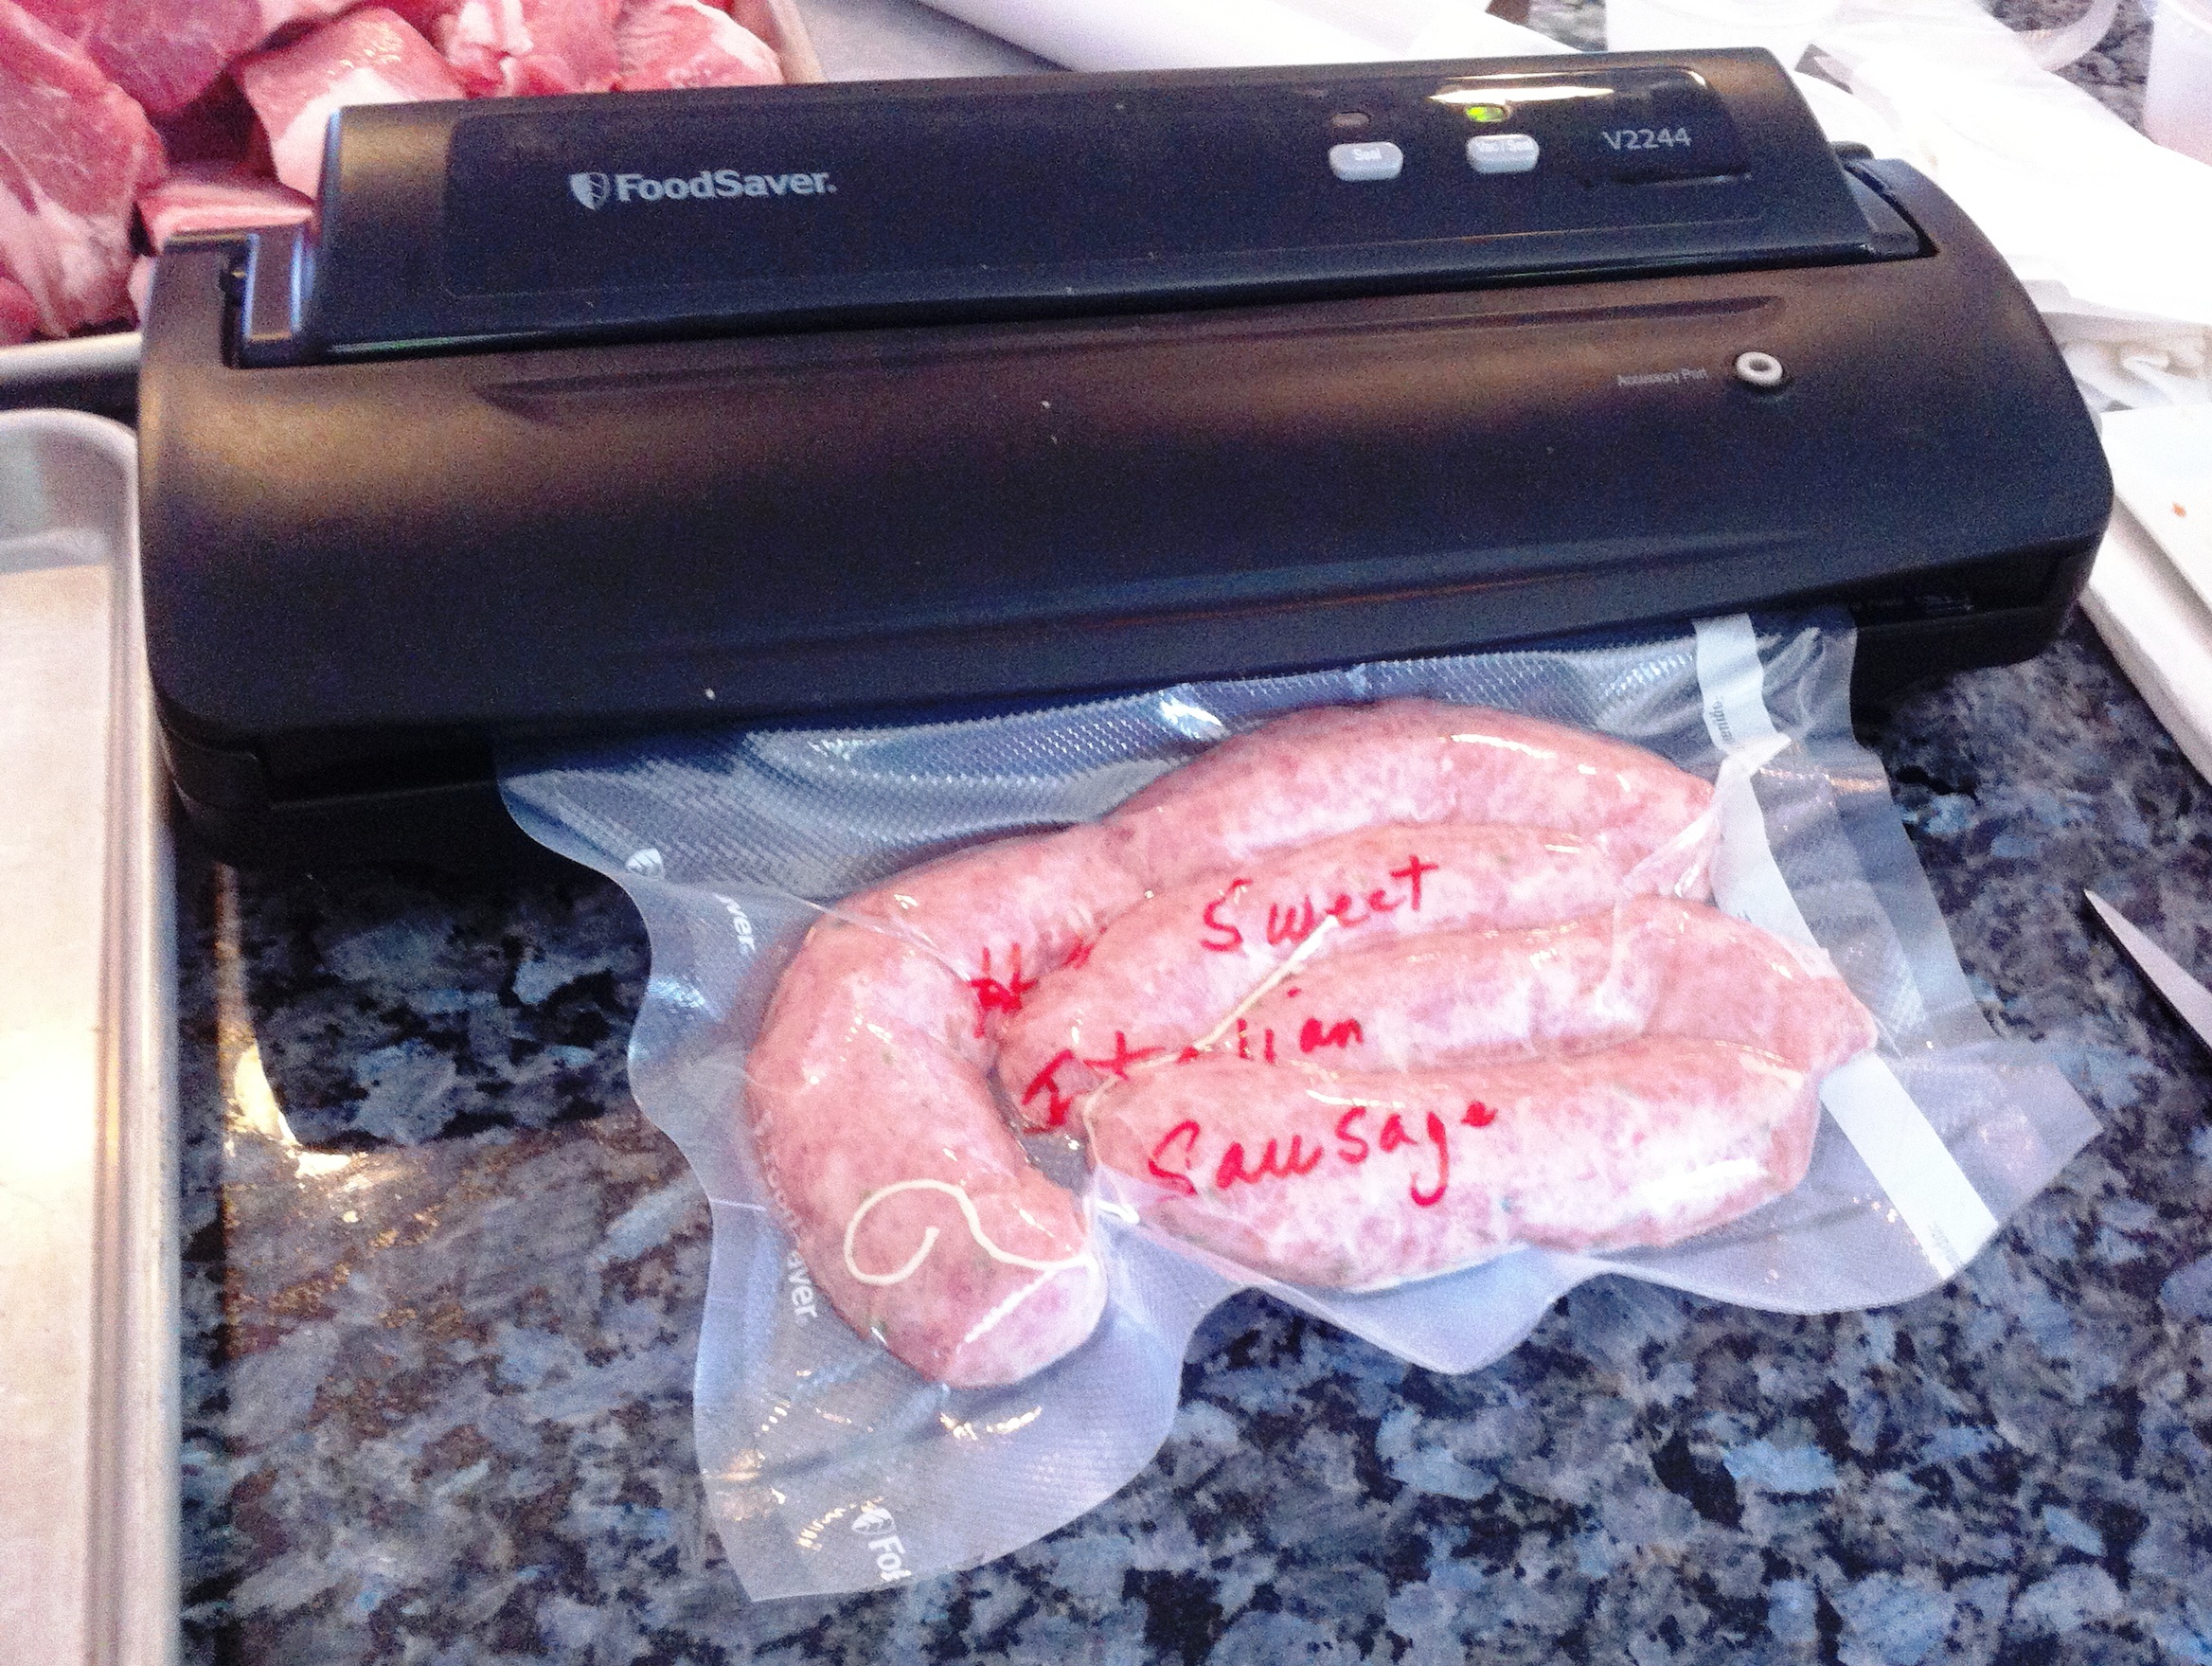
20 – The finished product ready for the freezer
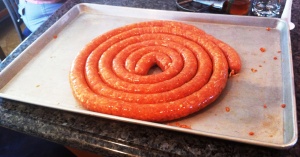
19 – The Roll

18a – Sausage in the pan
18 – the finished product ready for curing
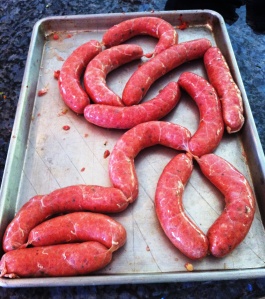
17 – Sausages to the tray

16 – Toms Twist
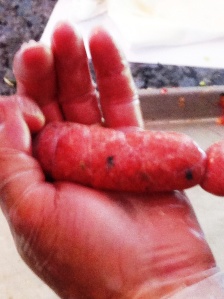
15 – Sample Sausage
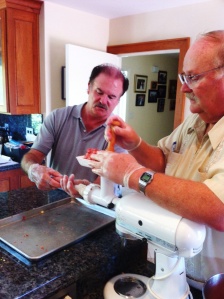
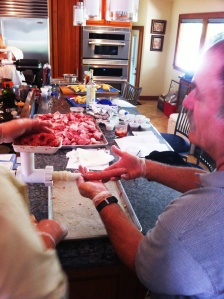
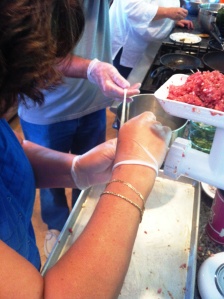
14 – Stuffing Masters at work
13 – Tom at work
12 – Wally at work
10 – stuffing process
9 – stuffing process
8 – stuffing process
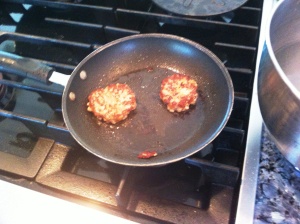
7a – Fry baby to season to taste
Do you love sausage? Hot dogs, brats, Kielbasa, any mashed up meat in a hog gut wrapper? Well I do. Give it to me in any flavor or form and I am all in. For breakfast? Yes please, little pigs as we called them as kids. For lunch? Oh yeah – hot dogs with mustard and mayo and a little relish. Dinner? Certainly. A plate of those lovely sausages with kraut, or potato salad!! Yummy.
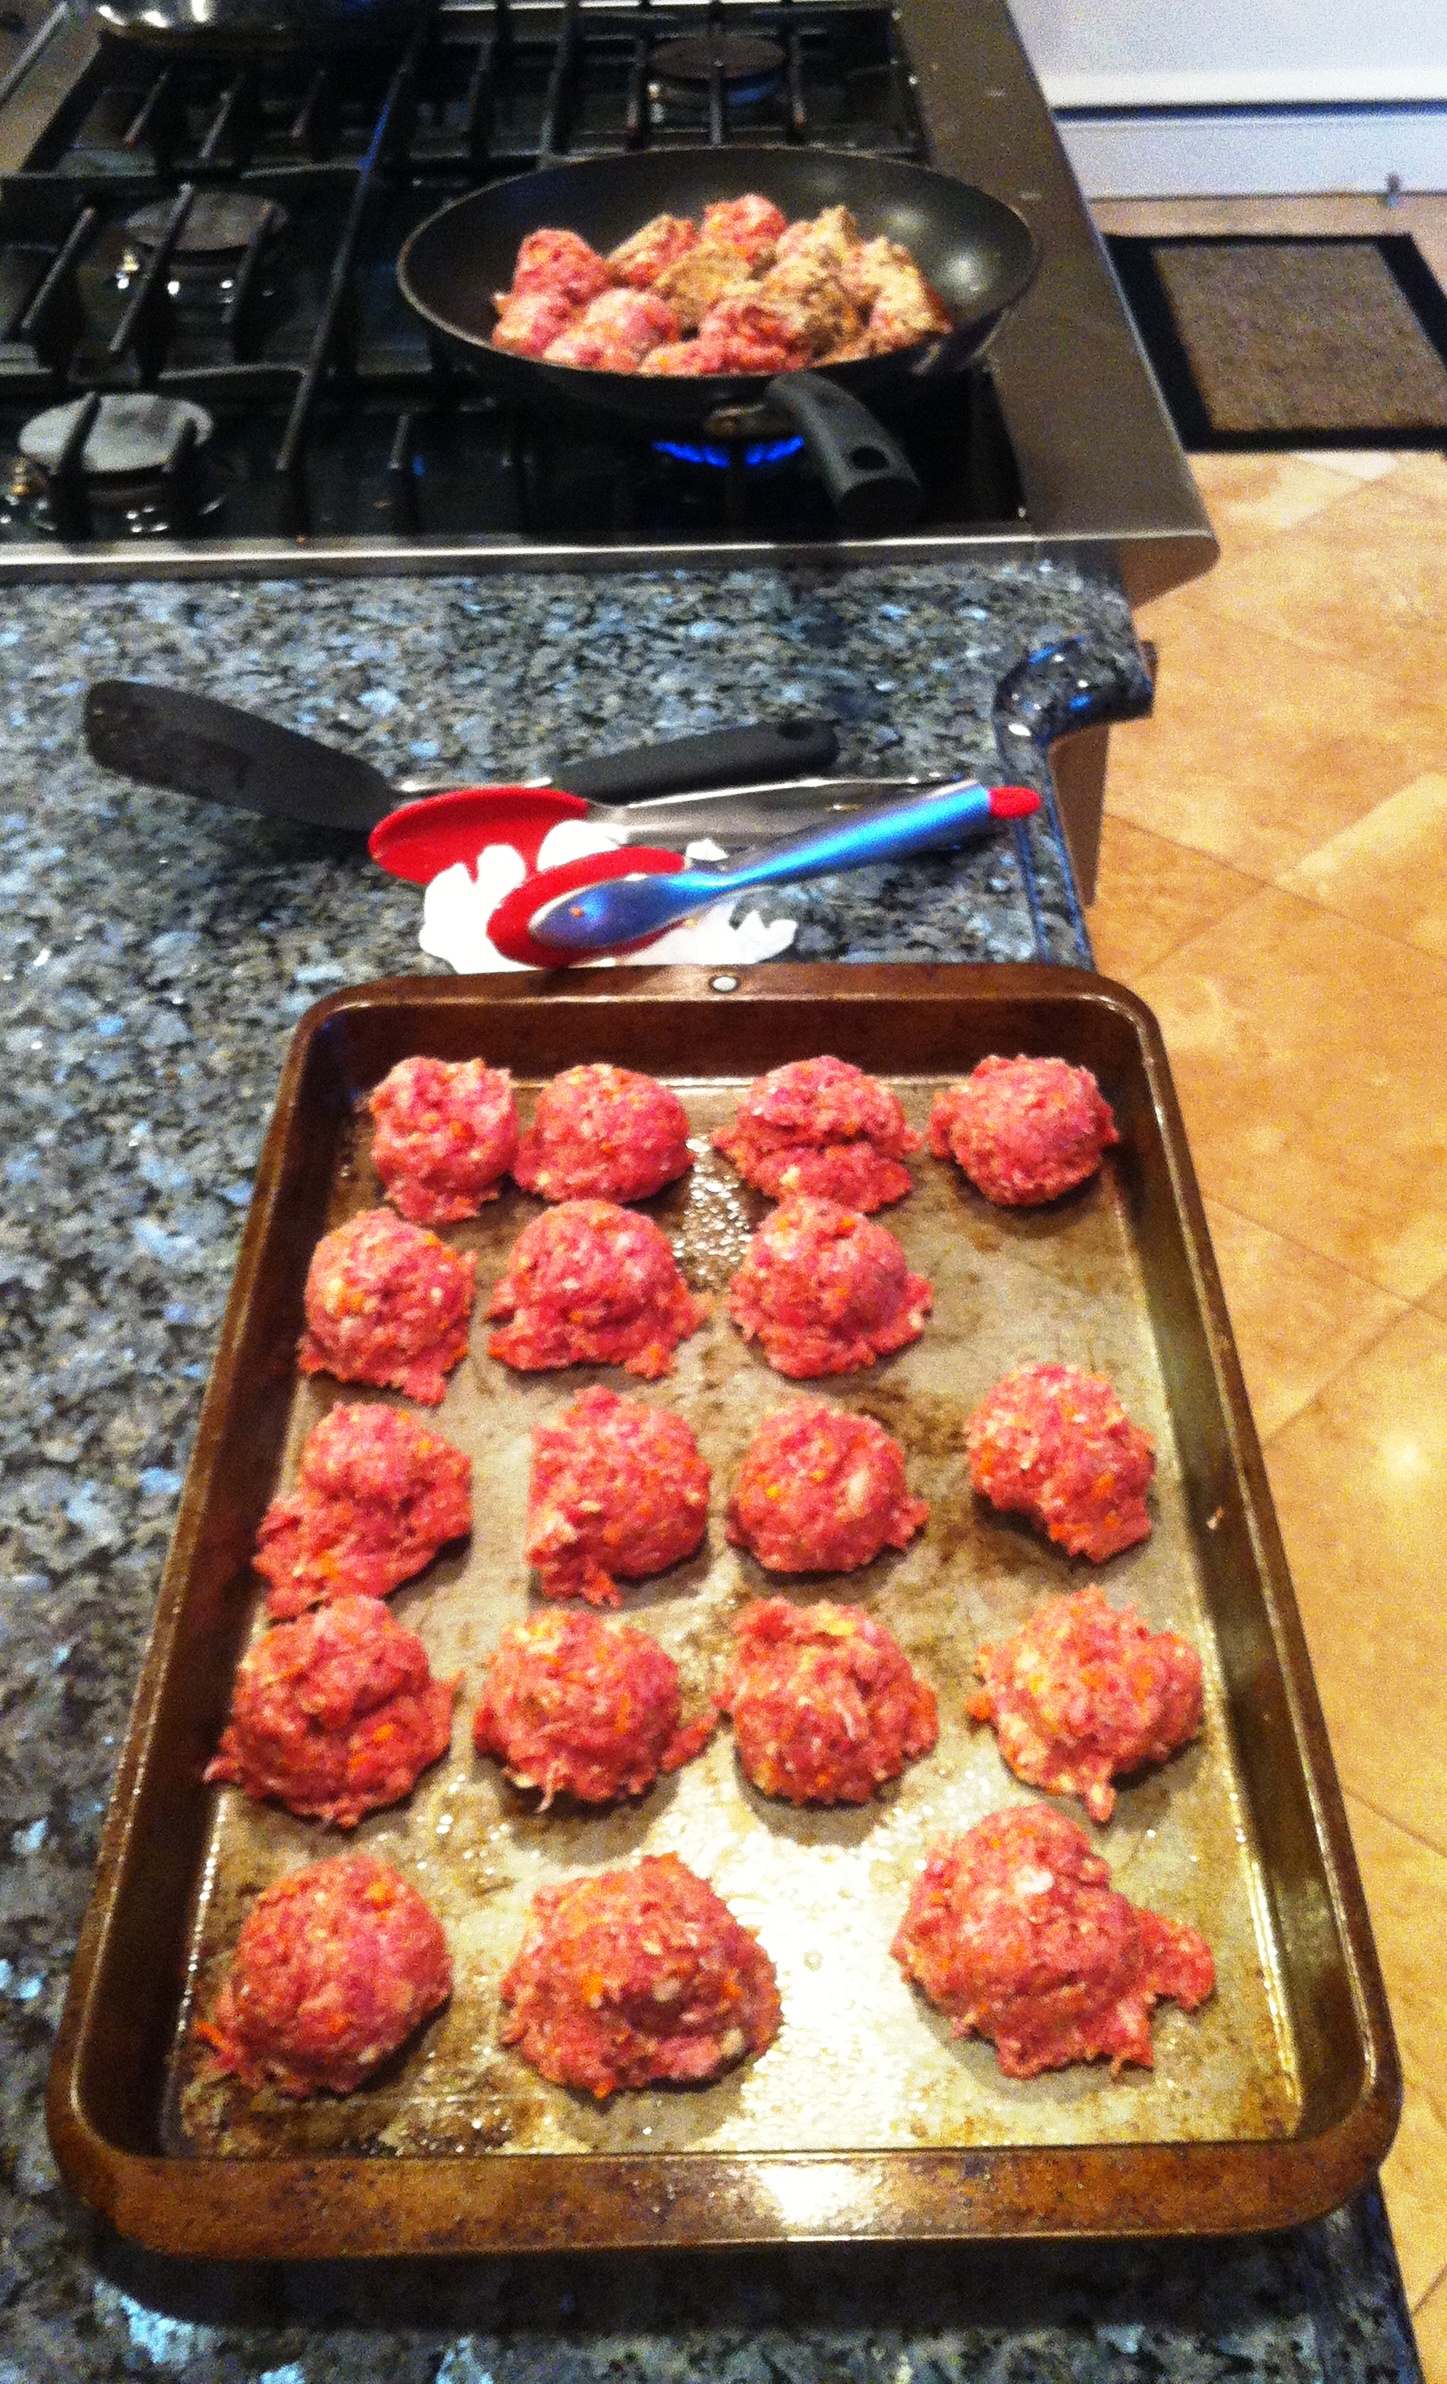
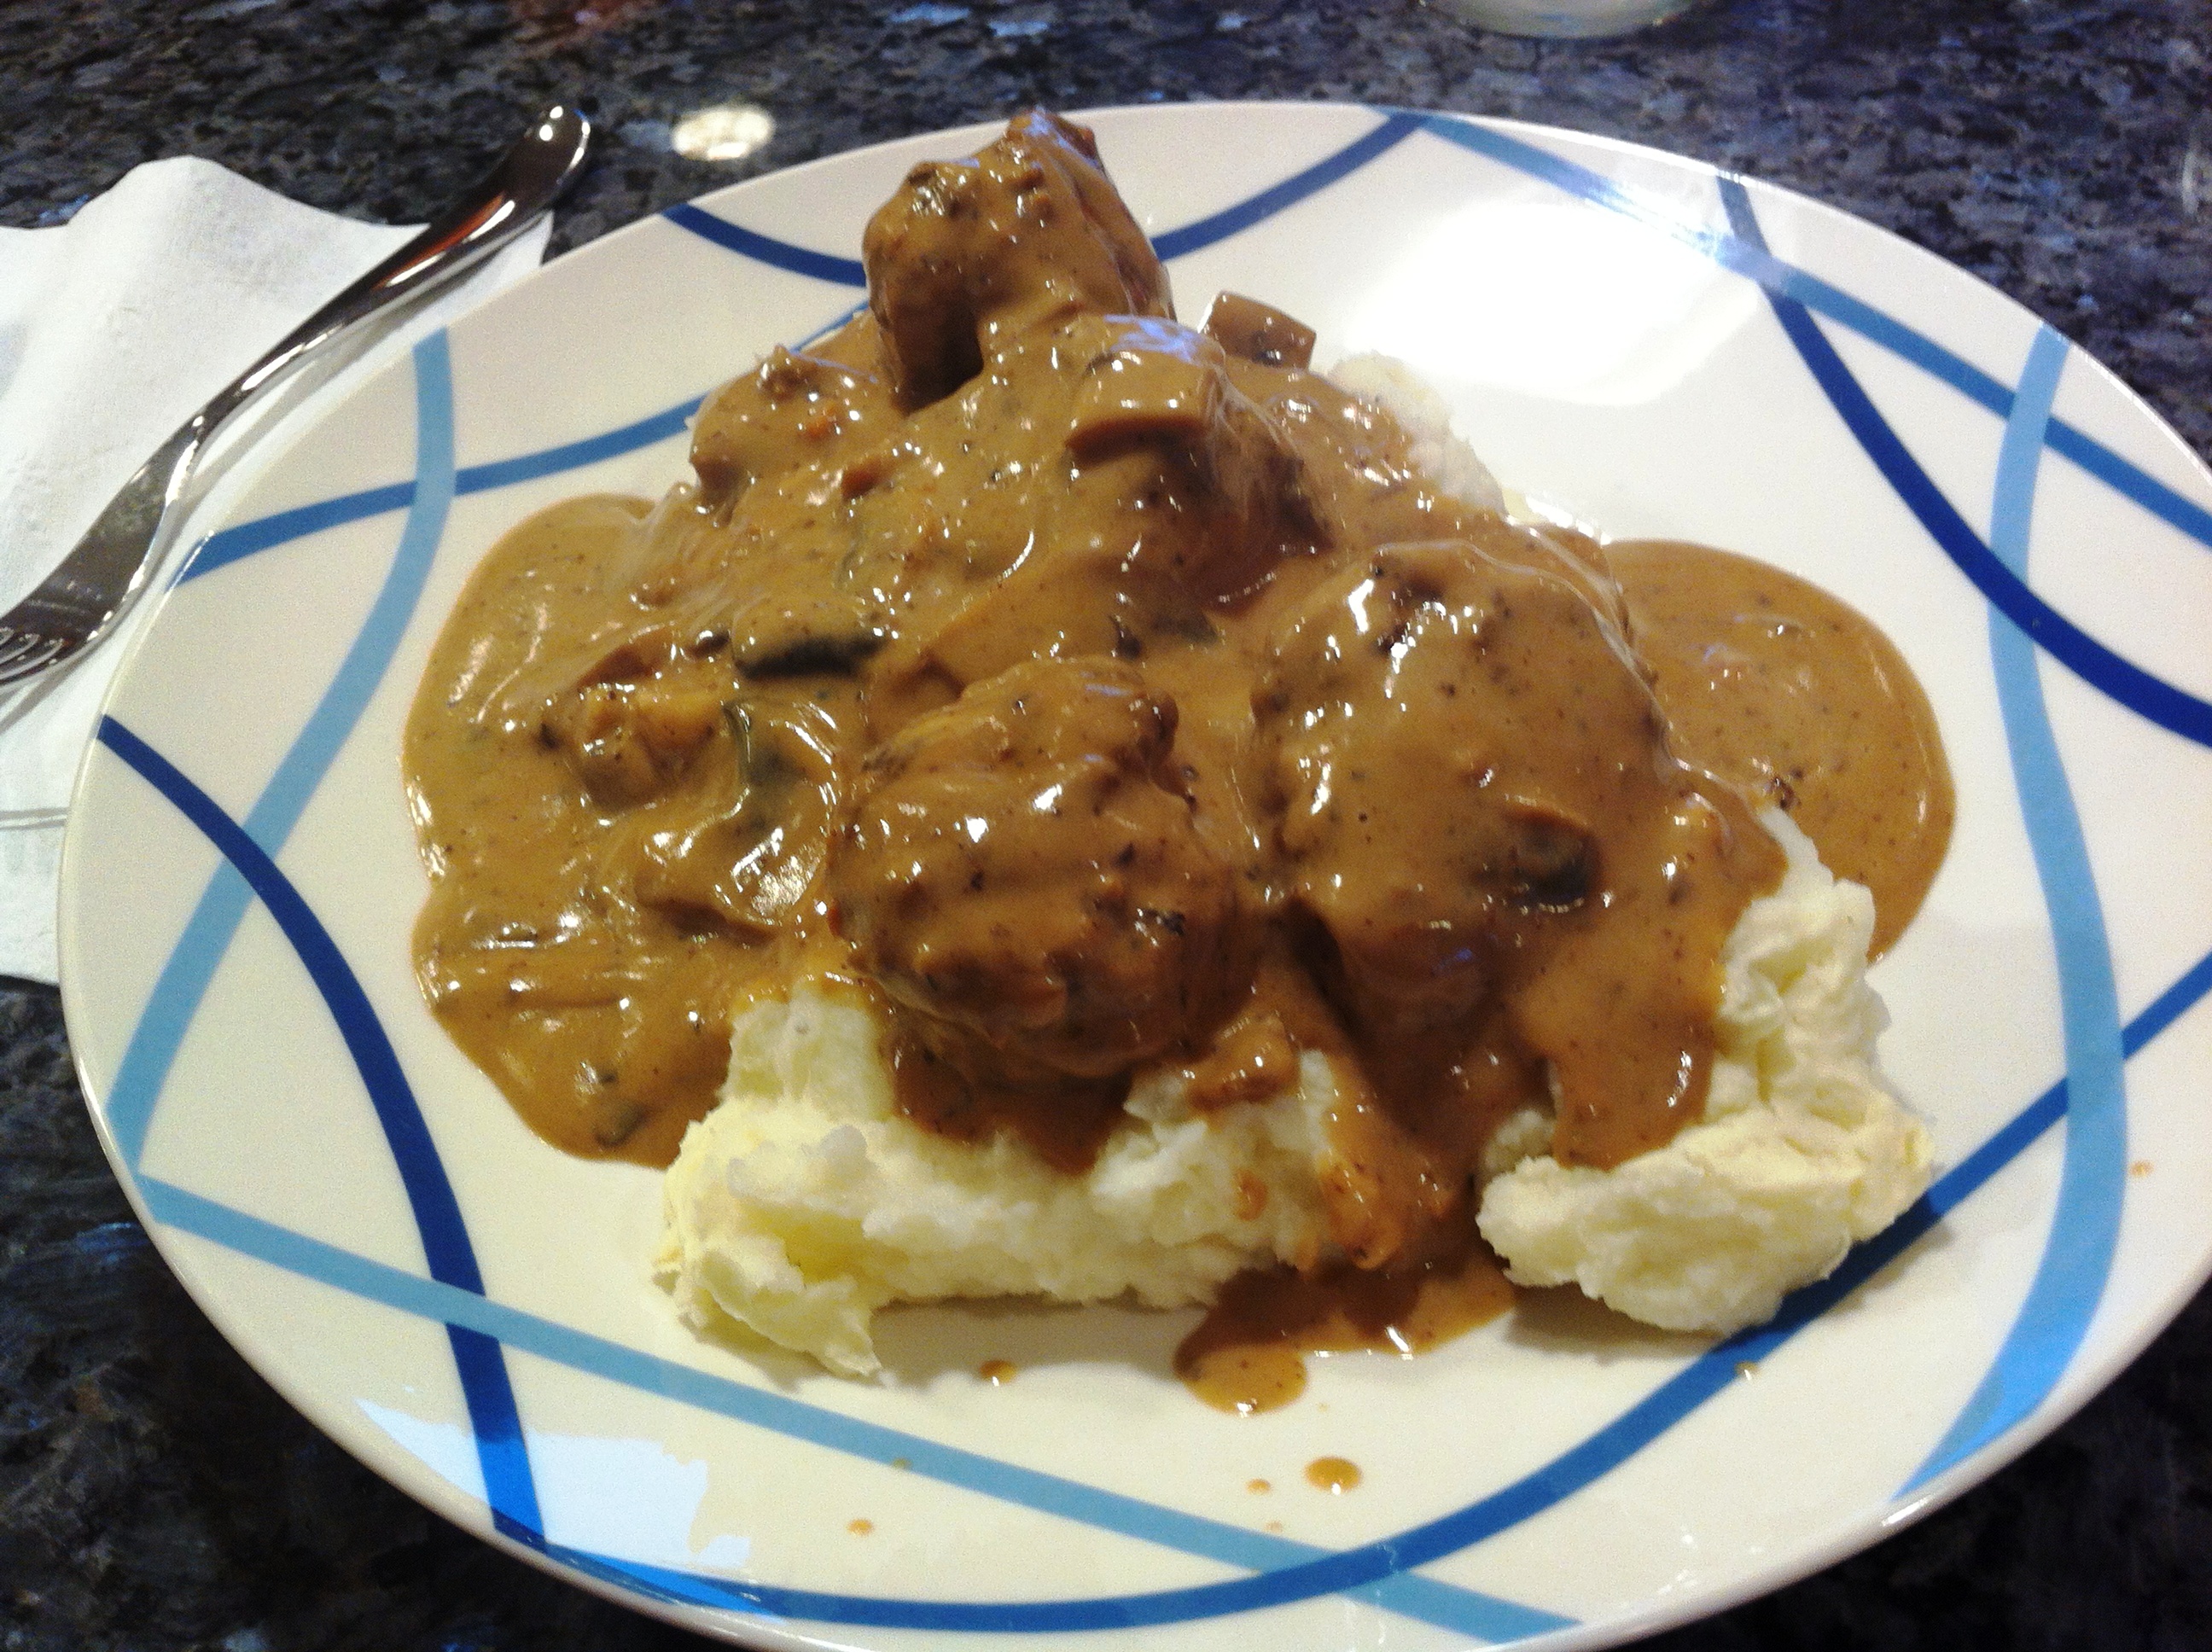
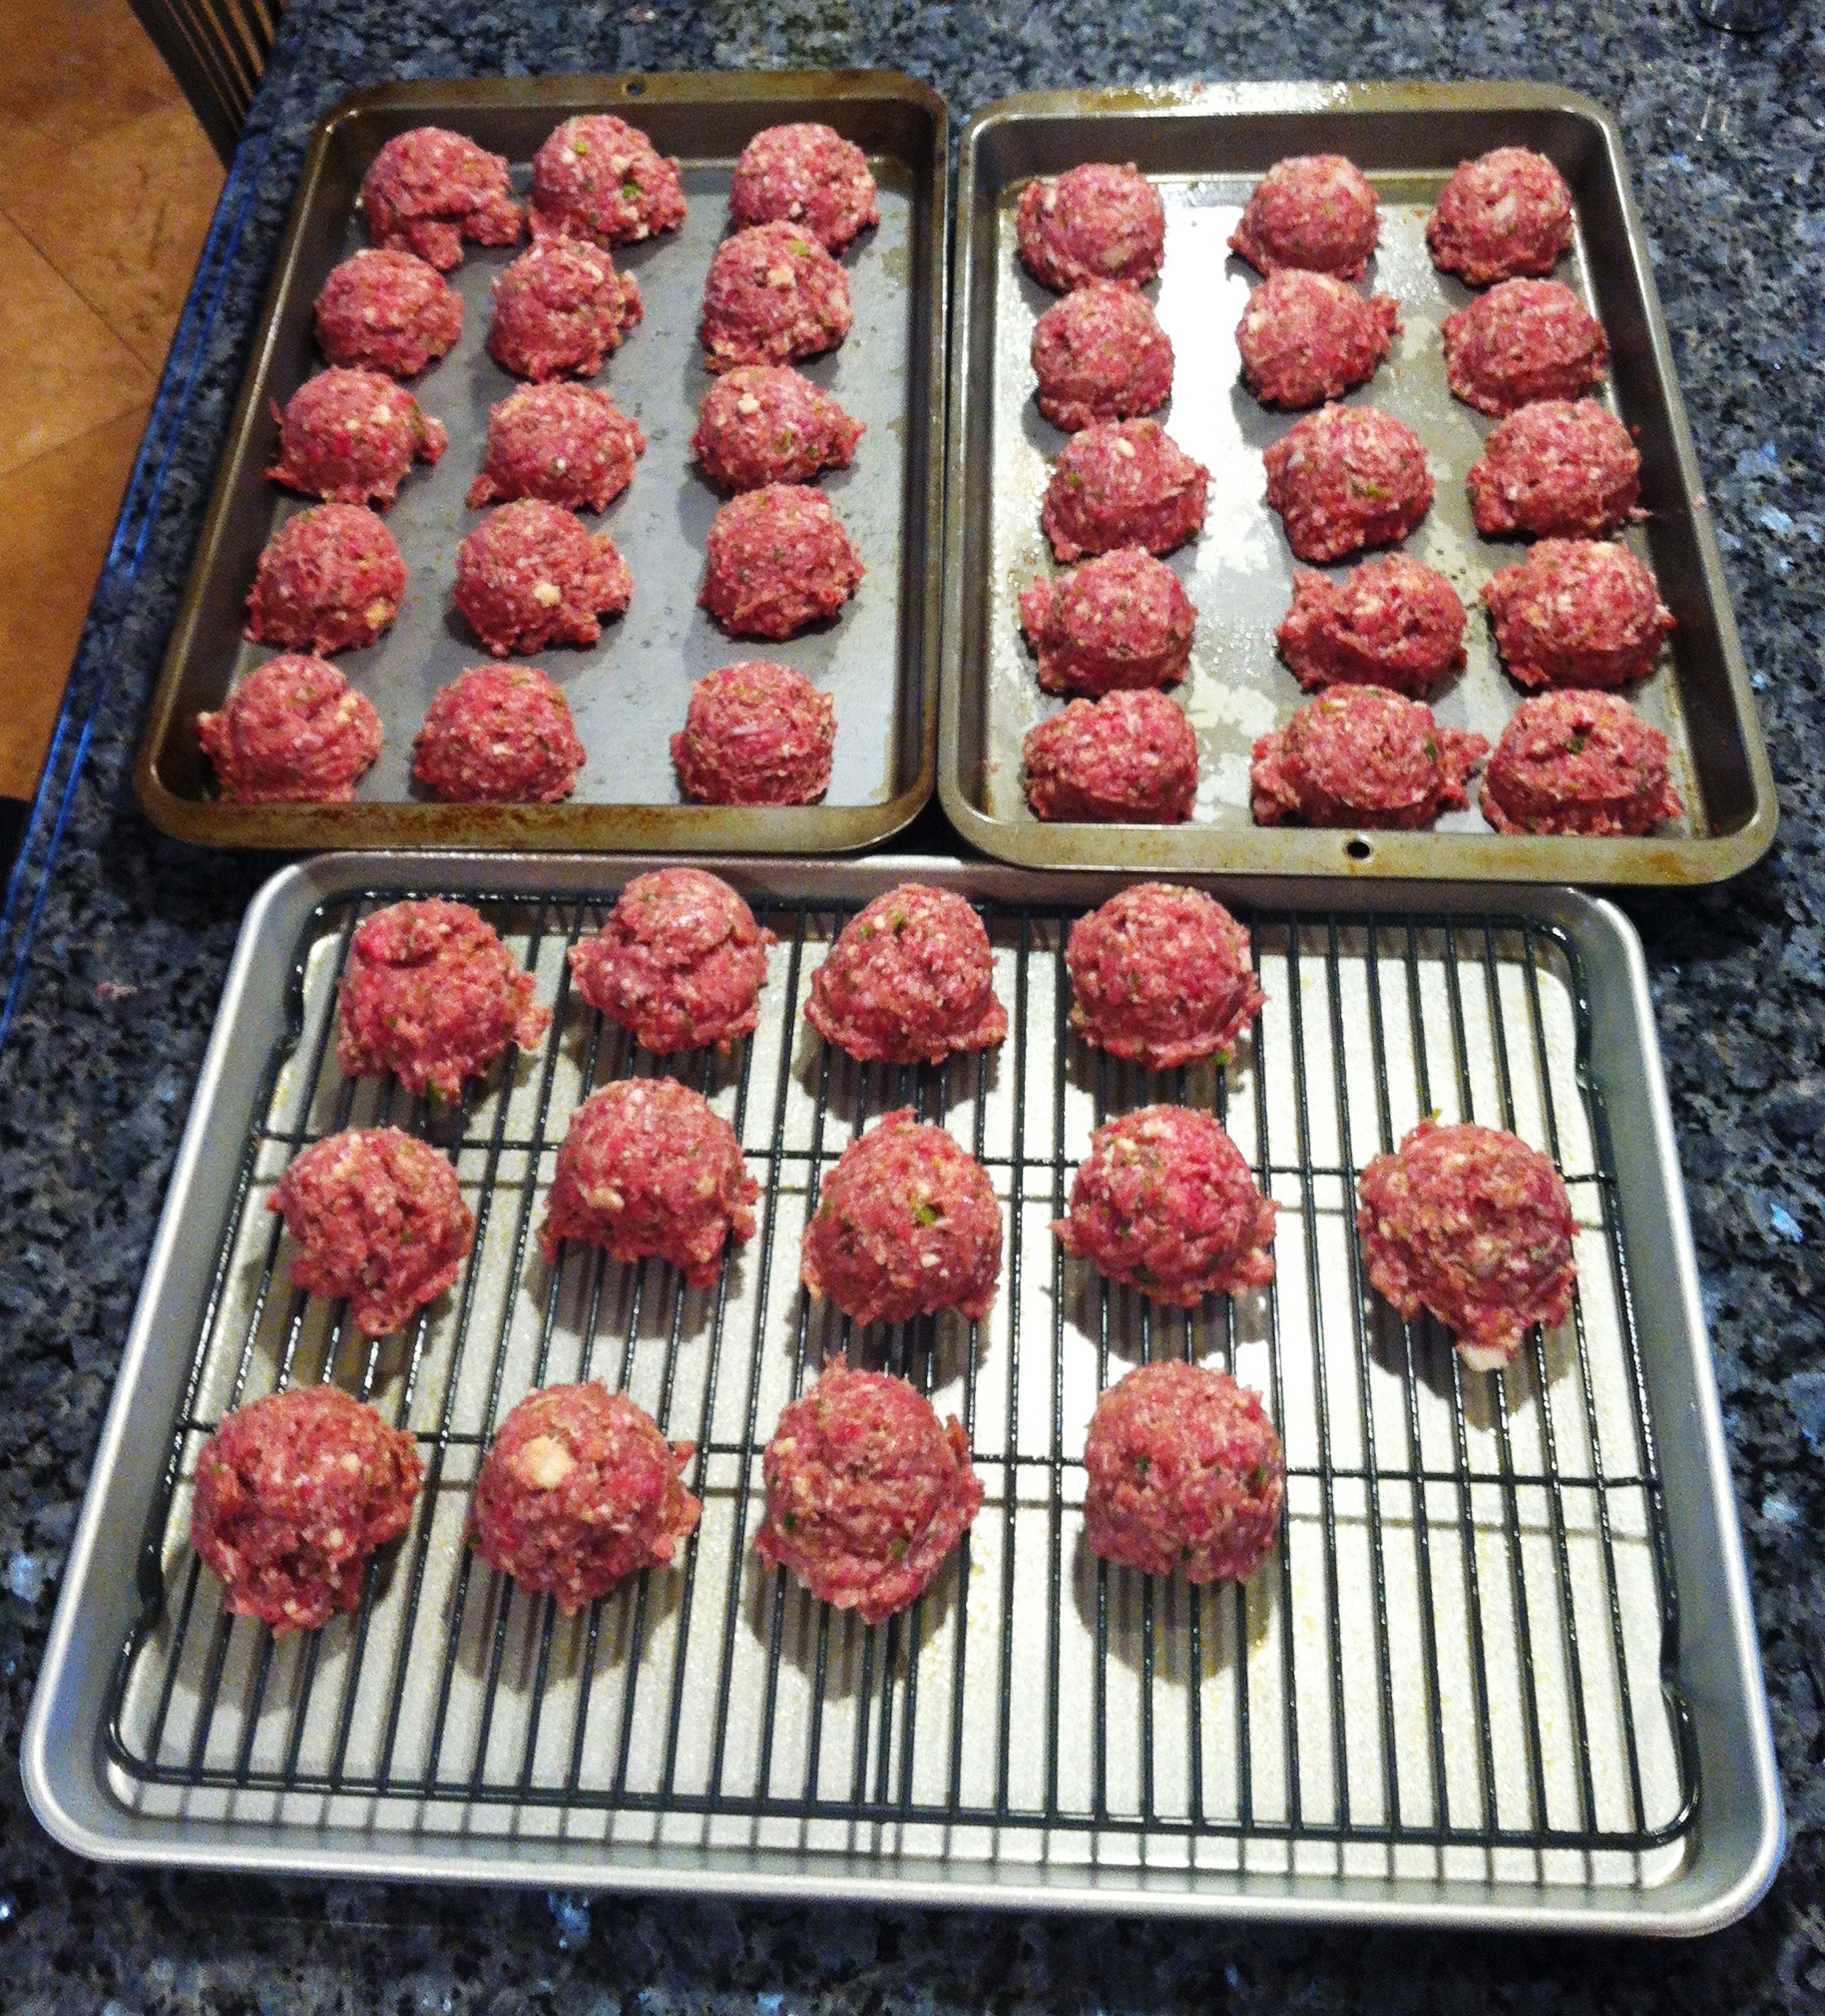
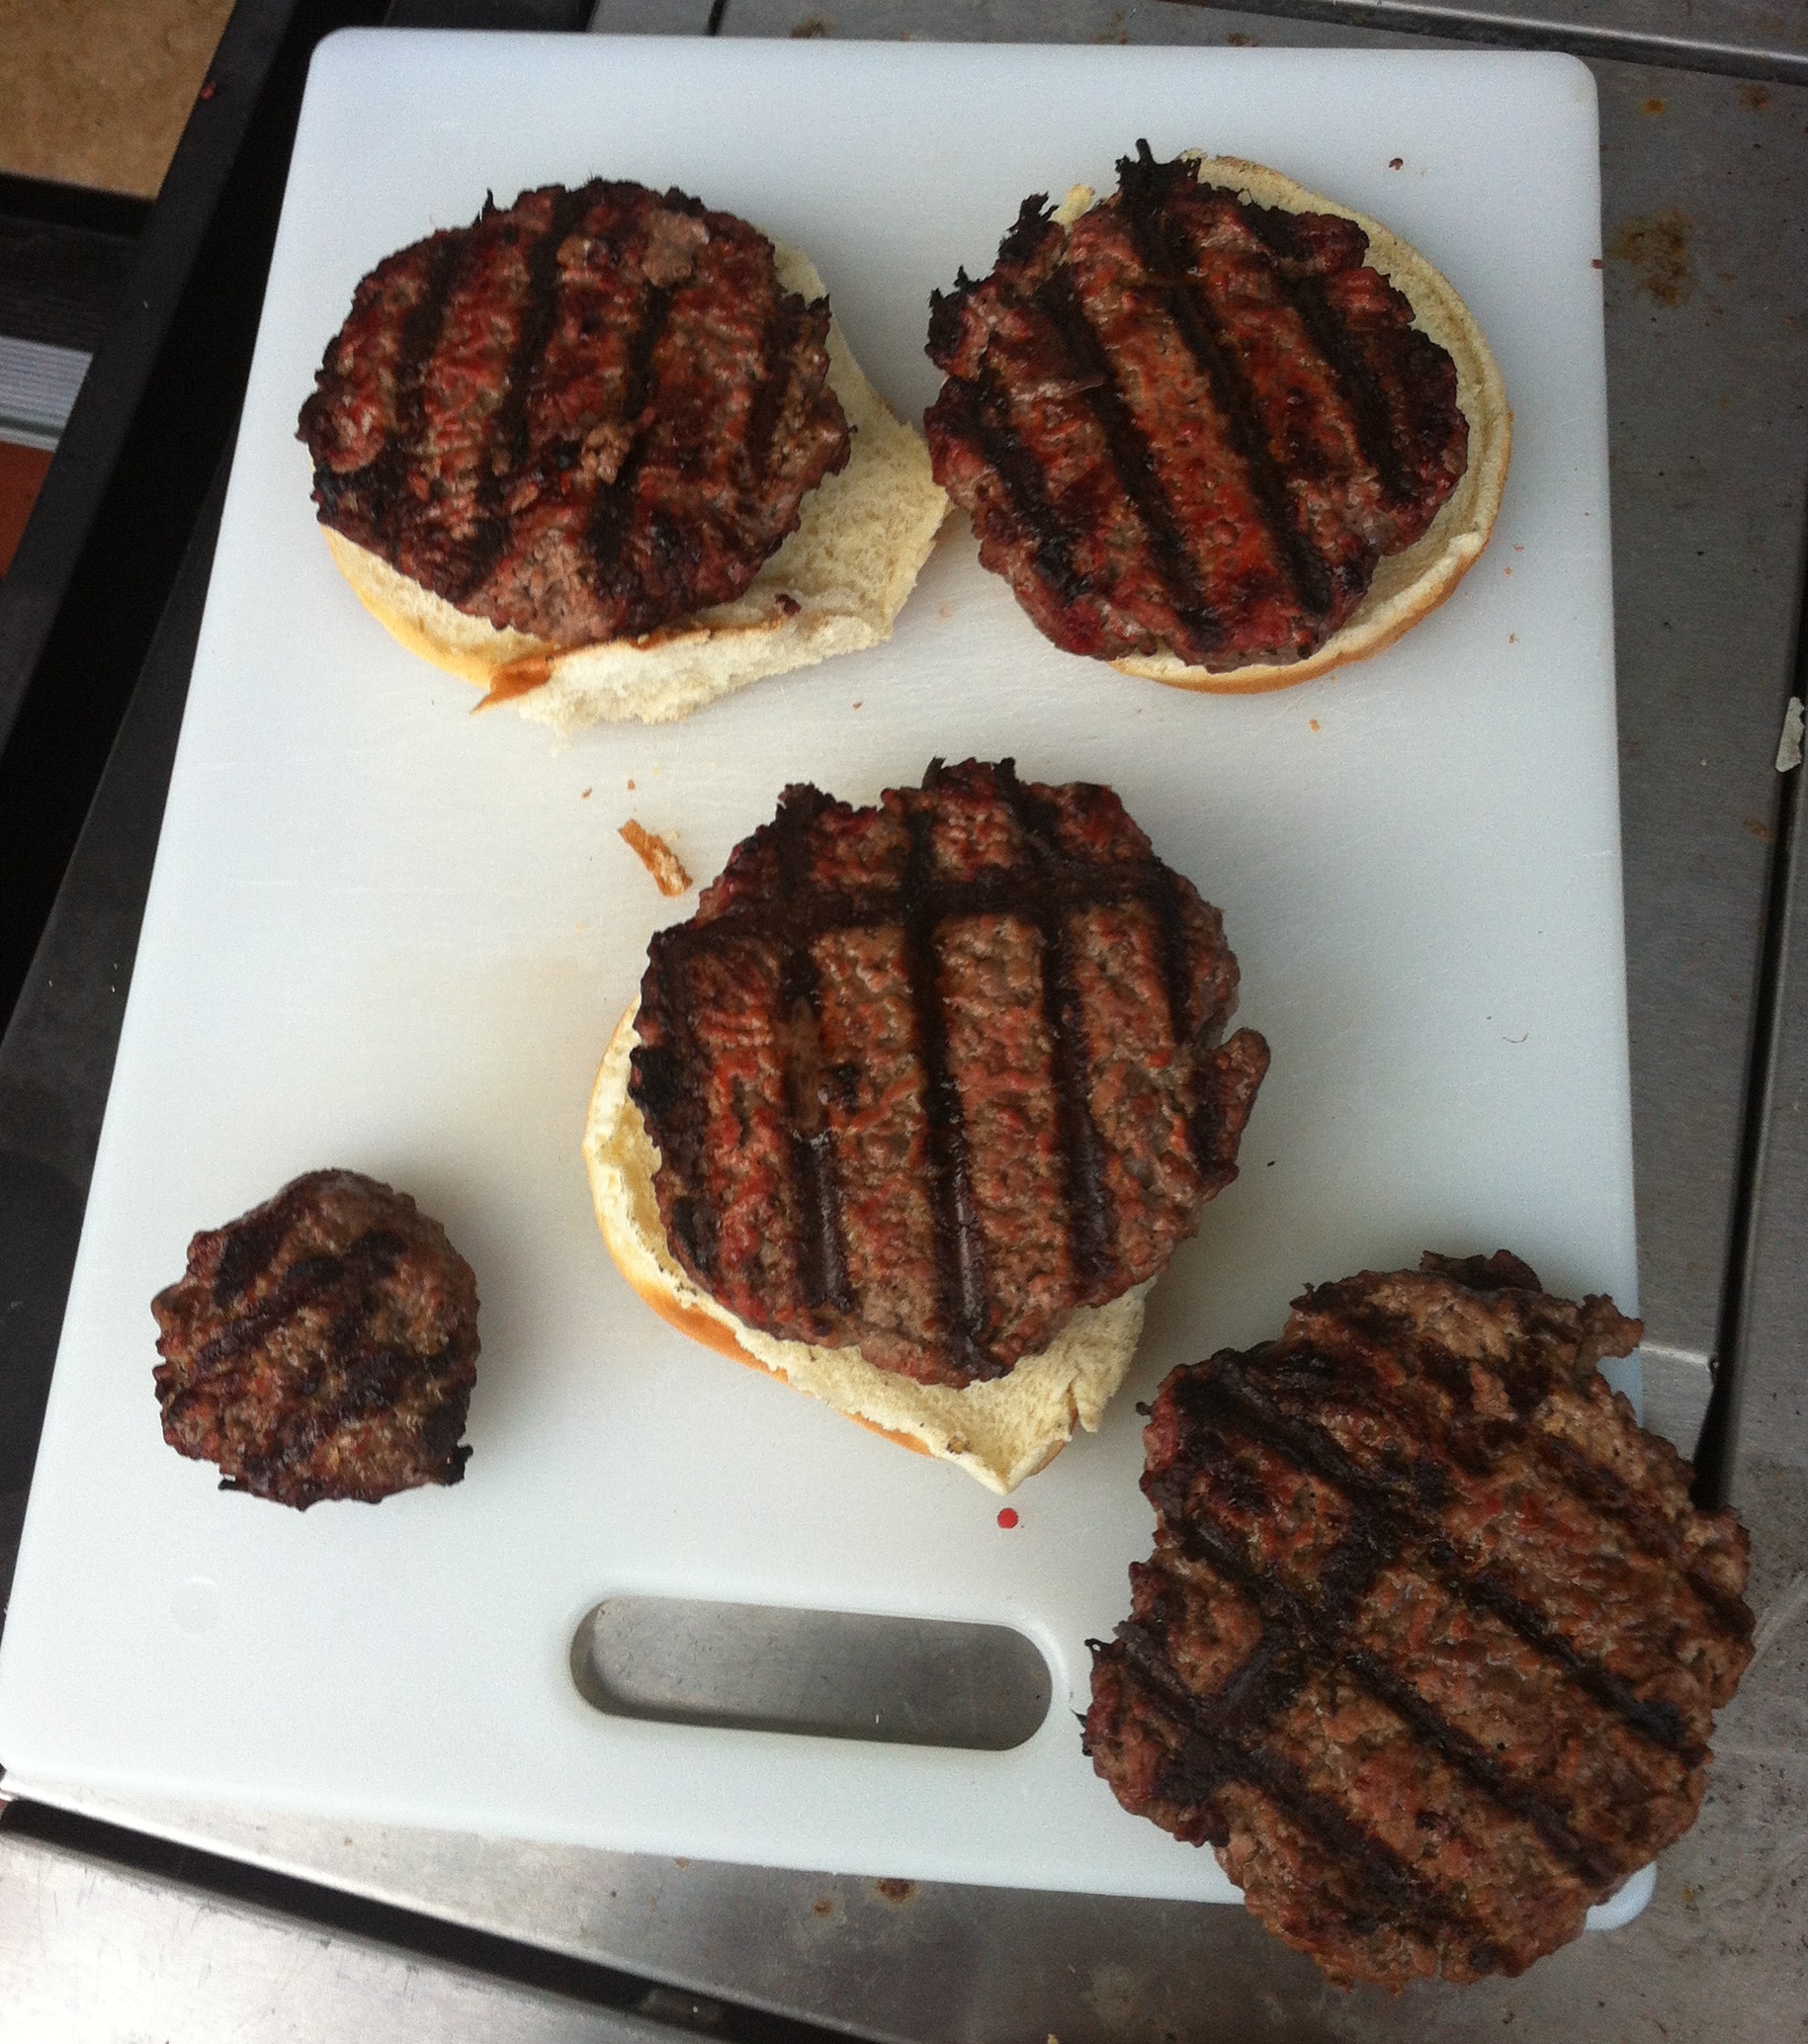
So what does a curious old guy do when he likes something? Experiment with making it, of course. You might recall, I have been playing around with the meat grinder attachment for the Kitchen Aide. Was very successful with hamburger. Incredibly successful with grinding up a blend for making meatballs. So the next experiment had to be sausage. The only piece of equipment I didn’t have was the sausage stuffer attachment for the Kitchen Aide. Easily solved with a ten dollar bill and a trip to Bed, Bath & Beyond.
The evolution of sausage making goes back to a dinner at Carrie and Ron Wong’s house, with Tom and Cheryl Clark. A beautiful dinner I might add. We had such a good time we decided to do a dinner rotation to the three houses. Once every 3-4 months we decided one of the couples would host the dinner party. During the course of appetizers and cocktails, the meal and wine, and dessert and aperitifs, the topic of food came up. Well actually we talked about little else! Anyway, I was talking up my new found skills with the meat grinder and the fun I was having doing this, and that I wanted to move on to making my own sausage. It was not too long before the group was concocting a sausage making party that would be our next dinner. Which then brings me to our grand experiment.
Carrie is a wonderful chef, with access to ingredients we mortals don’t have. Suffice it to say that you can not just run down to Safeway and pick up 100 feet of sausage casing!!!! Carrie on the other hand has a “guy”. So we were set. Now sausage casing is not for the faint of heart. I don’t think I spoil any secrets when I tell you that it is nothing more than pig intestines. I do believe that some commercial grade hot dogs and plastic sausage come in some sort of manmade wrapper, but those are not big boy sausages! Our goal was to make a good quality, hearty, old school sausage, so pig guts it was!
We gathered on a Sunday late morning at our house, 2 mixers with meat grinder and sausage stuffer attachments and 6 able bodies. No one had ever actually made or stuffed sausage before mind you, but we were too stupid to be intimidated. We plunged in head first.
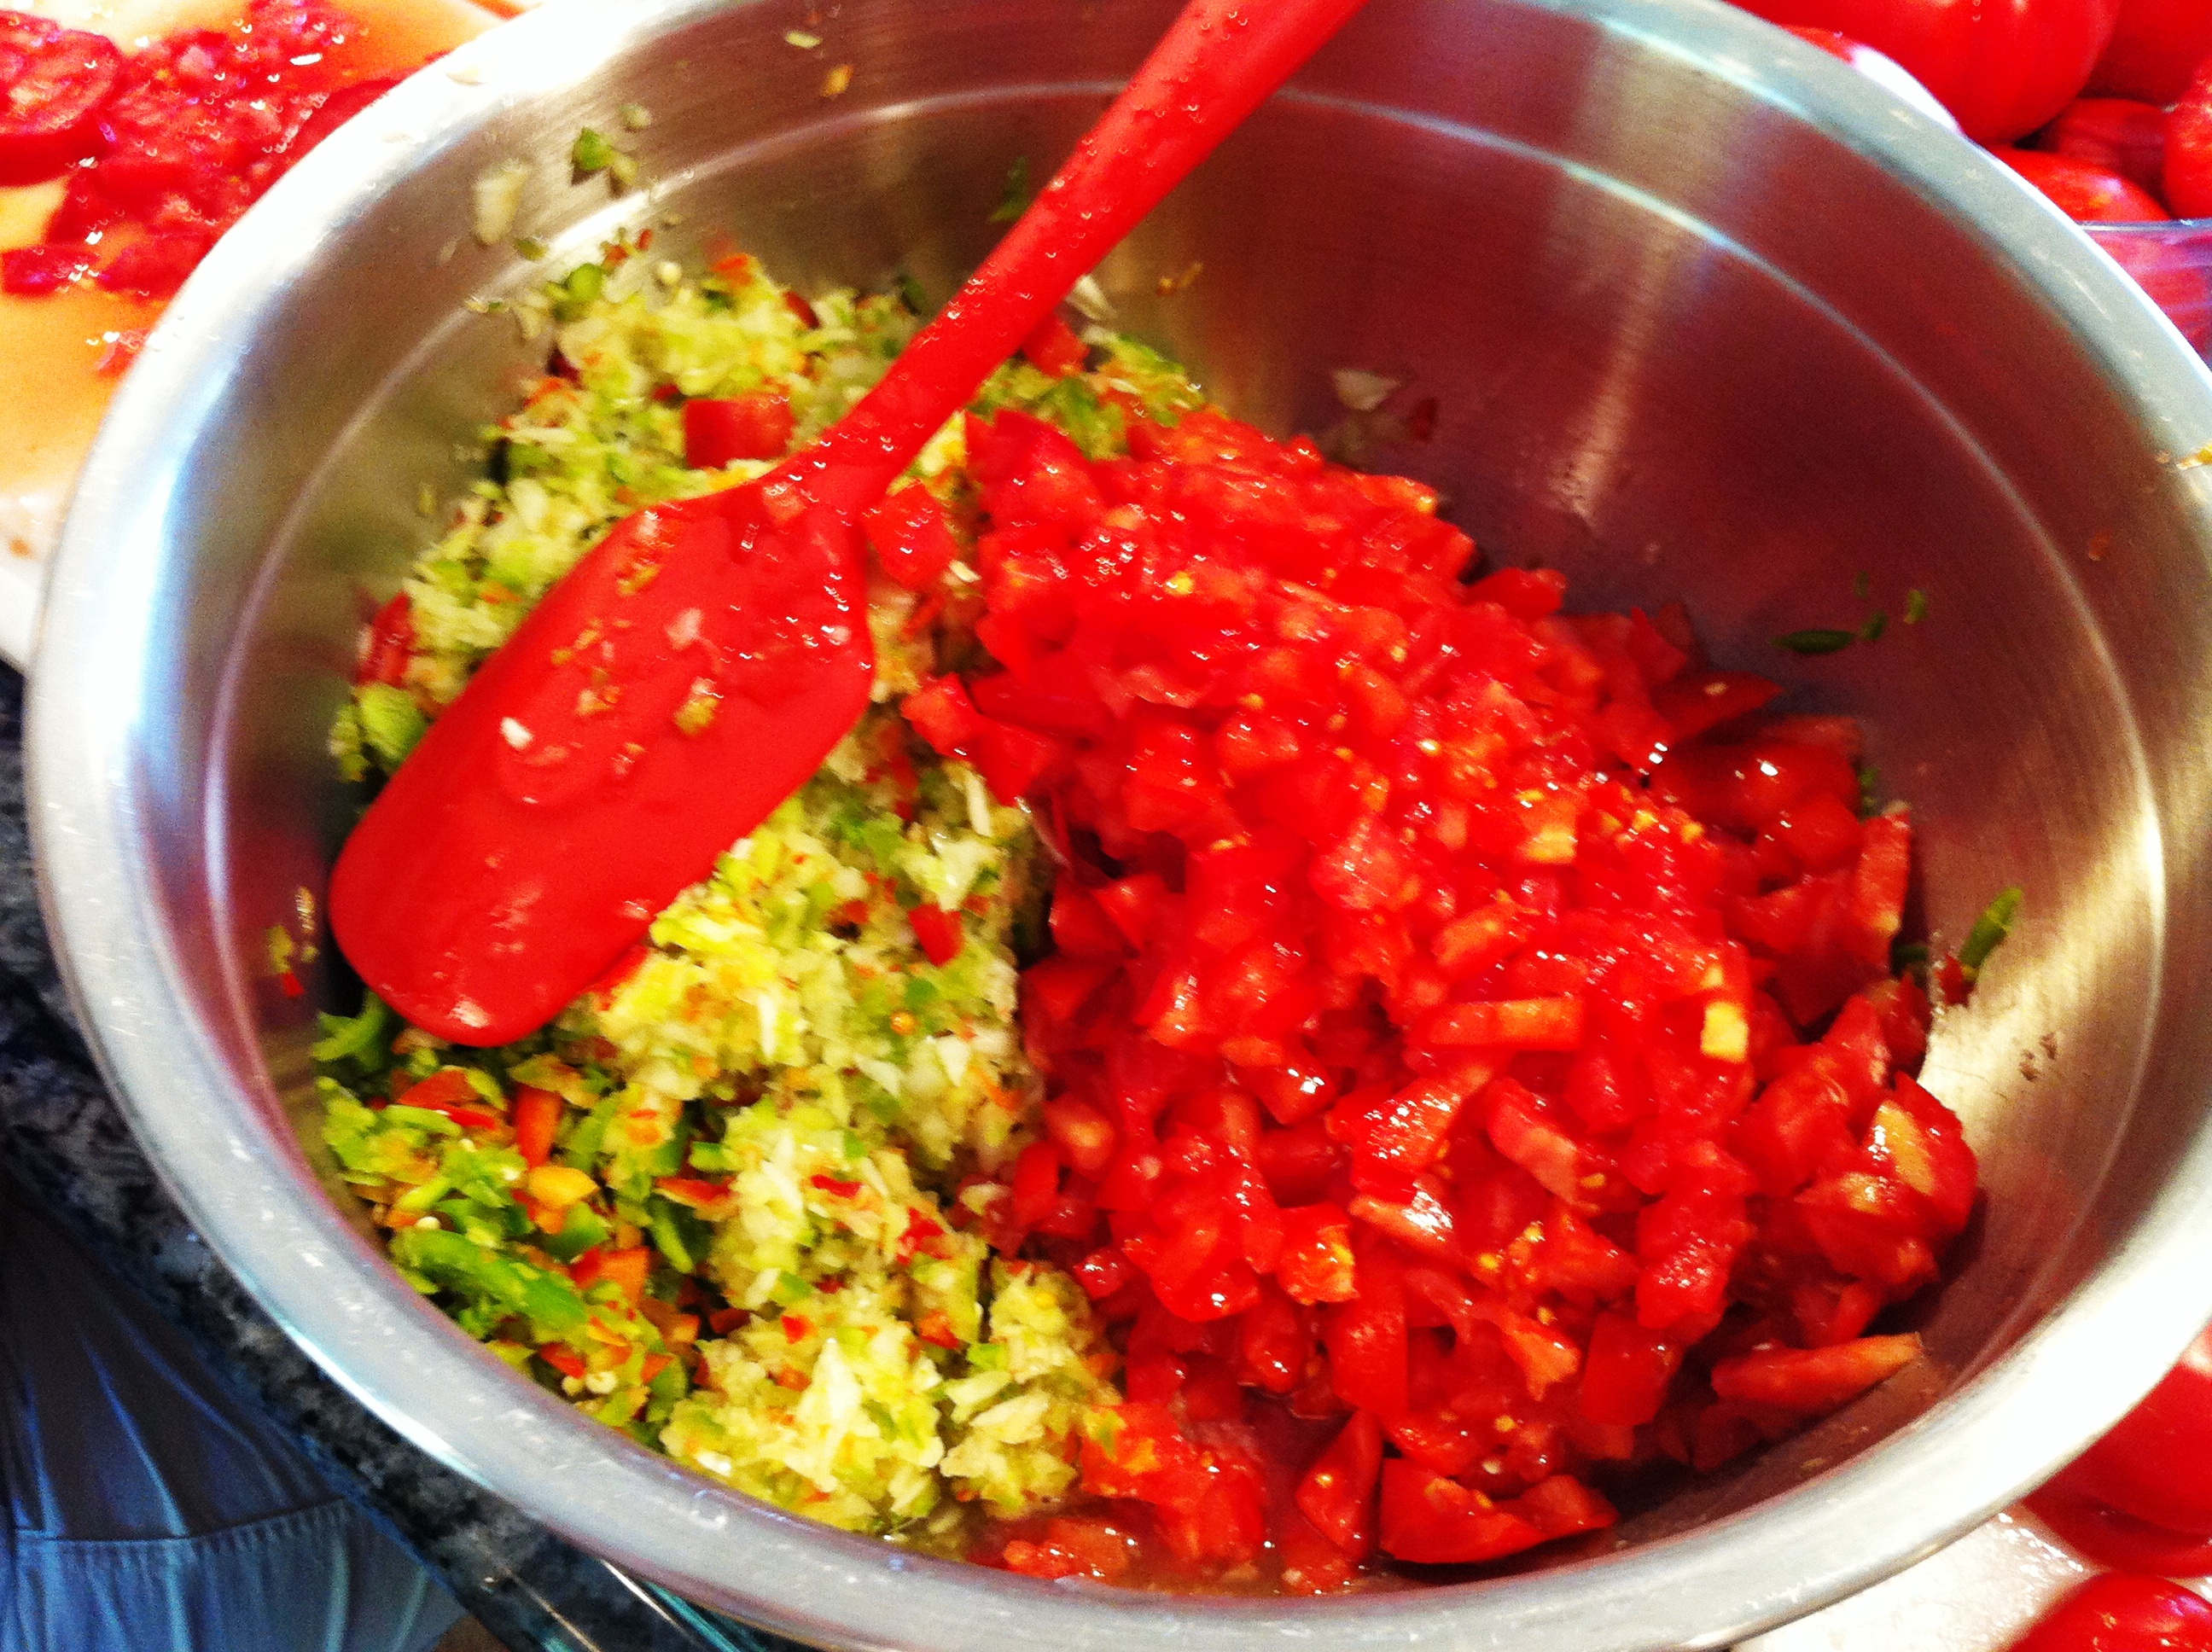
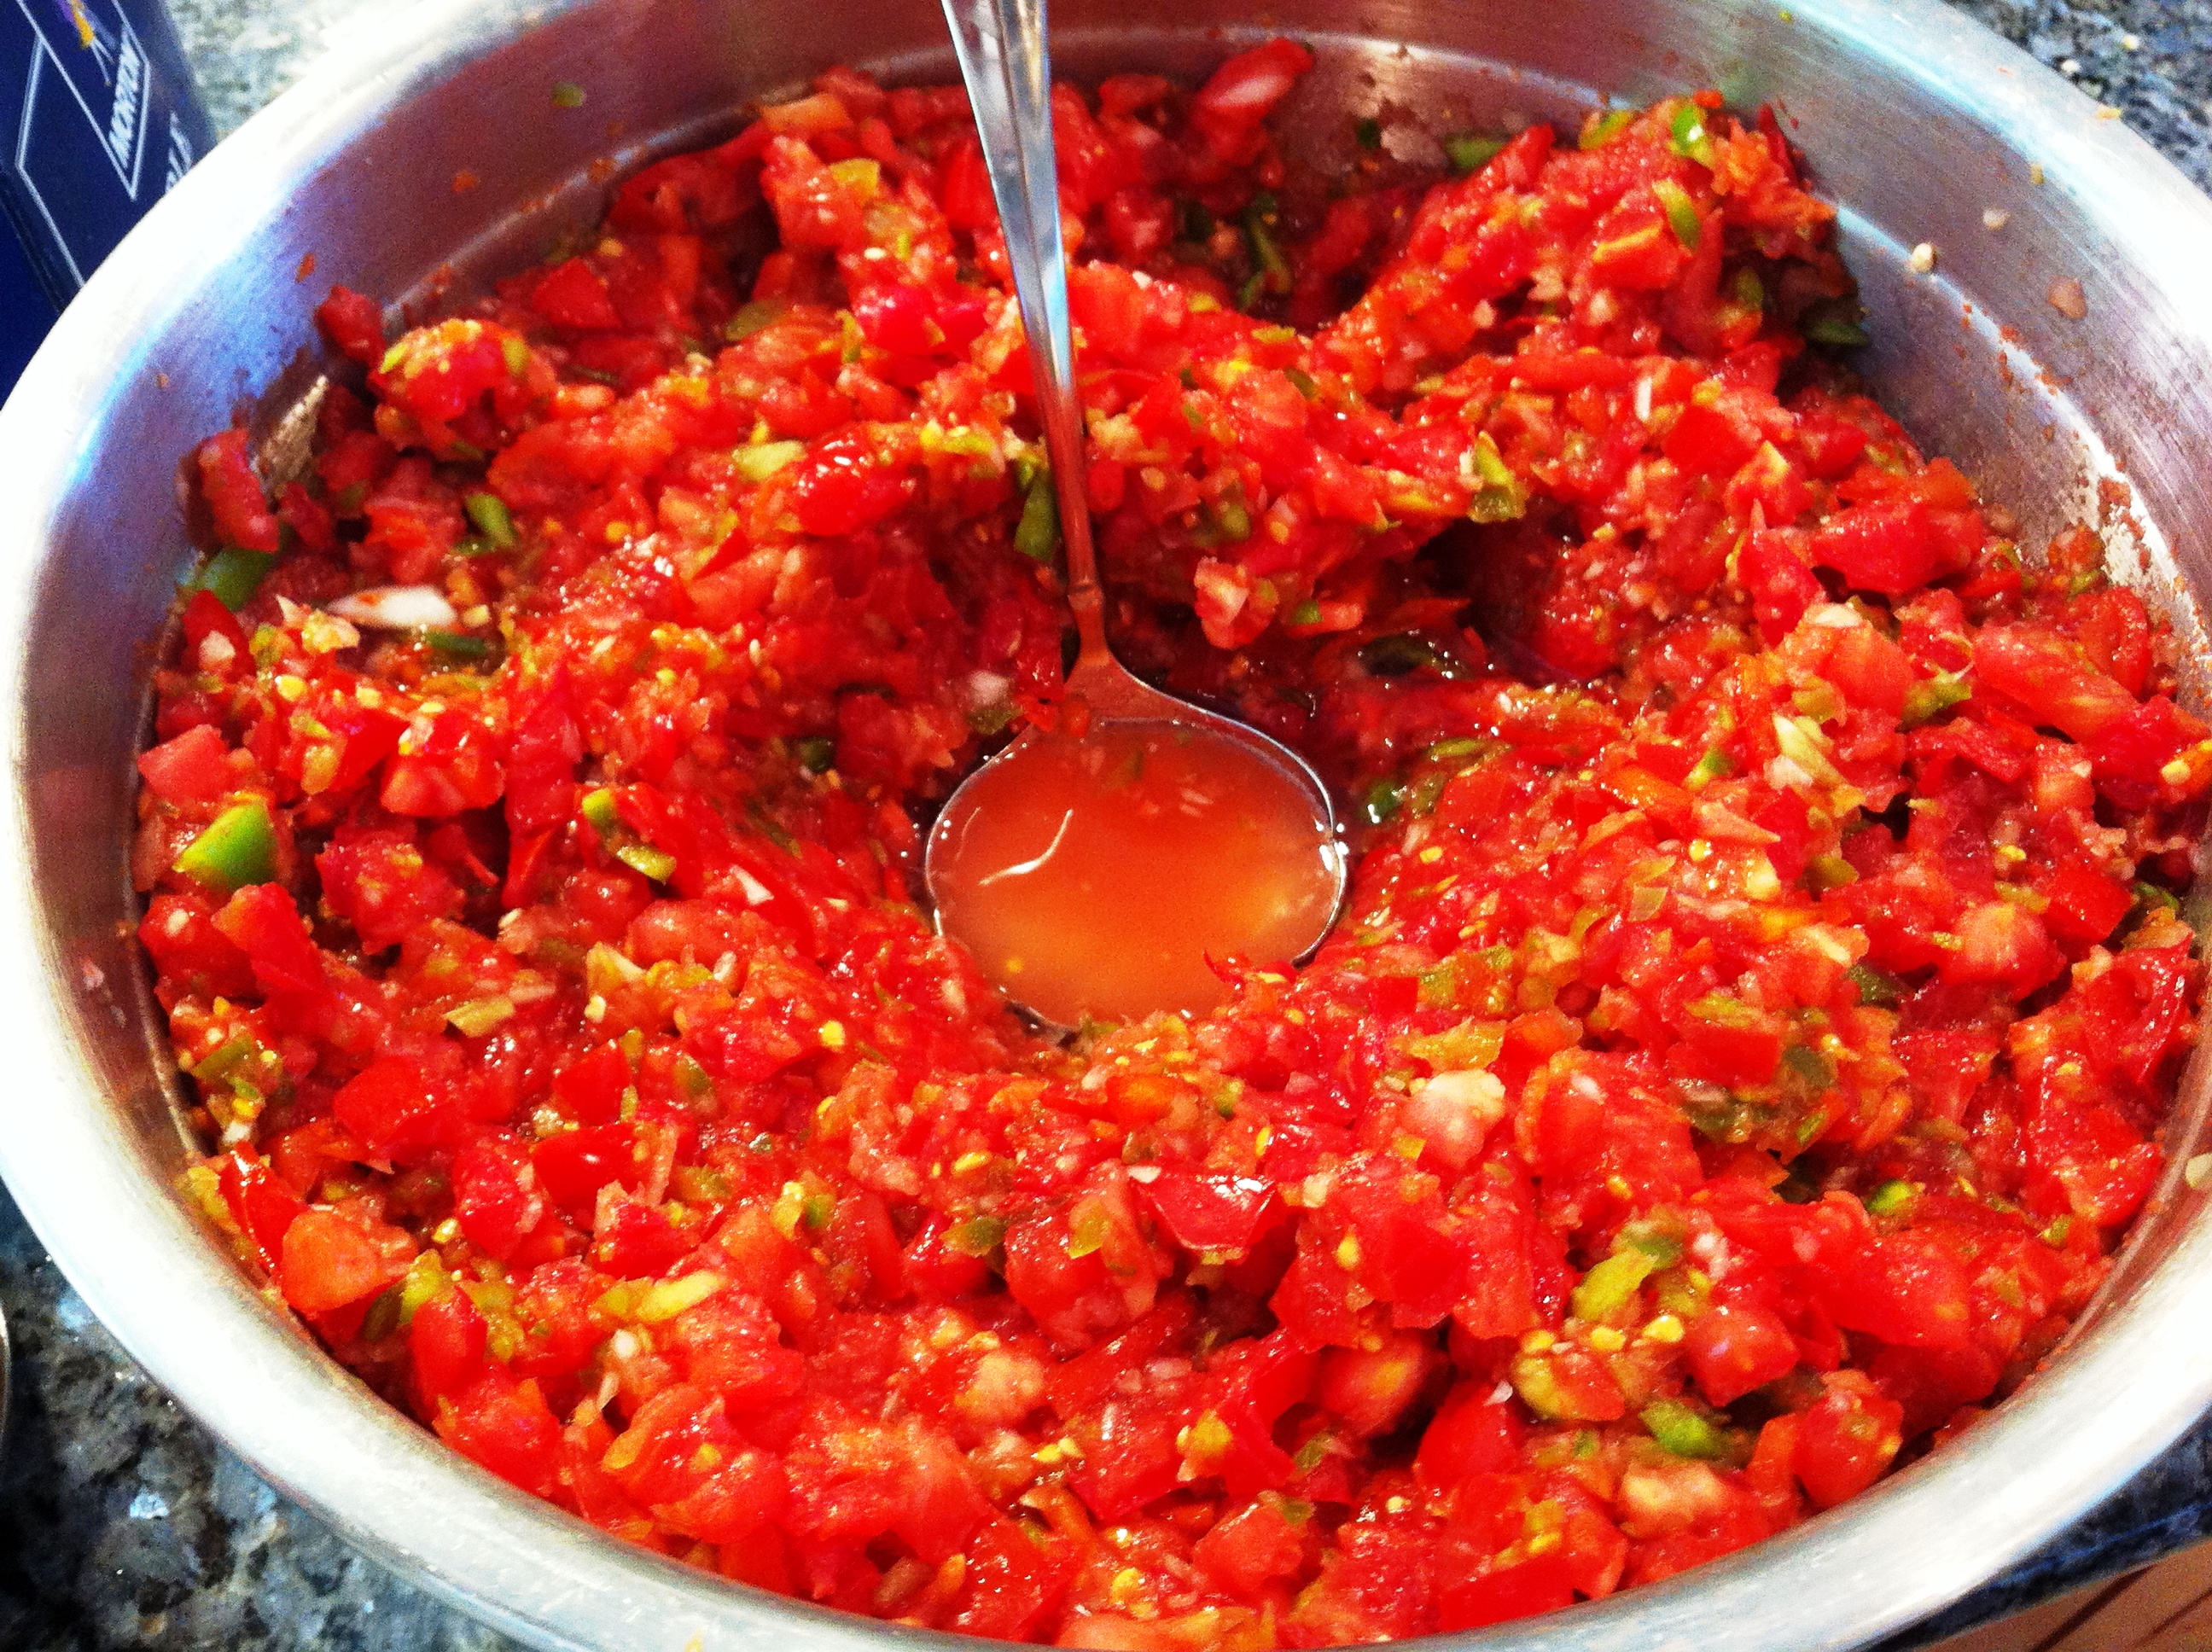
Carrie brought 60 lbs of meat, all cubed and partially frozen, and perfect for grinding. I went to the garden and prepped onions, 5 different kinds of peppers, garlic, Rosemary, Thyme, Sage, Parsley, and Carrie brought along 20 different packets of exotic spices, some of which I had never heard of before. I will tell you that 60 lbs of meat is a lot. We ground up that meat all day and worked it and seasoned it and stuffed it till we were blue (opps that should be red) in the face. I am tired just thinking about that project.
Our goal was to make up 6 different recipes of sausage, stuff the sausage, then vacuum seal packets to freeze for later use. We actually ended up with 7 recipes, the last our very own and the most fun. I will tell you that 60 lbs of meat is a lot. I guess I already said that, but it is a lot. It is so much that after 6 people worked it over during the course of 9 hours, it turned into 180 sausages, 60 per couple. Along the way we ate and sampled, and we had a few blow outs as well that probably would have brought the total to 190 or more. 180 sausages is a lot of sausage. I suppose that goes without saying, but I am saying it anyway.
We started the day focusing on lamb sausages. We had two recipes, distinctly different. One was a lamb pork mix, the other was straight up lamb. The meat grinding was pretty straight forward. I feel like the grinder king after perfecting hamburger and meatballs with my grinder, and with this expertise, I became the dedicated grinder for the day. If you want to learn more about grinding, go look at the other posts – I been there and done that and don’t plan to repeat it here!!!
As with hamburger, you do a course grind, then a fine grind, add your spices and aromatics in between grinds. Be sure to add ice cubes to keep the fat from going gooey on you. Once you have the finish grind, then do a fry baby and taste the sausage. Adjust seasonings to taste, remix and then begin the stuffing process.
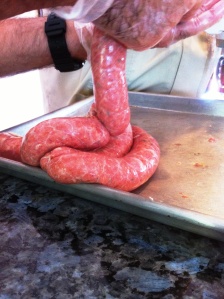
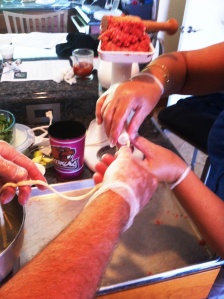
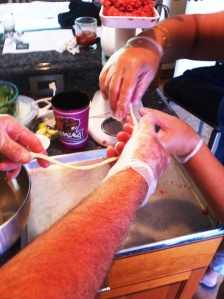
The stuffer attachment is pretty cool, it uses the hopper and auger from the meat grinder attachment, and has two sizes of tubes. We selected the larger size tube – of course!!!!!!! There never ever was really any question about that. The casings are a completely other topic. They need to soak for at least an hour. Then you have to keep them in water in order for them to be pliable enough to be able to be stuffed. Some of our casings were doubled, with one casing inside of another. A nightmare that drove some of our group batty with frustration. Some of the casings – I think I shall say all of the casings were twisted around, and the casings are so delicate it is hard to see that. But, we marched forward working on technique and style to see how to best get those casings in line to be stuffed. Tom Wright became the stuffing king. He will be forever hereafter known affectionately as the Sausage Stuffing Superman. Tom figured out that once you get the end of the casing onto the stuffer tube, then you work the casing up the tube with one hand while keeping a little pressure on the casing and taking the twists out with the other. This technique allowed him to load the tube with 25 feet of casing in a matter of minutes.
Once we had the casing loaded onto the tube, the next trick is to begin the stuffing process. Do not immediately tie off the end of the casing, as you will end up with phallic looking balloon to begin with as the air in the tube is pushed into the casing ahead of the first showing of sausage. I know this happens because we did that right out of the chute. If that happens to you – and it shouldn’t after you have read this blog – but if it does, get a needle and puncture the casing balloon and slide the casing back up on the tube.
Stuffing is a two person job and coordinated rhythm is critical. One person has to load the hopper with sausage and then evenly push it through the tube to avoid air pockets and to keep an even flow of sausage coming out of the tube. That ended up being my job. The other person is in charge of the stuffing, and working the meat into the casing, getting the right thickness of the sausage (do this by creating back pressure on the tube – think blowing up a balloon) – and then to measure the length of the sausage desired. We went for 6″ lengths, and Tom was so meticulous that of the 140 plus sausages he and I made there wasn’t a quarter of an inch of difference in the lengths of the sausages. Once he hit the required length of sausage, then he had to twist the casing to seal the sausage. One sausage gets twisted to the right, the next sausage gets twisted to the left, and so on and so forth (Opps, that’s a Big Brother TV show inside joke – and not a very good one). It is important that there is very little fall from the tube to the tray holding the sausage. We have a raised bar that is part of our kitchen, so Ron came up with the brilliant idea of turning the mixer around when it came time to do the stuffing, which effectively made the difference in height between the end of the tube and the storage tray at a couple of inches. If you don’t have that, use a bowl of other riser to raise your storage tray to near the height of where the stuffing is taking place.
Blow outs can and do occur. We had a few. I think 3 or 4 over the course of 140 sausages. They are inevitable given the delicate nature of the casing, but we were surprised at how few blow outs we had and how easy it was to deal with them. We simply stopped, cut off the casing at the blow out, returned the sausage to the hopper and tied off the end and started up again. A quick word about the tie off. The casings are slick and are covered with water. You are using rubber gloves to protect the innocent. Wet and greasy sausage covered gloves. The two don’t make for an easy grip to tie any sort of knot. Being two creative gentlemen, Tom and I determined that a pair of needle nose pliers would do the trick, and sure enough it made tying off a quick and easy process. Might be sure to run the pliers under hot water to get the WD40 off of it first, but that is up to you!!!
Once the sausages were stuffed, they needed to cool and cure for about an hour. We put our trays of finished sausage in the wine cellar, as we moved on to the next recipe. Once the sausage was cured, we had the packing station set up. We vacuum sealed the sausage using our Seal A Meal, so we had to cut bags to the appropriate size, determine how many of that particular kind of sausage were to go in each bag so that each couple got an equal portion, then bag and seal them. Once sealed, the label with the name of the sausage and the date was affixed and the bag went to the freezer. Janet and Cheryl became our stalwarts at the sealing station.
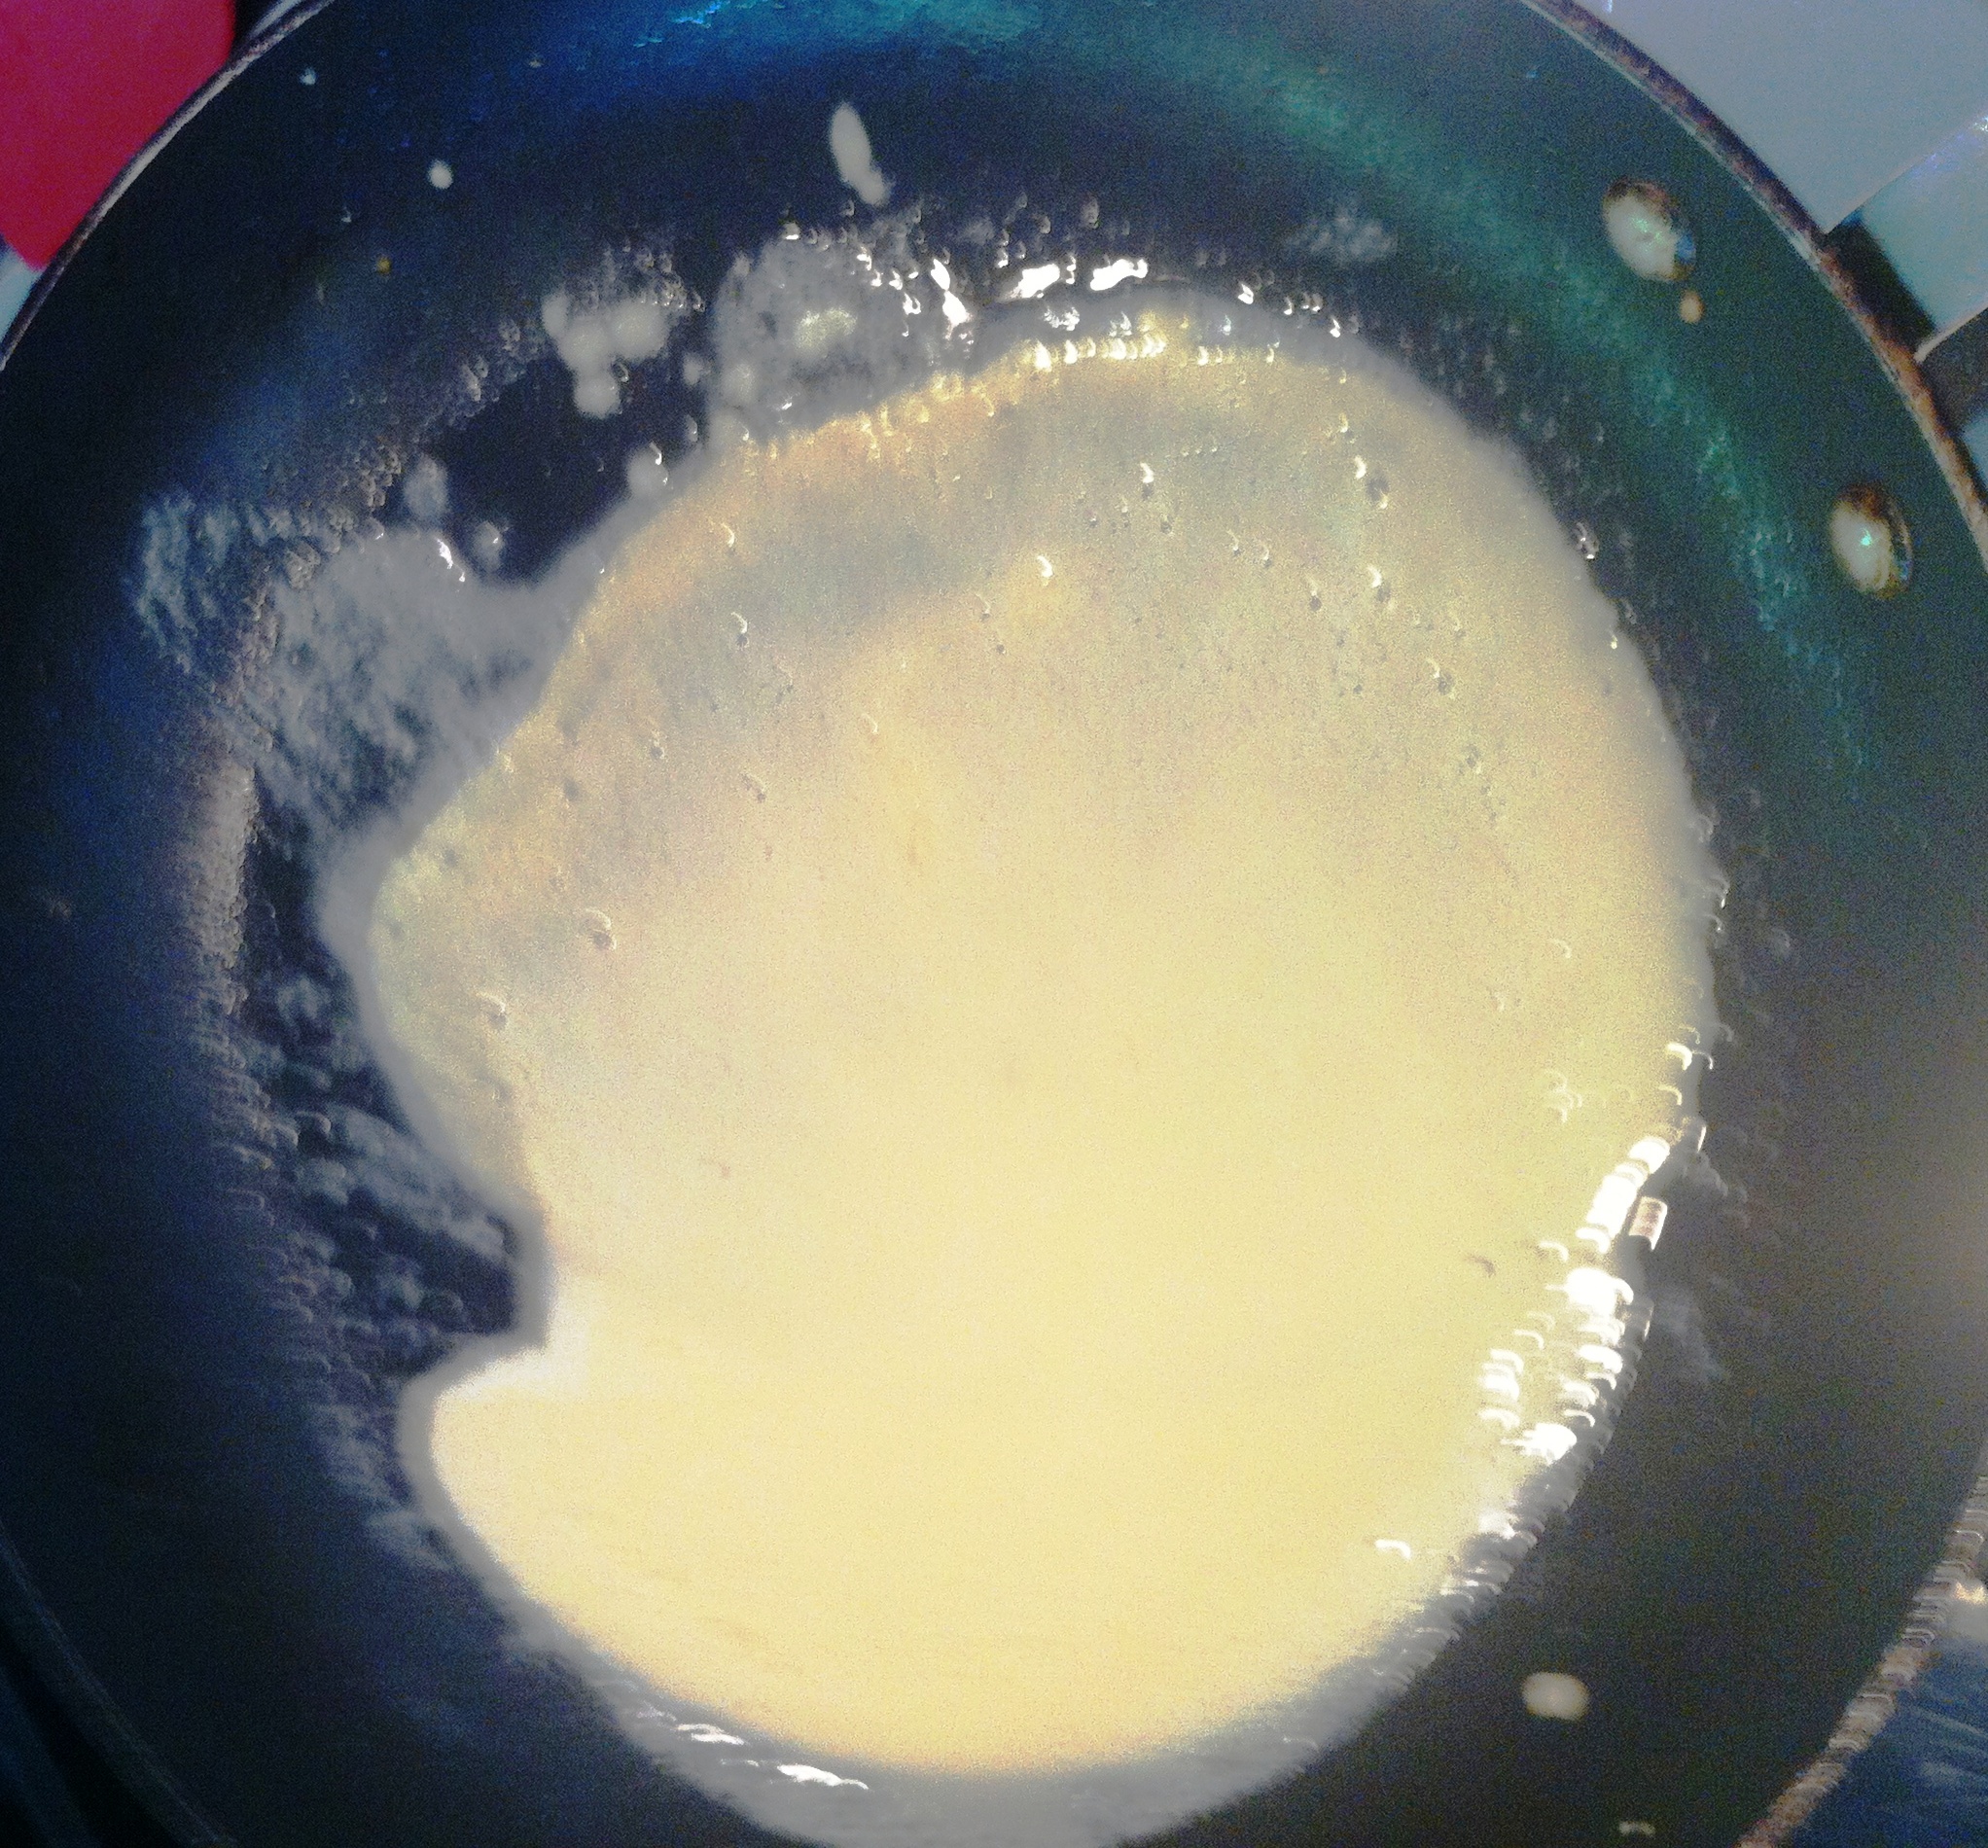
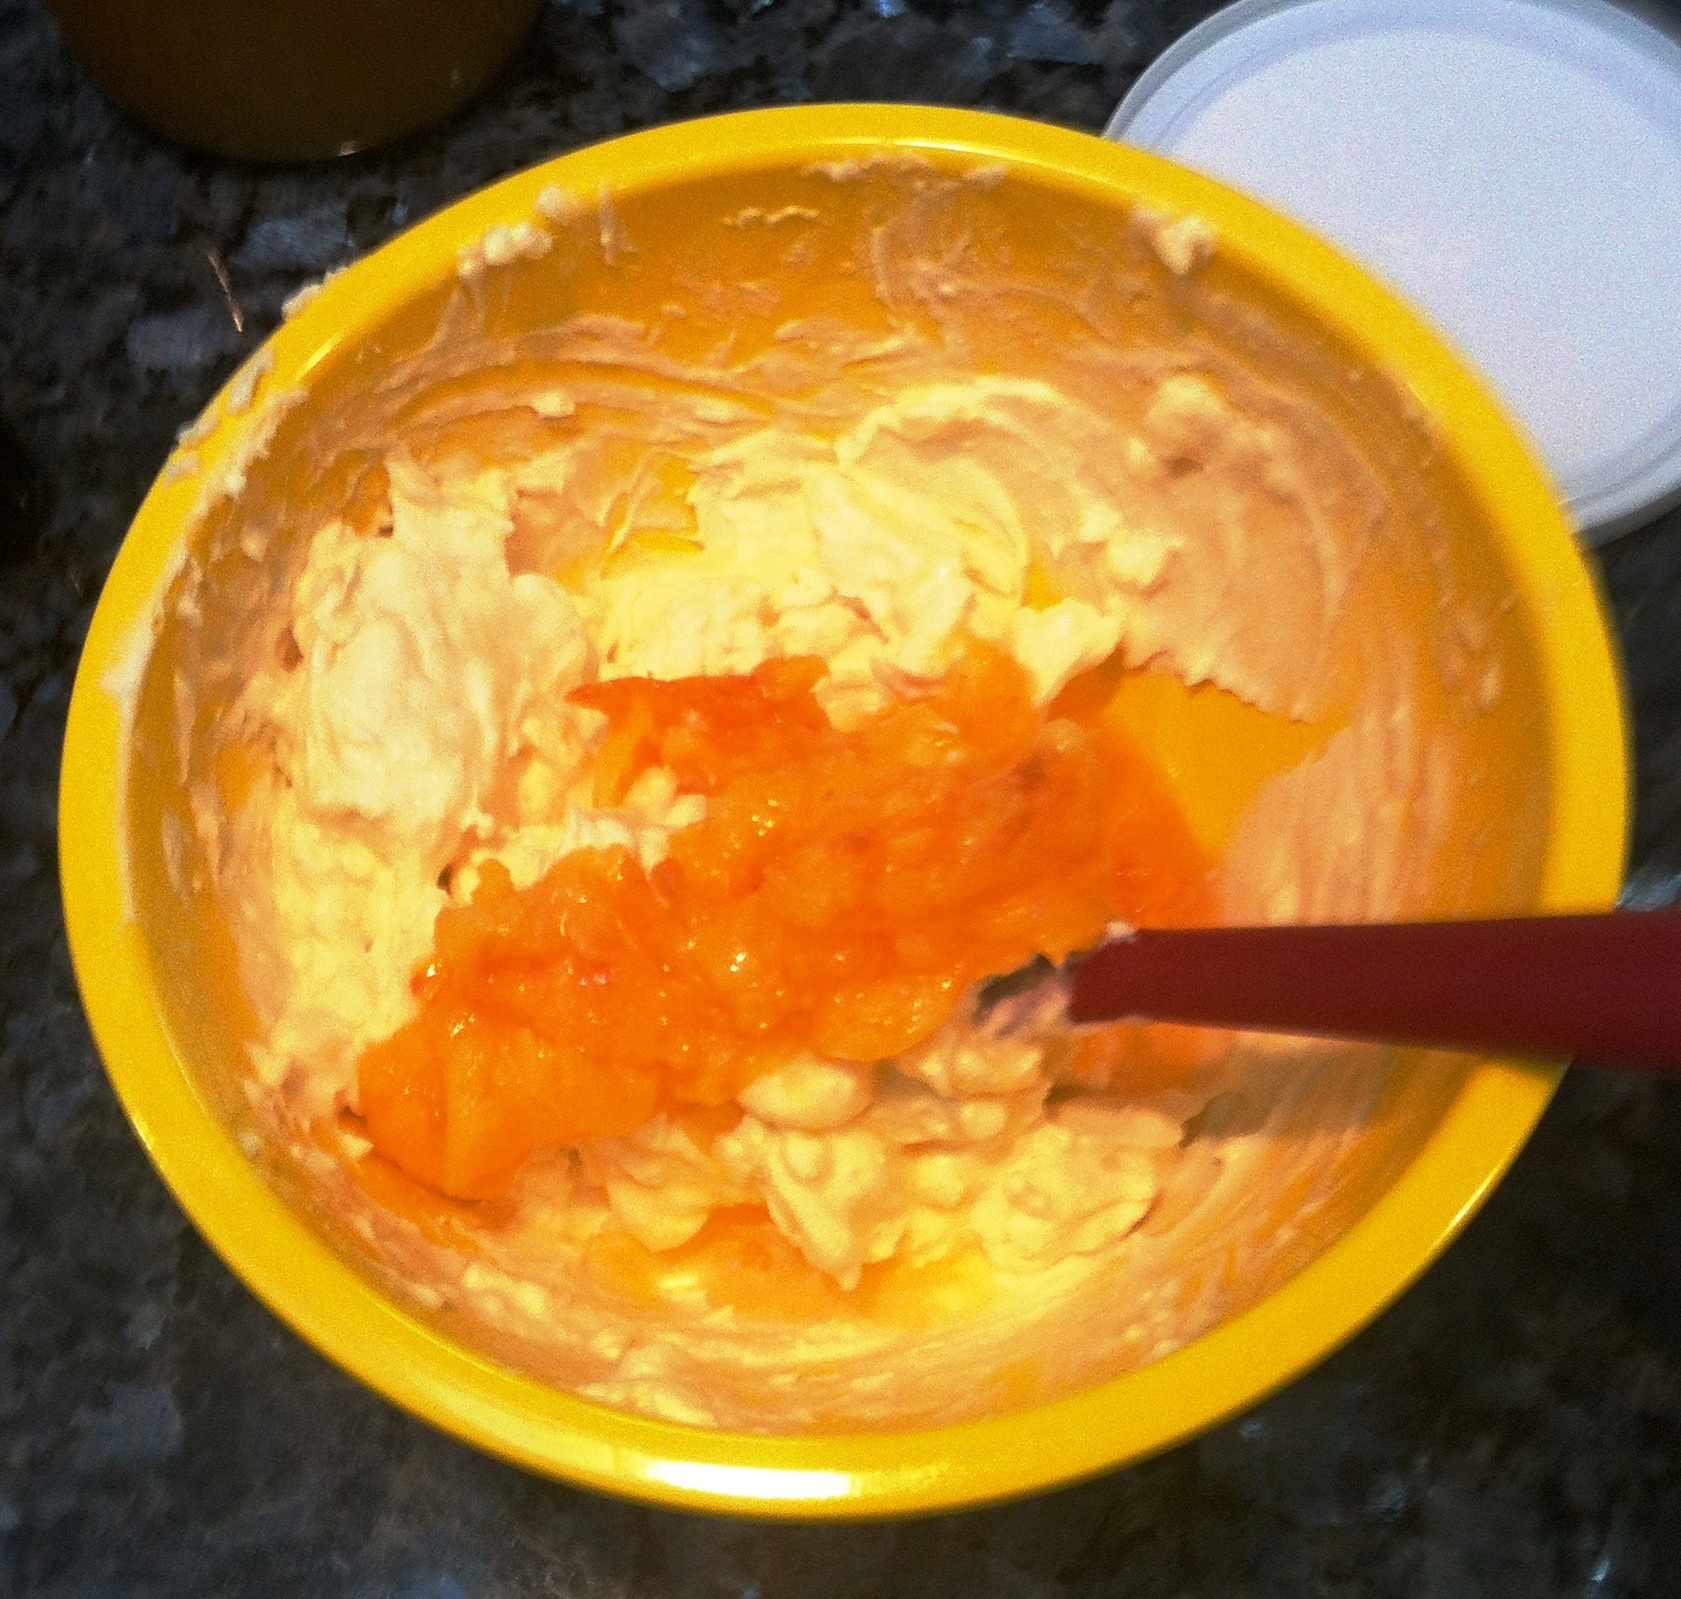
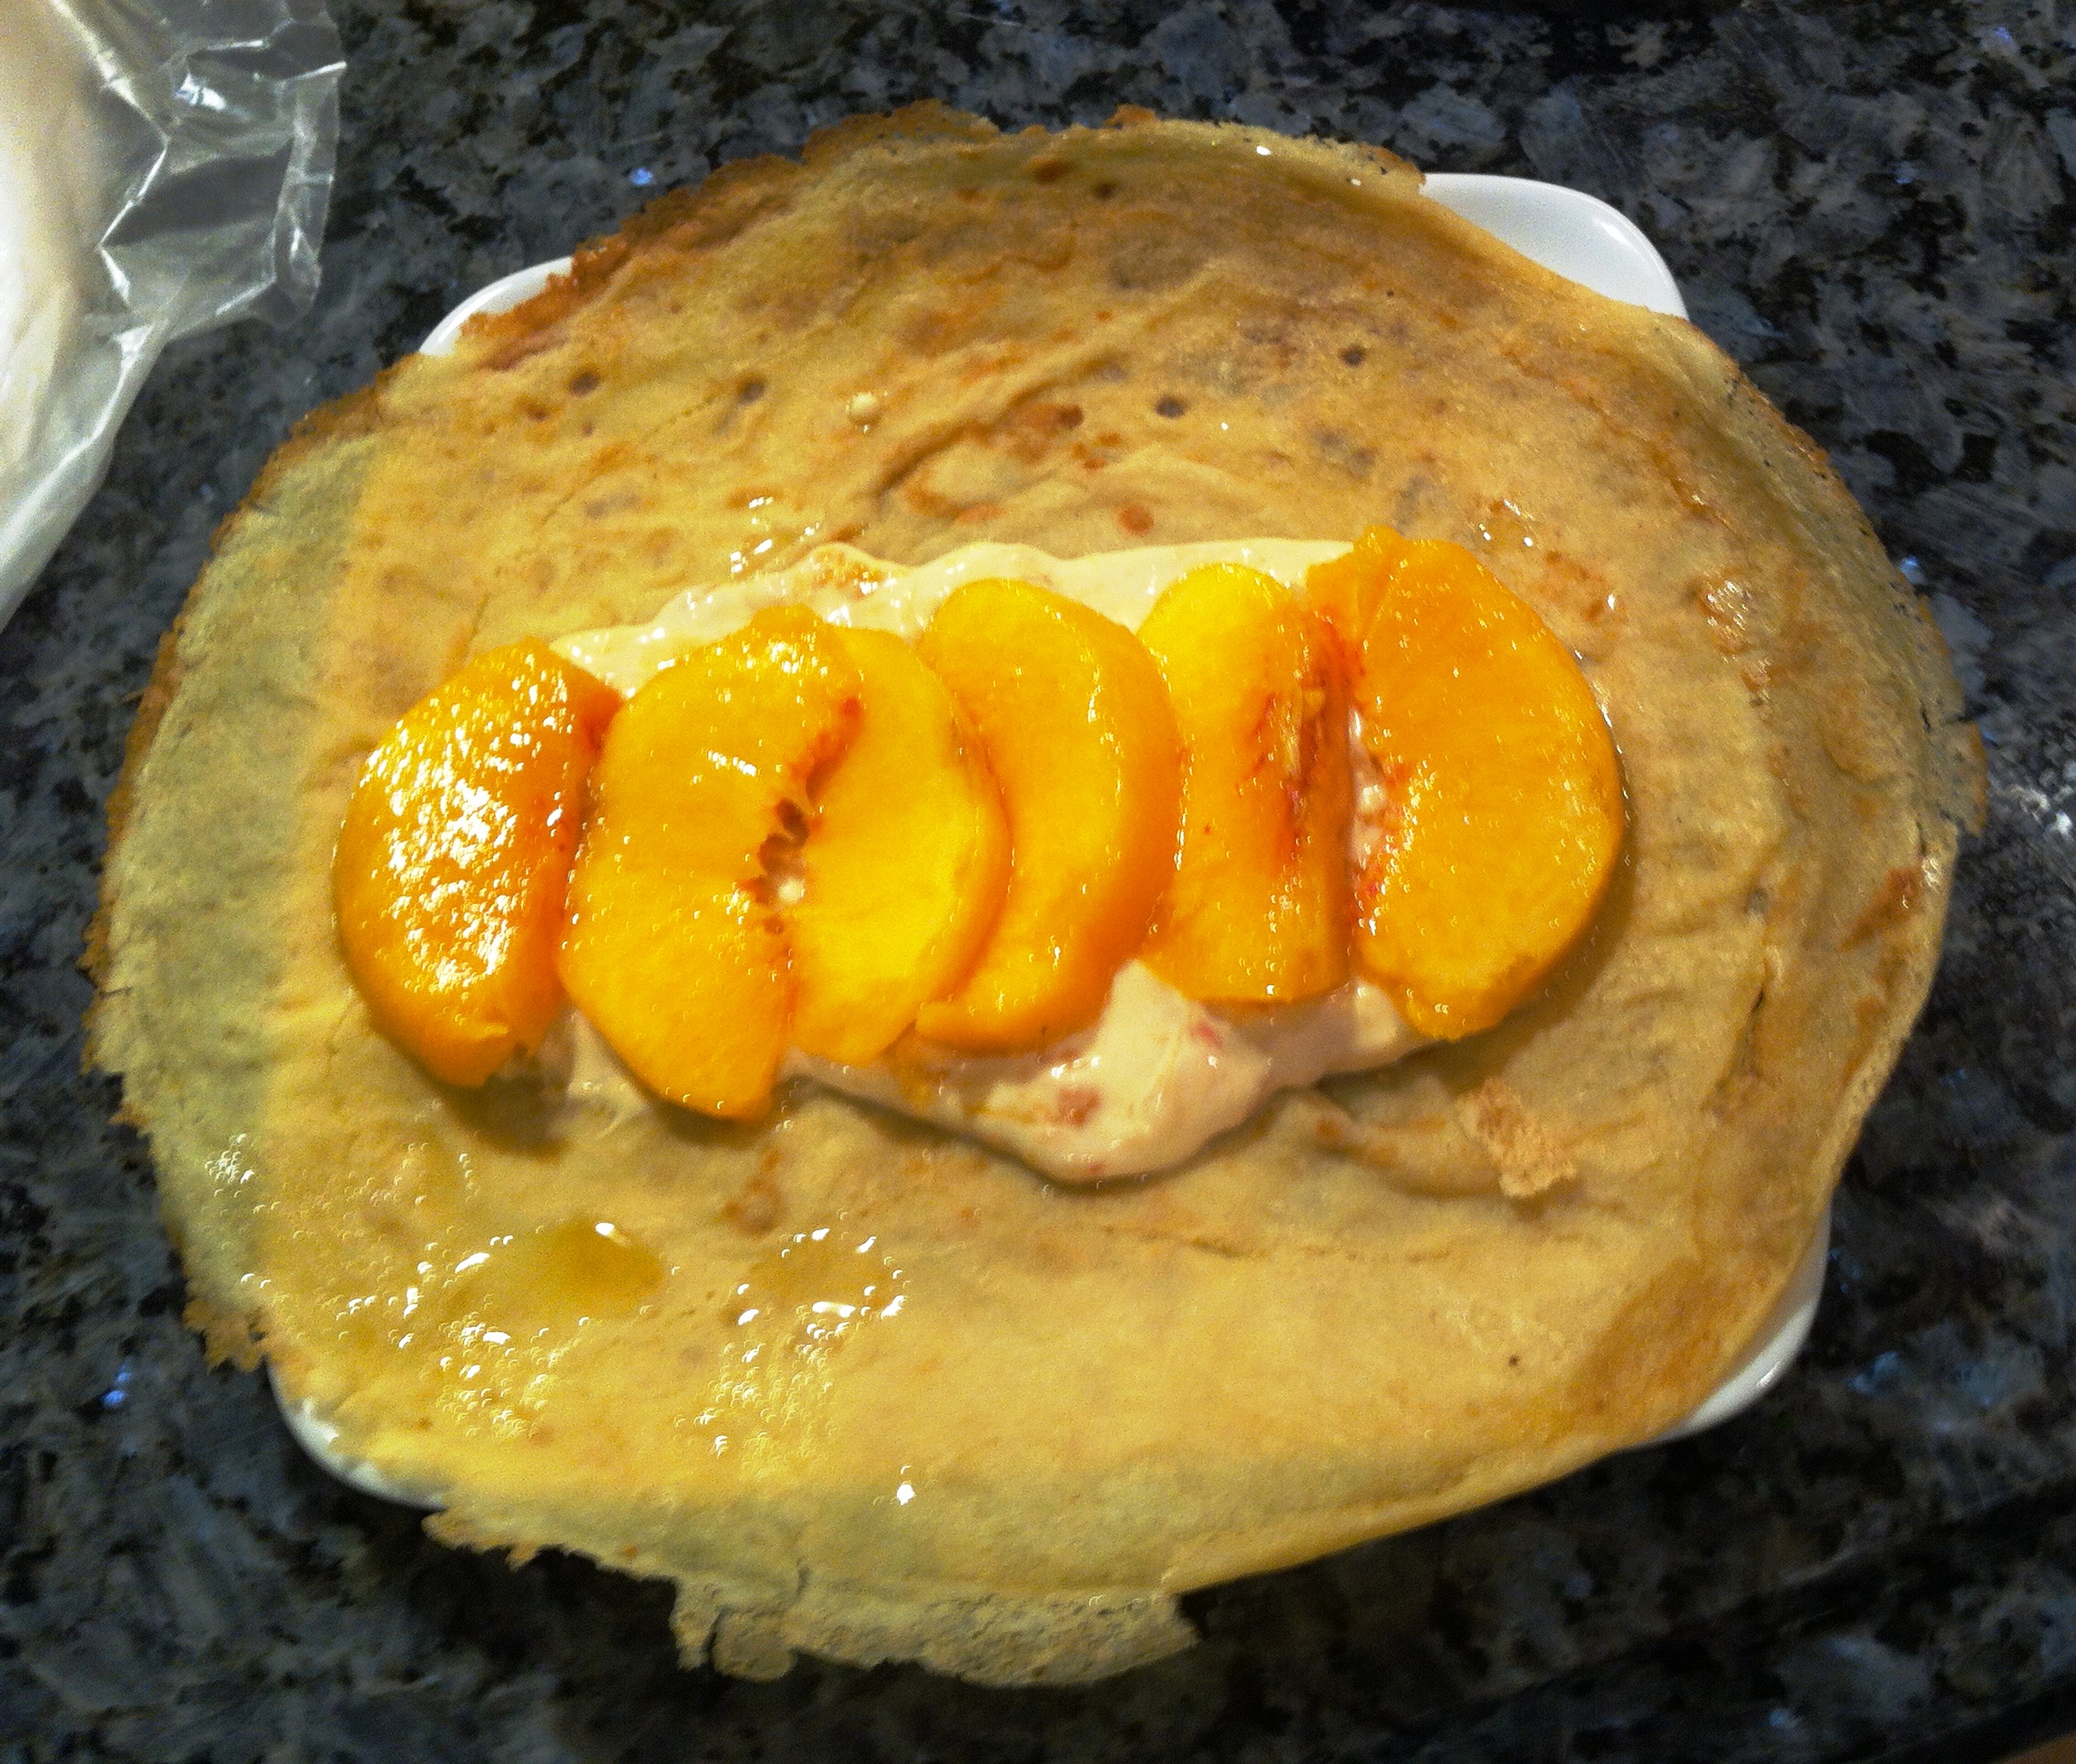
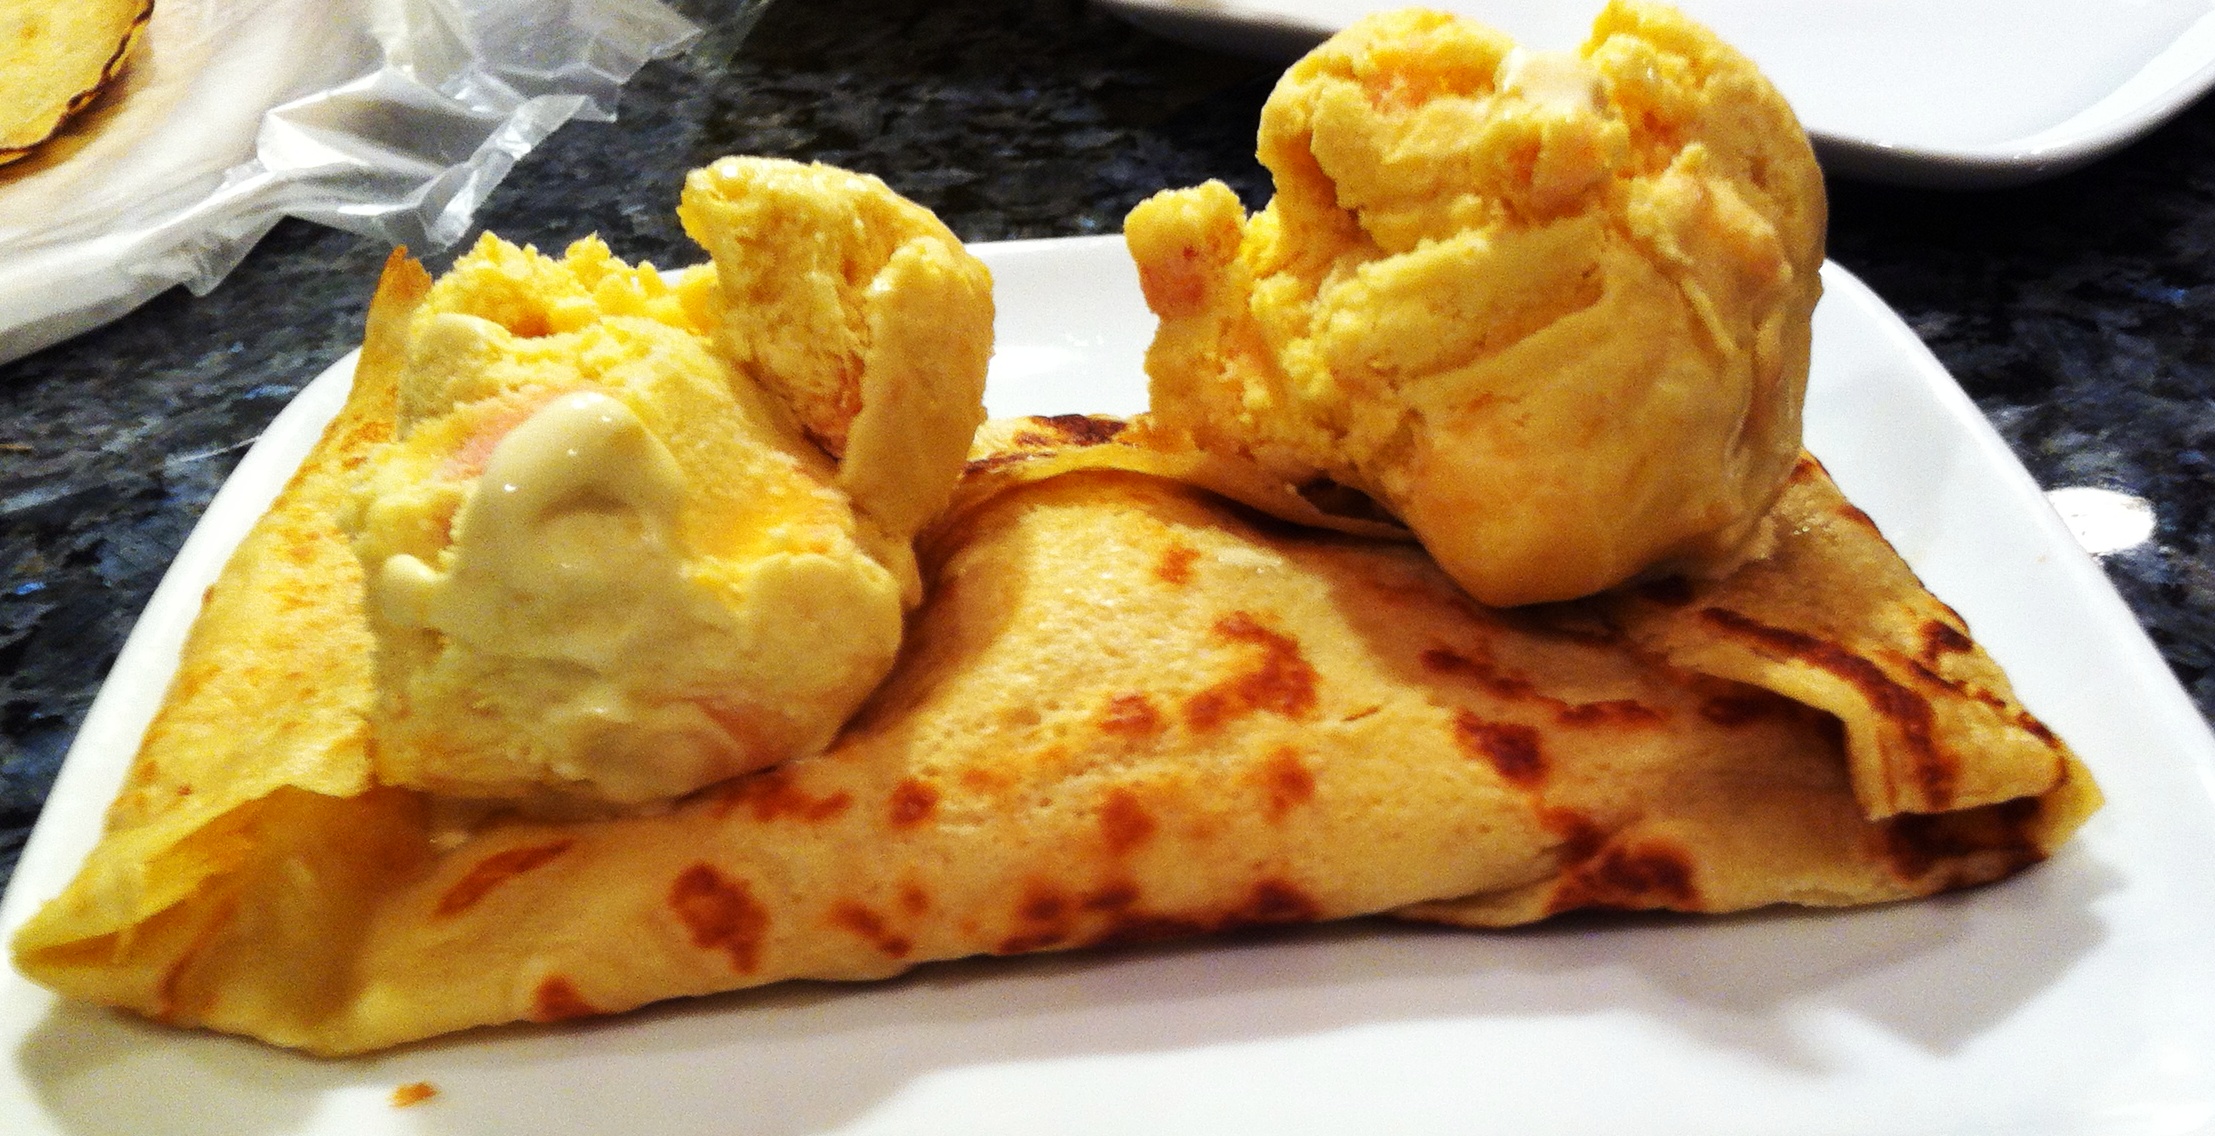
So that is the process. It was a long day, and a hard days work, but it was also fun and exciting and productive, and great to share with new friends. Although we snacked and had a short lunch break, effectively we worked constantly from 11 am until 8pm. We topped off the day with fresh peach crepes and fresh peach ice cream. Delicious and cool and refreshing. Did I say that Sunday was one of the hottest days of the year and that we all decided the next time we do this project in the dead of winter!!!
Recipes were interesting. I found http://www.spiceysausage.com to be a wonderful site for stuffing techniques and tips and for basic recipes for just about any kind of sausage you can imagine. We used some of their recipes with a little tweaking, and others were found on other sites, and several we concocted all on our own. Here are the recipes we used in the order we made the sausages.
Recipe #1 – Carrie’s – Lamb and Pork Sausage
3 lbs lamb
1 lb pork
1 lb pork fat
¼ cup gin
¼ cup red wine
2 tbs kosher salt
6 cloves fresh garlic sauteed
1 tbs ground black pepper
1tbs ground dried Porcini mushroom
2 tsp Za’atar (which is a combination of Sumac, Sesame Seeds and Salt)
3 tbs minced fresh sage
Recipe #2 – Wally’s – Aussie Lamb Sausage
3 lbs lamb
2 sun dried tomatoes, finely chopped
9 oz feta cheese (we substituted 4 oz of a hard European cheese and ½ lb of pork fat)
3 tbs fresh basil, finely chopped
1 tbs fresh Rosemary, finely chopped
1 tbs minced garlic
1 tbs salt
1 tsp freshly ground black pepper
Recipe #3 – Carrie’s – Hot Italian Sausage
10 lbs pork
1 tbs salt
2 tbs garlic
1 tbs dry oregano
1 tbs ground black pepper
¼ cup ground paprika
2 tbs smoked paprika
½ vegetable oil
2 tsp anise seed
2 tsp fennel seed
2 tbs red pepper flakes
Recipe #4 – Wally’s – Sweet Italian Sausage
10 lbs pork
4 tbs salt
2 cups ice water
1 tbs cracked fennel seed
2 tsp coarse black paper
2 tbs brown sugar
1 tsp caraway seeds
1tbs coriander
3 tsp crushed hot peppers (Fresh Serrano is what we used)
Recipe #5 – Wally’s – Polksa Kielbasa
10 lbs of pork
½ cup cold water
4 cloves of garlic, crushed
4 tbs salt
2 tbs ground black pepper
2 tbs Marjoram
2 tbs Smoked Paprika
Recipe #6 – Spiceysausage.com – English Bangers
10 lbs pork
2 tsp ground white pepper
1 tsp ground ginger
1 tsp sage
1 tsp Mace (we substituted 3/4 tsp Allspice and ¼ tsp Nutmeg)
6 tbs salt
6 oz of breadcrumbs
Recipe #7 – Sausage Crew’s Secret Recipe
If we told you, we would have to kill you. Then again if we told you that would mean that we actually knew what we put in it and in what quantities, which we don’t – so no worries. Suffice it to say that it is a beef based sausage, with sauteed onions, Jalapeno peppers, Serrano peppers, garlic, olive oil and a variety of spices.
All of our sausages fell into the rustic variety, as we didn’t want to take the time and didn’t really have the equipment to pulverize the meat to get that smooth consistency you find in commercial hot dogs. We did learn the key to a good sausage is a goodly amount of inserted fat. If your meat is not fatty, then add fat. Make it in the form of cheese, or even just go with olive oil. Fatten up that mixture so that your sausage is juicy and moist when cooked. We also made each couple a round of sausage. This is a continuous sausage without the twisting and separation, and it looks incredible. Better have a gang around to serve it to though.
By the end of the day we were all exhausted. Our joints and backs hurt. Our bunions were boiling, and our kitchen looked like a slaughterhouse on Saturday night. But, we were very proud and amazed that our sausage turned out so good. It was perfect in every way – something we never thought a bunch of novices could ever achieve. I think there were several strained muscles from patting each other on the back.
If you like sausage, try making your own. You will know what goes into it, and that guarantees you have it to your taste and with the best and freshest possible ingredients. And, it is cheap too. We figured the total cost was less than $1 per sausage, an incredible value for that quality of product. So put on your plastic apron, get out your Kitchen Aide and get to work. You will be glad you did!!!
I want to leave you will a great quote I found on the Simply Recipes website:
“Good sausage is all about balance. Balance of salt and savory, balance of meat and fat, balance of spices and herbs within the whole. Knowing a proper ratio of salt to meat (and fat) is essential, but once you understand it you can adjust to your own perception of saltiness, which varies wildly among people. Some sort of liquid helps tighten the bind when you mix the sausage meat; and without this bind you have hamburger, not sausage. You also need a proper amount of fat, at least 20 percent –– I have not yet met a low-fat sausage worth eating.”
Amen brother!