Archive

Monthly Archives: November 2012

A couple of years ago for St. Patrick’s Day, I wanted to make a traditional Irish meal. Along with the Irish Stew, I had to have Irish Soda Bread. A classic pairing. I searched around the internet for some ideas and recipes and was amazed at how easy and quick making this “bread” really was. In addition, the flavors in the bread are wonderful as is the dense texture. We have made it many times since, and often toasted in the morning with a slice of Irish Butter.

Try this recipe and see what you think. To show you how easy it is I have included 15 pix taken by my granddaughter, Katherine A. Lien, who is now my official Blog videographer. My first shot at one of these “how to” posts, so let me know if it is at all helpful.

First, assemble all your ingredients and tools. Not much is required, and as you can see from pix #1 it all fits in one photograph!!!.

Next, in a large bowl mix together the dry ingredients, which includes 4 cups of all purpose flour; 2 Tablespoons of sugar; 1 Teaspoon of salt; and 1 Teaspoon of baking soda. Using a medium size whisk, mix these dry ingredients well.

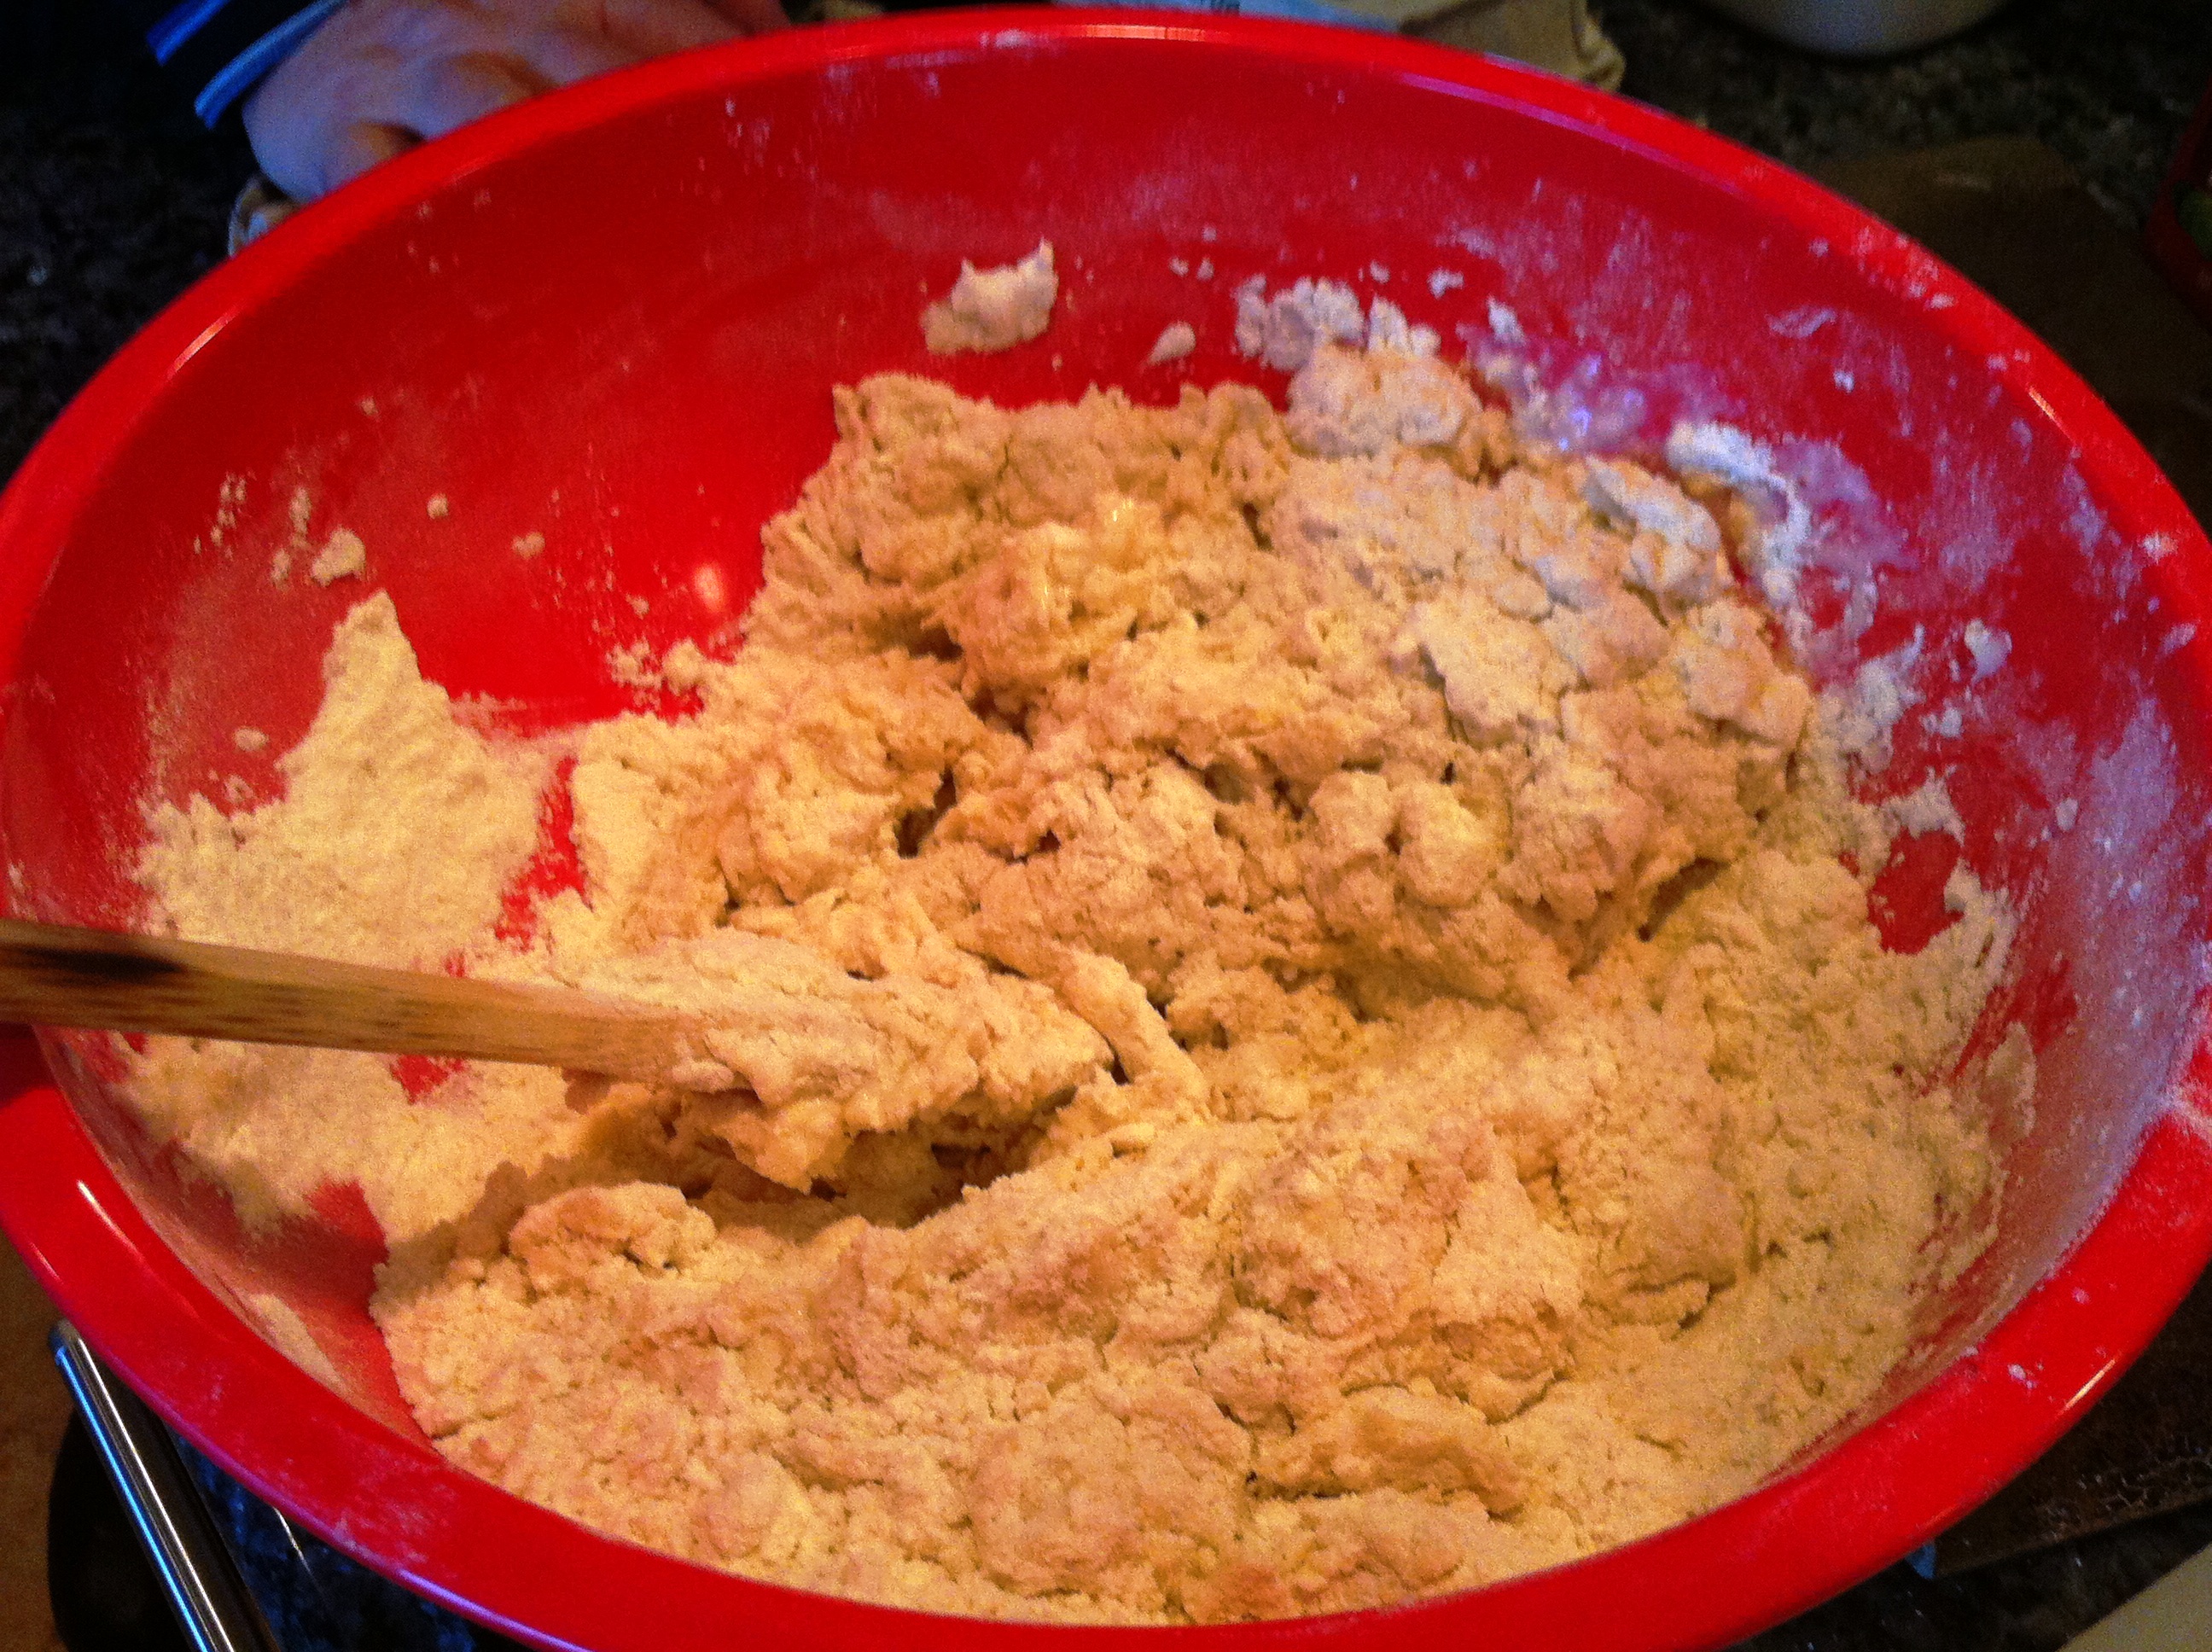
On a cutting board, take 4 Tablespoons of butter and slice into 8 slices. Then cut those 8 slices into 4 smaller bits, so you end up with 32 small pieces of firm butter. Add these bits to the dry mixture, and with a wooden spoon, mix in the butter until the dry ingredients become mealy.

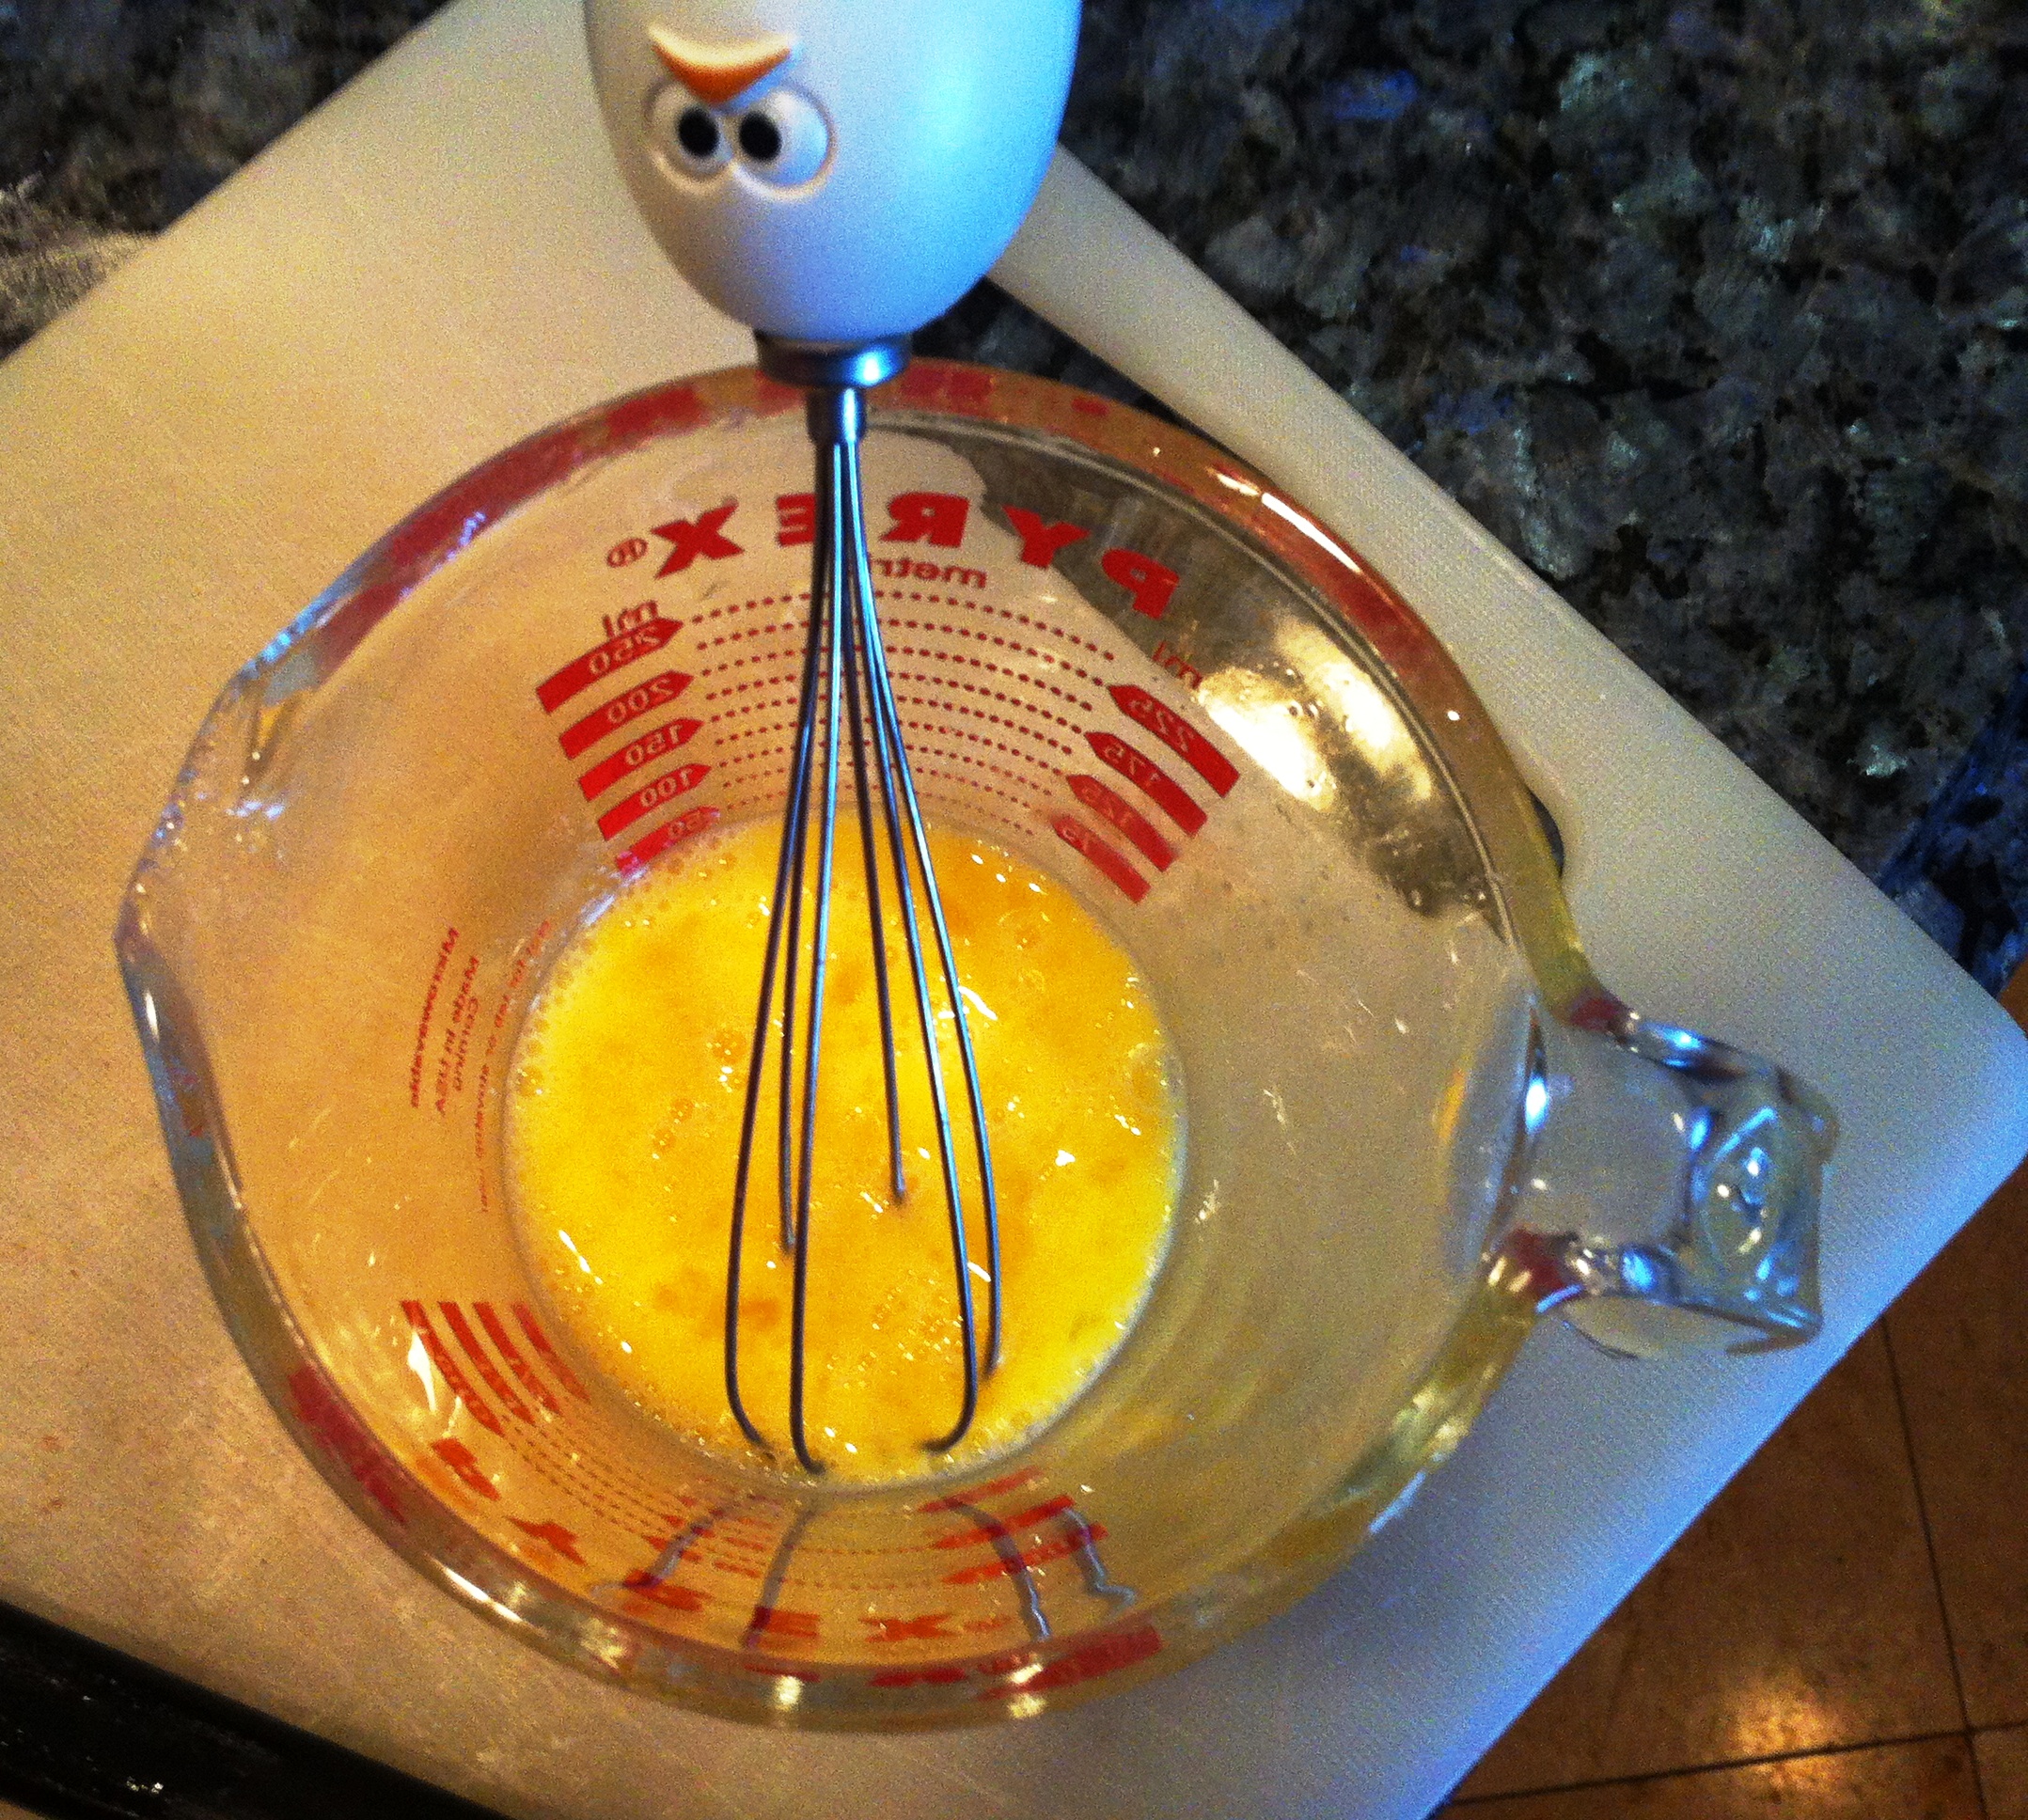
To this mixture add 1 large egg that you have lightly beaten, and 1 3/4 cups of buttermilk. Several of the recipes I looked at recommend making a well in the center of your bowl, and placing the wet ingredients into that well and then begin mixing. It was a cute idea, which I incorporated here. Not sure it really made the mixing all that much easier, but it was fun and made for a cute picture. During the mixing process, add 1 cup of raisins. Many recipes I saw use red currents instead of raisins, but my preference is raisins. Your call on that choice. Mix these combined ingredients until the dough is stiff and flaky.

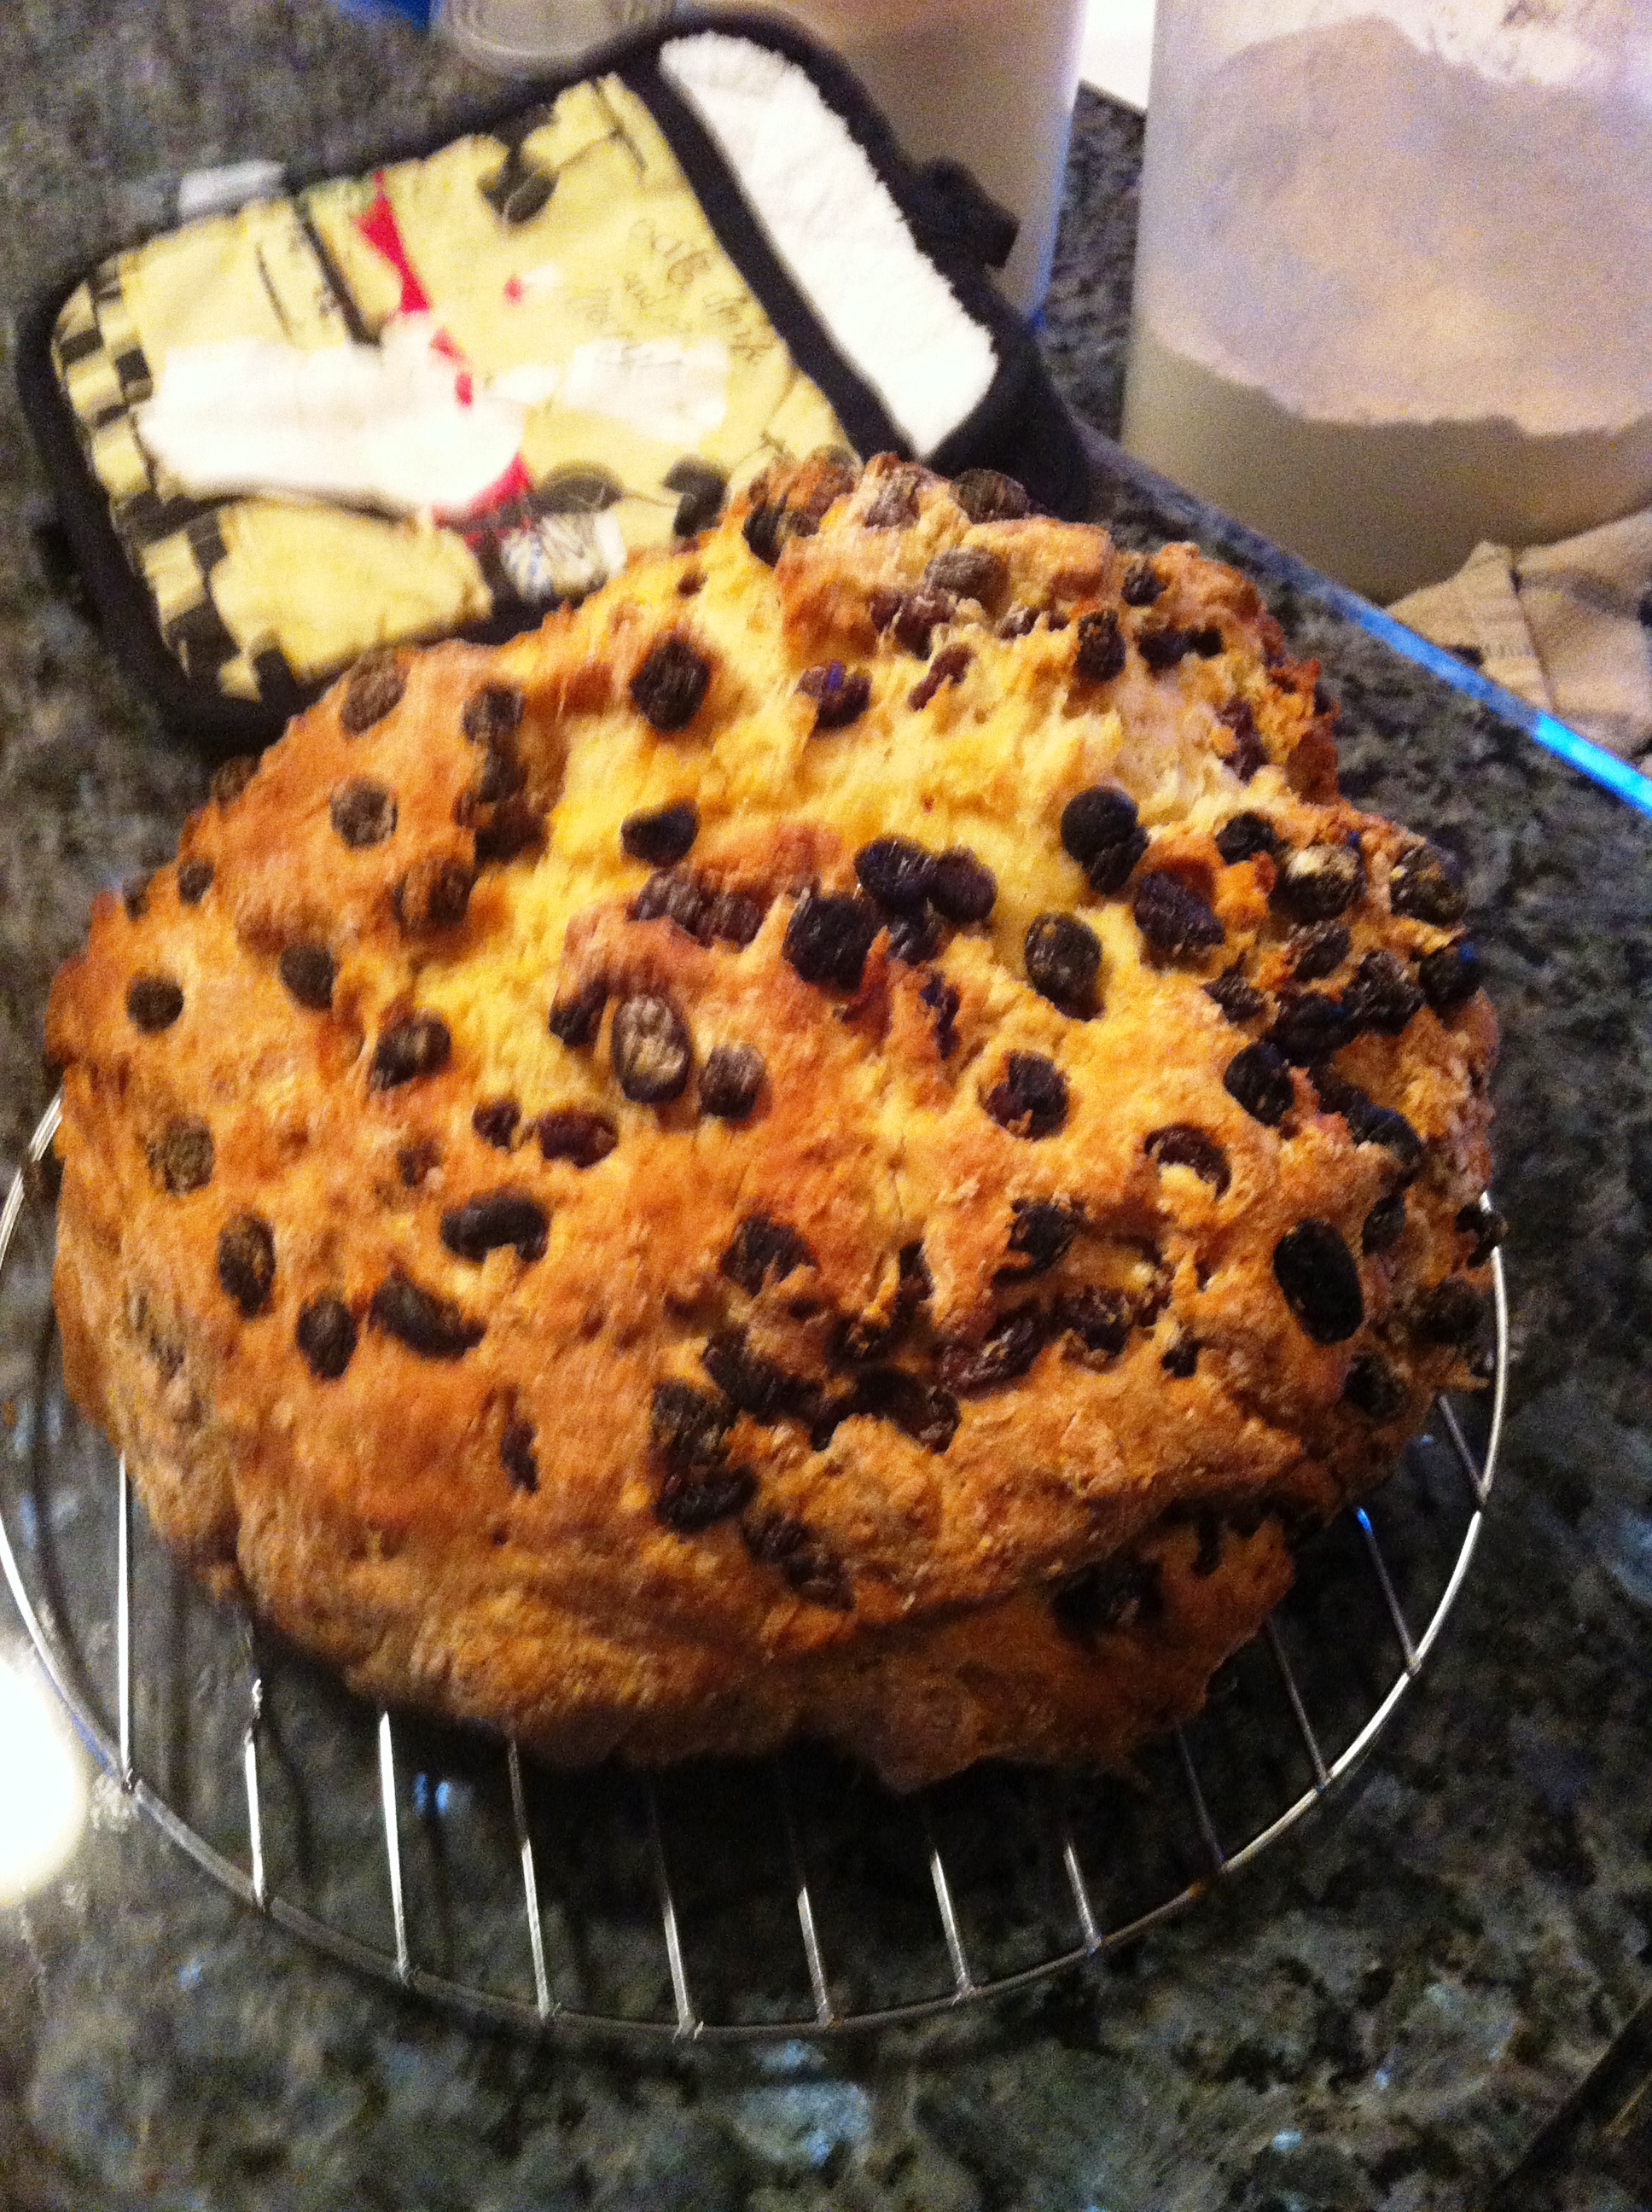
At this point, dig in with your hands and knead the dough for a couple of minutes, and as you do so end up with a nice round ball of dough. If you prefer 1 large loaf, then just move this ball to a greased (or sprayed) cookie sheet and form the ball into a loaf by gently pushing down on the top. Once the loaf is formed, using a sharp knife, make a large X on the top of the loaf to facilitate heat distribution during baking. If you prefer 2 smaller loafs (which cook a little better incidently), then cut your dough ball in half, and reform into 2 balls. Repeat the above process for loaf formation and scoring of the top.

Bake the bread at 400 to 425 degrees for 40-45 minutes until lightly browned. Adjust the time and temperature if you have 2 smaller loaves. Remove from the heat and place on a cooling rack for 15 minutes. Then butter and enjoy!!! Best when warm, and it toasts up great or can be warmed in the microwave.

This bread doesn’t take more than 15 minutes to put together, then with baking and cooling time, you are ready to eat it in an hour. Quick, easy and very tasty. Enjoy.

I learned about Duchess Potatoes for the first time a couple of days ago.  I watch food tv and OPB during lunch as background while I eat, and out of the corner of my eye I heard the discussion about the earliest known potato recipes, some dating back to cookbooks from the 1860’s.  The show was attempting to recreate and modernize these old recipes, and were focusing on Duchess Potatoes. 

Now, I still have probably 40 pounds of potatoes from my garden just hanging out in the wine cellar, and I am always looking for new ways to experiment with those potatoes.  When I heard Duchess Potatoes, it got my attention.  Well who wouldn’t be intrigued by such a lovely name????

The recipe looked incredibly easy, and the result very lovely in appearance.  I couldn’t taste the end result from the tv, but with baked potatoes, butter, cheese, cream, eggs and some seasoning how could it be anything but delicious???? 

Essentially, you are making these fancy twice baked potatoes.  The key in getting the creamy texture necessary for this dish is using a ricer on the cooked potatoes (after they are baked, spoon out the potato into the ricer and discard the skin).  Gently fold in the other ingredients.  The finished mixture is cooled, then placed into a piping bag with serrated tip of about 1/2″.  The potato mixture is then piped onto a cookie sheet in a  circle (apx 2-3″ depending on how large you want each serving) and round and round in progressively smaller circles to make a pyramid shaped potato dish.  The pyramids of potatoes are then either sprayed with butter spray or are brushed with butter and put in a hot oven (450) for about 15 minutes to brown the tops of the pyramids.  The resulting pyramid potato dish is served standing alone, and is absolutely gorgeous.

I think I can make this from memory, but will probably take a look a couple of recipes online to refresh my brain.  Will post some pix and first hand recital of the taste in the next couple of days as I try to make Duchess Potatoes.  If anyone wants me to provide the recipe I use, just post a comment  asking for it and I will keep track of things as I experiment with this new potato dish.  Can’t wait to try it, and to share this new experiment with you.

One of my favorite snack dishes for football parties is my Potato Rounds. Very simple, yet mouth wateringly delicious. My secret is that I use Pontiac Red Potatoes that I grow in my garden, but any red potato or Yukon Gold would work just as well.

To peel or not to peel that is the question. Well, for me not really – I never peel unless I have to. Now sometimes my garden potatoes need a little peeling, but be lazy and leave that healthy casing on.

Slice the potatoes into rounds, not like French Fries, and make the slices about one quarter inch thick – not too thick or they will never get thoroughly cooked, or too thin and they will become chips. One quarter inch is just about right, and try to get all the slices the same so they cook the same length of time. Once the potatoes are sliced, put them in a bowl of water, making sure the potatoes are covered, then refrigerate for at least an hour. This is to allow the starch to be released from the potato, and also allows you to do this prep work well ahead of your guests arriving.

When you are ready to begin cooking, in a bowl place one cup of flour and one and one quarter cups of beer (just about any beer will do, but lagers seem to provide an extra punch of flavor – on this day I used a Samuel Adams Winter Ale with considerable success). Whip until well blended, then add a pinch of salt, a shake or two of pepper and one half teaspoon of Cayenne pepper. Blend those together. If your batter is too thick simply add a little more beer and whip. You want the potatoes to be lightly covered with the batter, but not so much batter that all you taste is the batter and not the potato.

Bring a sauce pan to heat with a vegetable oil. Canola oil works just as well. This is a relatively clean frying process, so save your oil container and then when you are done and the oil is cooled off, you can use a funnel and strainer and put the oil back in your container. Be sure to mark it as used oil suitable only for frying .

When the oil is to temperature, remove the rounds from the water and dry thoroughly, then lay the potatoes in the batter bowl and cover so the rounds are coated on both sides. Using a pair of tongs, pull out individual rounds – shake a little to get rid of excess batter – and lay the round into the oil to cook. The round will sink initially but will soon pop to the surface. Do not overfill the pan, let the rounds have room to swim in the oil. Once the round pops to the top let it cooks for several minutes until it is brown on the underside, then flip and cook about half that time again. Just enough where both sides are nice and golden brown. Remove from the pan with a slotted spoon and lay on a serving dish covered in a paper towel to absorb the excess oil. Lightly salt and serve immediately.

Not very healthy, and probably way too many calories, but delicious to eat straight, or with a fry sauce or even ketchup. Enjoy.

Nestled next to the river at First and Washington in Corvallis, Del Alma is a wonderful respite from the ordinary college town faire. We dined late after a basketball game, and although I used Open Table to secure our reservations, the place was not so busy as to accommodate walk ins.

The decor is, like the menu, new wave southwestern. A triple ascending landing, each with several tables, provides a unique setting and a unique way to allow more patrons unfettered view of the river. High ceilings and interesting artwork make the experience very pleasant.

The guacamole is a specialty of the house and we ordered it with our drinks to munch on as we contemplated the various menu items. The guacamole features apple and bacon, and no cilantro or tomato, so we were anxious to try it. Our drinks arrived and we ordered our dinners and were told the guacamole would be right up. Right up didn’t really mean right up, actually it didn’t mean up at all or ever. When I pointed out to lack of guacamole to our server Jason, he was most apologetic and genuinely embarrassed.

The menu here is diverse, with a generous list of tapas, and a normal menu of full meals. We opted for the tapas to intrigue our palates with as many different flavors as we could. The meal started with a unique paprika bread served with three dipping sauces. A Mayo based cheese dip, a pepper sauce and a tapenade. The bread was dense but soft and full of flavor with the hint of paprika. Each of the sauces carried the flavor of the main ingredient and were fresh and bright. Each of the three sauces scored a favorite with at least one of the diners.

Our tapas plates included shrimp, chili relleno, lamb tenders, albondigas and a wild mushroom quesedilla. Each plate was generous in proportion and packed with flavor. The shrimp were large, served with a skewer, and were abit dry – but that was balanced out with the avocado and pepper viniagrette. The chili relleno was made from a poblano pepper, which was stuffed, coated with masa then fried. It was served with beans and salsa, and was the rave of the diners that had this dish.

The lamb tenders were thin sliced cutlets, that unfortunately were significantly overcooked. The two cutlets of lamb lay on a bed of thick red sauce of red wine, carrots and cherry tomatos. The combination of the lamb and the sauce was marvelous, with 90% of the flavor coming from the sauce. The lamb was just too over cooked to add much flavor. This dish was served with a fresh arugula salad with a hint of apple.

The albondigas were also over cooked, not hammered like the lamb, but the meatballs were stiff and dry, when I would have preferred a little more moisture and softness – a minor criticism however. The meatballs were to feature beef and pork, pinenuts, bread crumbs, raisins and mancheco cheese. I could discern the beef and pork, but saw no sign of any cheese, pinenuts or raisins. The flavor was nice, but it was just a meatball, not the special meatball the menu promised. The star here was the marinara that the meatballs were served on. It was a tomato sofrito with jalapeno’s and smoked paprika. Very delightful, and a nice texture – not creamy, hearty and stiff so that it stuck to the meatball and brought the meat to life. Not overpowering, but acidic and a wonderfully long finish to your palate. The dish came with bread that had been grilled and it was the same bread as came at the beginning of the meal, just without the smoked paprika added – so it was not the pink in color, but had the same wonderful consistency, which was enhanced by the grilling.

The wild mushroom quesadilla was marvelous. Wild mushrooms combined with monterey jack and goat cheese and black truffle oil, all on a bed of tomato coulis with cilantro and pesto. A very nice vegetarian dish that really brought the flavors out of the mushrooms and the cheese.

For dessert we shared a Panama Torte. This is an outrageous dessert that immediately upon the first bite the juices in my mouth with activated and almost turned me into a drooler. This is a multi-layered chocolate cake (think thin slices of cake), between each layer was a different surprise. Blood orange mousse, chocolate almond genoise, and covered in a chipotle ganace that encased the cake in goodness. The plate included a blood orange coulis and a milk chocolate glaze, that clearly gilded the proverbial lilly. Paired with the house coffee, this was a delightful conclusion to the meal.

Remember that lost guacamole? After dinner and before dessert, our server Jason brought us a small plate of the guacamole with the house made chips just so we could taste what we missed out on. A very nice gesture, as we all loved the guacamole and agreed there was a reason it is the house specialty. Jason’s attitude toward the mistake, and his approach to correcting the problem was a nice lesson to all servers and restaurants, on how to deal with problems. By the time we walked out we had nothing bad to say about the joint, and left a hefty tip to Jason.

If you are in Corvallis, give this spot a try. We found it to be well worth the visit. For more information see http://www.delalmarestaurant.com

A couple of follow ups on my previous post about ripening tomatoes.  The first is when using the apple in the bag method, you must use a brown paper bag and close it up tight once you have the apple and the tomatoes inside.  Something about the gases the apple gives off that aids in the ripening, so the tighter the bag is closed the less you will have loss of that precious but unknown gas.

Consensus seems to be that how the tomatoes ripen is some function of the variety of tomato used.  The heritage type tomatoes working the best.

Finally a pix of a hanging method of ripening.  This is currently being employed by my son in Richland with considerable success.  He reports picking and eating ripe tomatoes on a regular basis.  Good job JR!!!!!!!!!

The never ending question of what to do with green tomatoes at the end of the season has plagued me for years. Nevermore than this year however with the bumper crop of great tomatoes the wonderfully warm and sunny fall brought us.

I am not afraid to experiment, and frankly I have tried many different methods for ripening tomatoes. My first problem is figuring out if a tomato even has the possibility of ripening. Carol Savonen and the OSU Ext service talk about cutting a sample tomato open and checking the gel around the seeds. I try that, but never quite sure what I am looking at, so I normally just plod along and experiment with the latest technique I have heard about.

History and experience has told me the wrap the tomatoes in newspaper is not very successful in my world. I have yet to have more than a few tomatoes ripen in this manner, and most just rot and make for a nightmare clean up. Pulling the entire plant and hanging it upside down is another technique I tried a couple of years ago – again without much success. Besides needing a lot of room, you have to get the plant out of the ground, find a place to hang it that gets some sun and is out of the weather, and deal with the fruit drop and the dirt and mess. My success level here was about like the newspaper project, and the clean up even worse. Last year I just laid the tomatoes out on trays in the garage so that they would get natural light from the windows in the garage, and I left the light on in the garage during the day for heat and artificial light. My success rate was much better. I was able to watch the tomatoes better, so was able to discard the ones that started to go bad, and to bring in and eat the ones that turned.

The attached pix shows a bowl of tomatoes that I ripened in my garage in this method. They are bright, firm and flavorful, just a notch below the vine ripened ones of a month ago. My success rate this year is quadruple what it has been in the past, perhaps because of the weather, perhaps because of the variety (Roma’s and Heritage), or most likely, just plain luck.

I kept hearing about this apple in the bad technique, so I thought I would try that this year to see how it worked. A sample only mind you. One bag, one apple and just a couple hand fulls of green tomatoes. The rest of my ripening continued in the open trays. I like to experiment, but I didn’t want to risk a lot of prime tomatoes in the process. As the pix will attest, this is a marvelous technique. 8 of the 13 experimental tomatoes have turned nice and red, a couple more seem like they might also turn if given enough time, and only 3 or 4 look like they are not going to budge at all. The apple seems to be holding up as well, so when this experiment is done, I will clean and slice it and dry it so we have no waste. The tomatoes have been in the bad for a period of 14 days as of the time the pix was taken, and they were all the same color green when placed in the bag. A nice trick, and I will try it again next year.

We dined at Lincoln in May 2012. It is a beautiful joint located on North Williams Ave in Portland, Oregon. The chef was recently nominated for a Beard, so its magnetic pull was pretty strong, and it did not disappoint. It is a small, sort of industrial space at the corner of Williams and Failing. Large glass paned garage doors make up one full wall and what I am sure is a very nice experience in the summer when those doors get opened. The light and open and inviting space gave us a warm welcome.

Our server, Ryan, was most attentive and knowledgeable as we pestered him with questions about the menu and the food. We started with a combination of appetizers. First was baked hen eggs with cream, olives and herbed bread crumbs. This was an unusual dish that featured the egg, rather than the egg as a complement to another component. Very well done and flavorful. The cream had pretty much evaporated, but the taste hint remained. Second was cornmeal onion rings served with a house made remoulade. These rings were light but crunchy because of the hint of cornmeal. The onion flavor shined through and was not overpowered by the batter. Excellent, so much so that with an added dash of salt we ate most of the hearty plate without even dipping _ a true complement from a guy who normally drenches his rings in ranch dressing!!!! We were off to a great start and smiling, looking forward to what was to come next.

Our second course featured a Curly Cress salad and Braised Pork Belly Polenta. The salad was very nice, and use of the seldom seen Curly Cress was great and excellently paired with walnuts, shallots and fennel. The best dish of the evening, and I think the best I have had in quite some time, was the pork belly. This pork belly was so well cooked and so full of pork (and much less fat than I normally see) that the flavors just jumped off the fork in your mouth. The polenta and red kale bed the pork belly sat on were equally flavorful and were greatly enhanced by what must have been pan drippings from the pork for seasoning. I absolutely fell in love with this dish.

For entree’s we had a rabbit ragu with cavatelli pasta and parmesan cheese. A very nice presentation and wonderful rabbit complementary taste to the cheese and pasta. We also had the roast chicken that is the specialty of the house, and there is a reason for that. The chicken was moist and flavorful with a nicely crisped skin, paired with shoestring potatoes that were crunchy yet full of nice potato goodness. Curly Cress was added here as well, but mostly for appearance as it was dry with no dressing.

For our dessert we did cheese and chocolate. The cheese is a very nice creamy savory cheese called Toma Della Rocca, served with grapefruit, almonds and honeycomb. A couple of minor flaws here. The grapefruit was not properly sectioned, leaving the bitter membrane, and the honeycomb was featured as edible, but really was not, and the wax was overpowering. The chocolate was a fudge cake with a raspberry sauce and it was delightful, but so rich we only got through half of it between the two of us.

All we did all night long was smile, and eat, smile and eat, throw in a couple of glasses of wine and more smiling and more eating. This is a wonderful spot, with good food creatively plated and served with good grace and timing. Highly recommended.

Coppia never disappoints. This small Piedmontese style café is one of our favorites in the Pearl District of Portland, Oregon, and is marvelous for a quick dinner before a show at Portland Center Stage.

We started our September 2012 dinner with the Bagna Coada, which is delightful with its anchovy cream sauce and fresh crisp veggies (including a welcome slice of fennel), warm rustic bread, and a peppersomethingitsa, which was roasted red peppers and fresh ricotta cheese with crostini. This made a creamy and flavorful mouthful.

For dinner we ate family style _ there are 3 of us now. Katie’s contribution was a risotto, which was subtly flavored with basil, almost too subtle as the dish was bland in comparison to the other dishes, and it was light green in color, never my favorite color for risotto. But it was cooked to perfection. Janet’s contribution was homemade pasta pockets filled with various meats and veggies, in a light butter sauce. Each pocket was bursting with flavor, and the sauce added a wonderful accent to the flavors. My choice (as always) was the angel hair pasta with wild boar ragu. This is a great dish, although this time it was lacking a bit of salt, which once added brightened the dish up and popped the multi_layers of flavor.

Dessert was a chocolate panna cotta with amaretto cherries, and a peach stuffed with an almond crumble and a generous portion of saboyan. Both desserts were wonderful, and the French Press coffee was a perfect pairing, The chocolate panna cotta was very smooth and was covered in a light chocolate sauce as well with the cherries on the side. Gave me the flavor profile of a fudgesicle, but one hopped up. The peach dish had the most wonderful saboyan I have ever tasted, and the almond crumble was sweet with a long finish on your palate. The peach itself however, altho flavorful, was crunchy and in need of something _ poached perhaps, maybe softened up on the grill? The soft and creaminess of the dish was disrupted by the harshness of the peach.

Our service was quick and responsive and very pleasant. Coppia has a wonderful wine list, featuring Barbera’s and Nebbiolo’s and other wines from the Piedmont region of Italy, my glass of 2009 Nebbiolo was bright and fruity and a perfect compliment to the dinner.

My experiment with drying my bumper crop of produce continues. My latest adventure involved more Roma Tomato’s, and more Heritage tomato’s, both red and yellow, as well as my red Anaheim peppers, red and greed Serrano peppers, a few red and greed Cayenne peppers and some small green jalapeno’s.

In addition my apple drying has turned out a delicious and healthy snack, which our 15 year old is very enamored with. This time I dried a couple of Honey Crisp apples, which turned out to be ideally suited to drying. Note in the before and after pix of the apples, I didn’t even get the apples off the tray before half of them were gone!! I enjoyed the bananas, so I bought several bananas and dried a tray of them, which will be very nice as a snack and as ingredient and topping for desserts .

What I have discovered is that the slices of produce need to be at least ¼’ thick. Any more than that and the drying becomes a lengthy process, and any less than that and you end up with chips. I have dried all the end pieces tho, as they can be used for flavor and chopped who cares, but for the pretty end product a ¼” slice seems to work the best.

Drying times will vary depending on the type of produce, the thickness of the slices, and the desired end result. In my experimentation, drying time of two days (48-50 hours) works well for tomatos, apples, bananas and the smaller peppers (Serrano’s, Cayenne and small jalapeno). The larger peppers (big Jalapeno and Anaheim and bells) take three full days of drying time.

To show the before and after, I am posting pix of my produce trays as I loaded them to be dried, and then a pix of that same tray after drying. This will show the shrinkage and appearance of the dried produce.

Storage of the dried produce remains in the experimental stage as well. At this point I have tried placing the dried produce in a canning jar (not canned, but tightly sealed); vacuum sealed; vacuum sealed then frozen; and some just in a zip lock bag. I will report on shelf life of each different storage style over the next year as I sample and use the dried produce.

I have also attached a couple pix of my dryer. It was given to me by a friend and former employee several years ago. It appears to be home made, using window screens as trays. I am not sure what the heater mechanism is, or what the drying temperature is. It is big and bulky, so it gets stored away when not in use, but its size is conducive to doing a lot of drying at any one time. Thank you Bryan for this wonderful machine!!!